
LIFVYT · OFFLINE HOBBIES
Some hobbies need a spare room. This one needs a tray, a handful of beads and a moment when nobody is asking where their other sock went.
A beaded stretch bracelet is a useful first jewelry project: choose your colors, string the beads and finish the elastic. There is no clasp to attach. The part worth slowing down for is the fit and knot—not making every bead match your imaginary brand identity.
Why this little project fits right now
Etsy’s October 14, 2026 fall/winter trend report describes a seasonal interest in making gifts together, including stringing beads. That is a useful signal for a cozy craft evening—not proof that one bracelet design is suddenly everyone’s favorite.
You can make yours alone, with a friend or across two short sessions. Pick colors from something you already wear: a cardigan, a favorite print or those shoes you insist are basically a neutral.
What you actually need
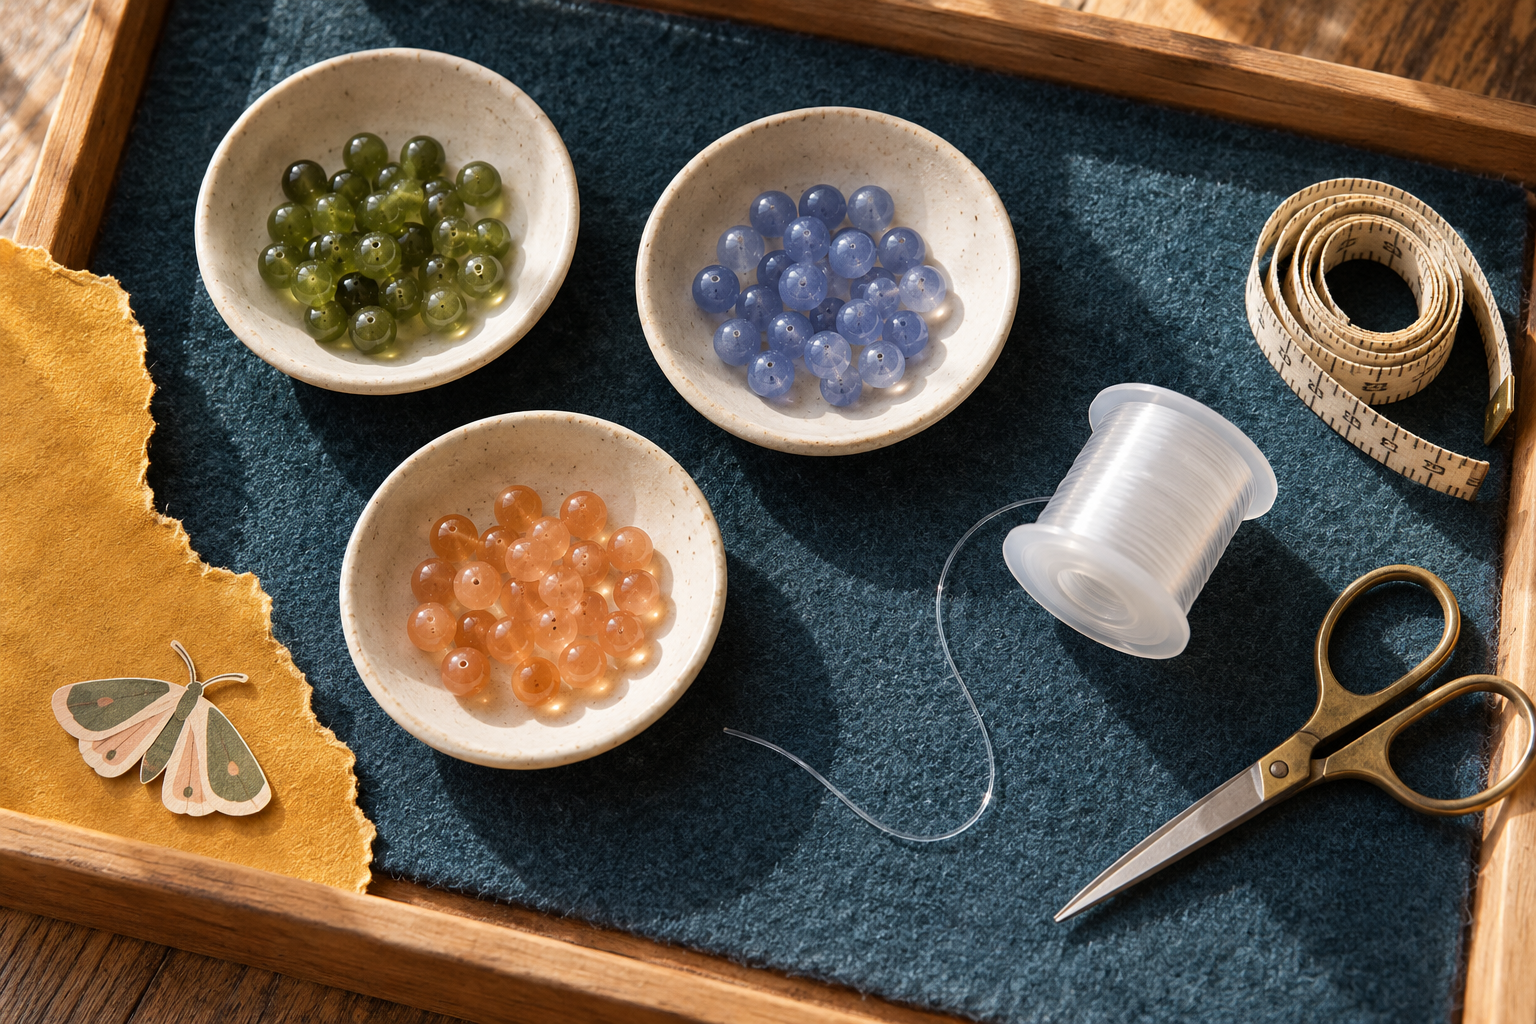
- Smooth round beads: start with roughly 35–45 beads around 6 mm wide, including extras for fitting. This is a shopping allowance, not a required bead count.
- Elastic made for bead jewelry: choose a named product with finishing instructions. For example, 0.8 mm Beadalon Elasticity is an option if your bead holes comfortably accept it. Bead diameter and hole diameter are different measurements.
- A small tray with felt or a folded cloth: it catches beads and makes it easier to put everything away mid-project.
- A cloth measuring tape, scissors and a little masking tape to stop beads sliding off the cord.
- Adhesive only as recommended for your chosen cord: Beadalon recommends G-S Hypo Cement for its Elasticity finishing method. Follow the adhesive label for ventilation and drying; do not assume any household glue is interchangeable.
Try the cord through a few beads before committing to the whole strand. If it catches or needs force, change the bead or cord combination. Set aside beads with chipped holes. For this first project, skip heavy pendants and sharp-edged crystals.
Three color recipes that still feel like you
Garden after rain
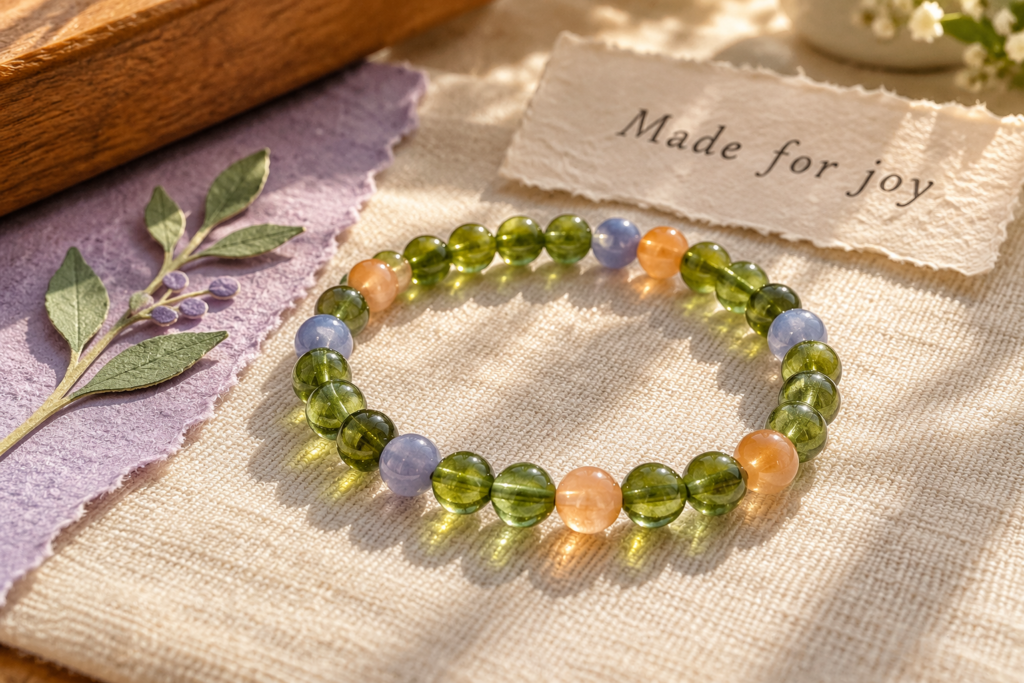
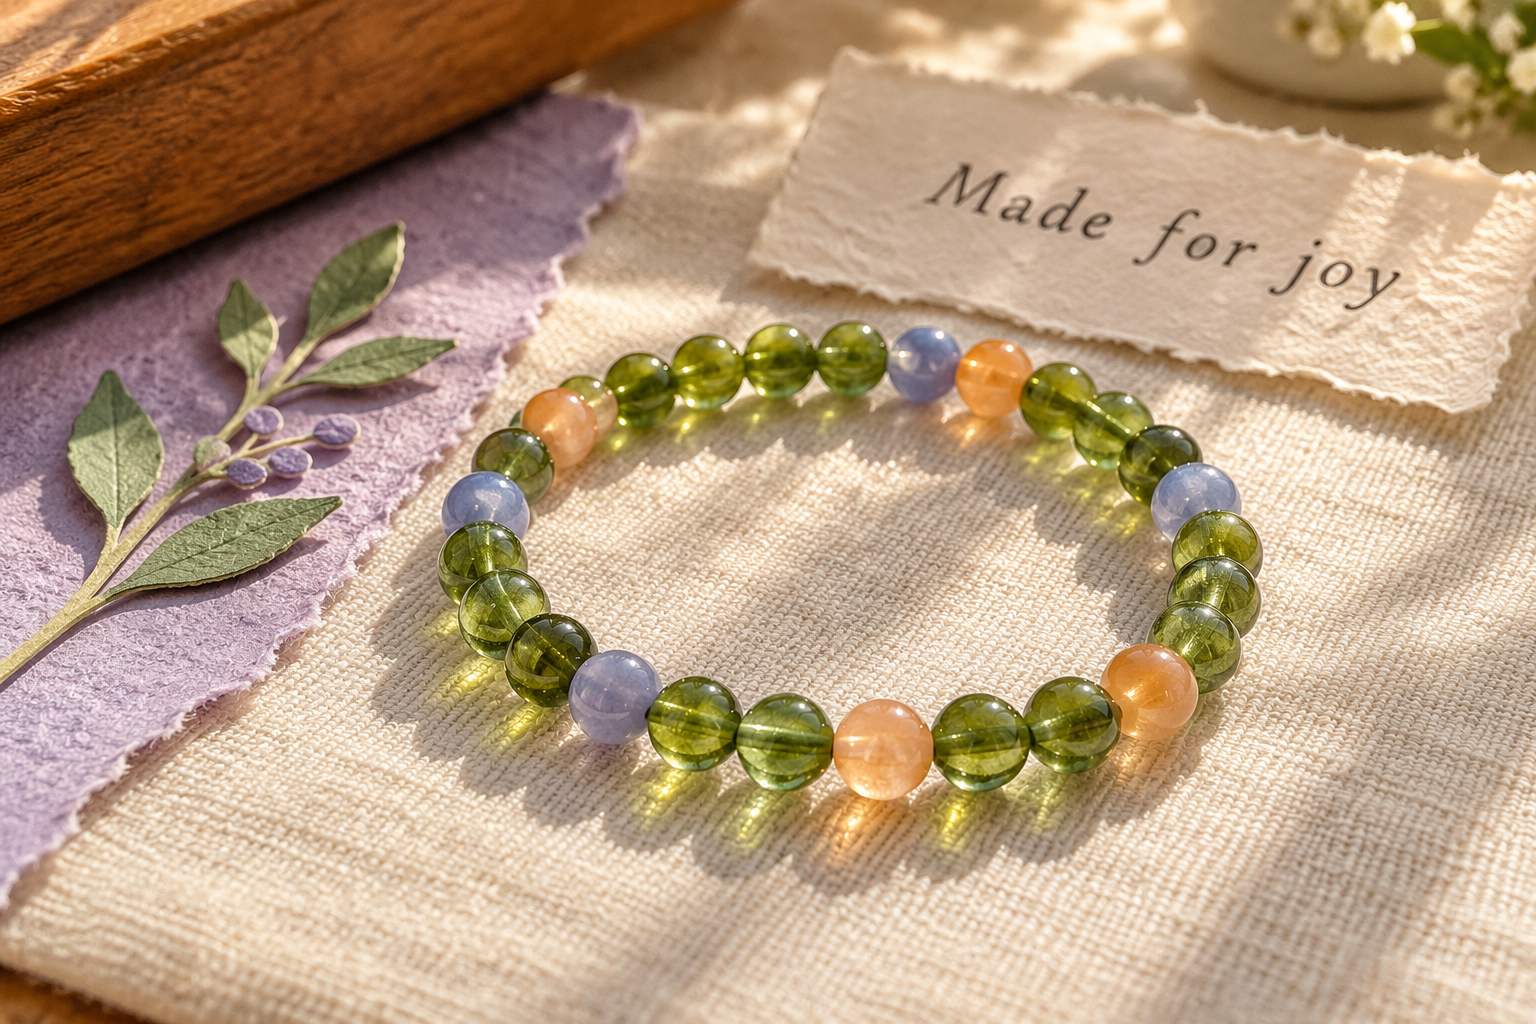
Moss green as the main color, with periwinkle and apricot accents. Let the green do most of the work so the other colors feel intentional.
Bookshop afternoon
Warm brown, creamy ivory and a few amber beads. Try one amber bead between groups of brown, then change the spacing until it pleases you.
Something unexpectedly cheerful
Cobalt blue, pale yellow and clear glass. Keep the beads the same general size so the color contrast gets the attention.
Lay out a short repeat before you string anything. One easy starting pattern is four main-color beads, one accent, four main-color beads, one second accent. Repeat as far as your fit allows. It is fine if the pattern ends with a shorter group beside the knot.
How to make a beaded stretch bracelet
1. Measure the wrist—not a mythical “standard size”
Wrap the measuring tape around the place you want the bracelet to sit. Keep it comfortably against the skin without pulling tight. Write down that measurement.
Use it as your starting point, then test the actual beaded loop. A flat row’s length is not its finished inside circumference: the beads take up space around your wrist. Larger beads generally need more room. That is why a live fit check beats copying someone else’s bead count.
For a gift, ask for a measurement or borrow a bracelet with a fit the recipient likes. Stretch cord is flexible, but it does not make every size fit every person.
2. Prepare the cord and a small practice piece
Read the instructions on your particular spool. Cut enough cord for the bracelet plus generous working tails; Beadalon suggests adding 2–3 inches to the target length. Leave more if short tails are difficult for you to grip. Prepare or gently pre-stretch the cord only as directed by its maker.
Practice the recommended knot with spare cord before the beads go on. This lets you find out whether you can tighten it without your project sliding across the table. Tape one end of your working cord to the tray, leaving a tail free for tying later.
3. String, then check the fit before tying
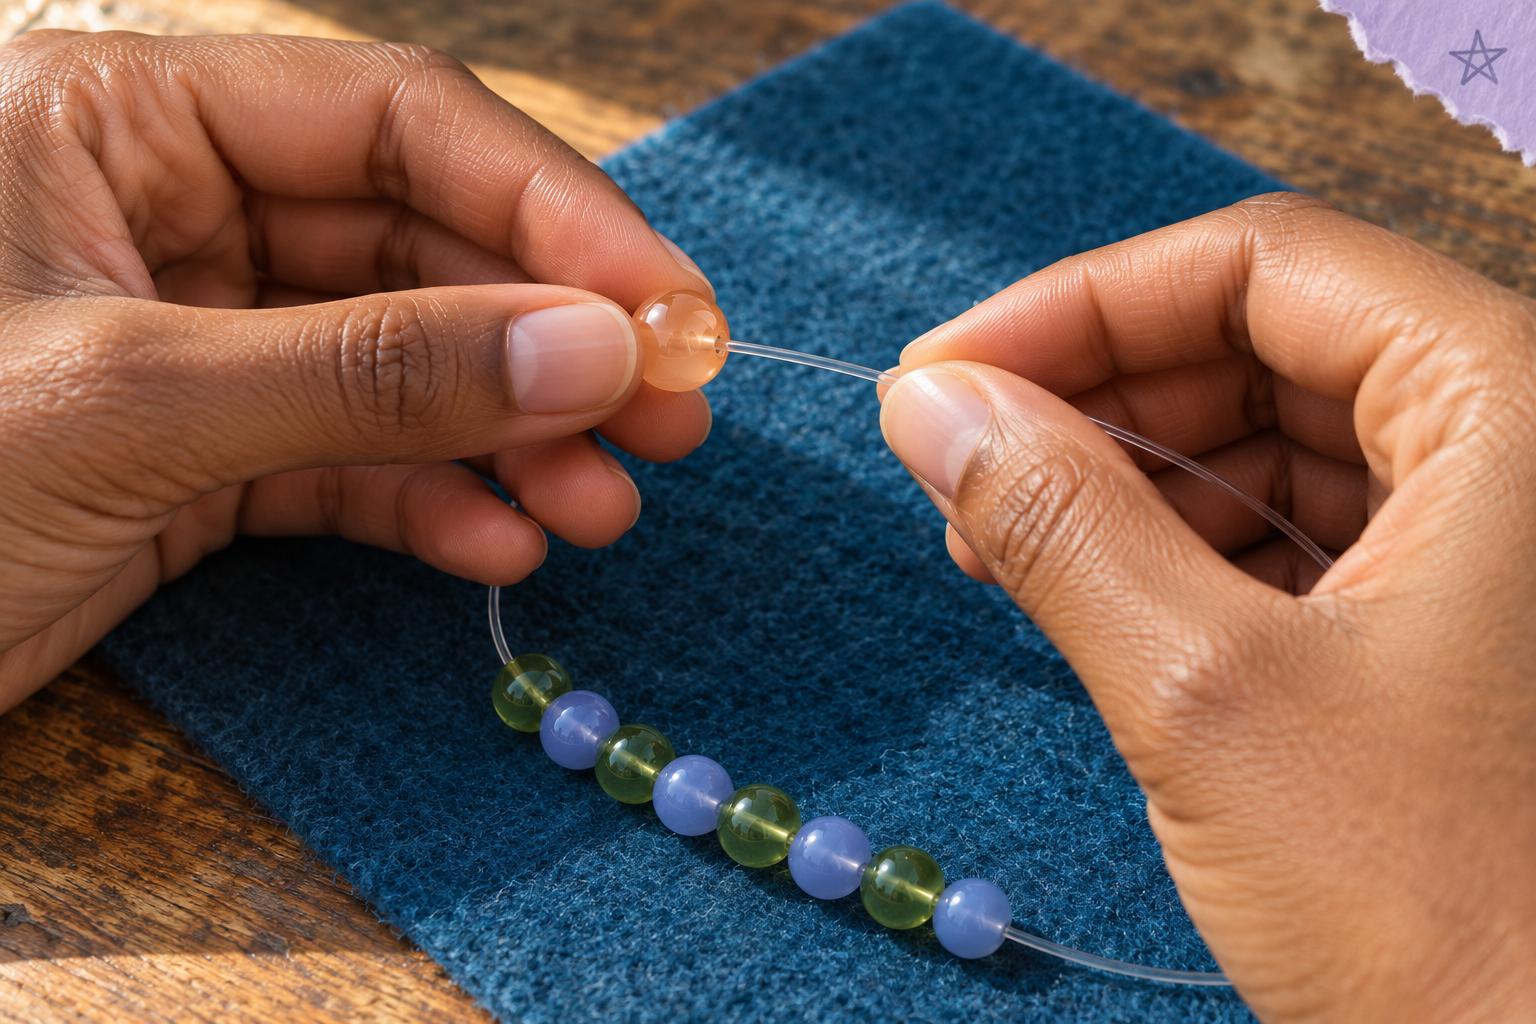
Thread your chosen beads one at a time. Put the strand down occasionally to check the order. If one bead refuses to cooperate, swap it out; forcing the cord through is not a personality test.
Bring the strand around your wrist while holding both ends securely over the tray. The beads should rest comfortably together. Add a bead if the loop presses into your skin; remove one if it hangs farther down your hand than you want. Ask someone to hold the ends if that makes this step easier.
Do not stretch the cord to make an undersized bracelet fit. You want a comfortable resting size, with stretch available to move it over your hand.
4. Slow down for the knot
Use the knot specified for your elastic. Beadalon recommends a surgeon’s knot for Elasticity. A common surgeon’s-knot sequence is:
- Cross the right end over the left and pass it through the loop twice.
- Draw that first part snug while keeping the beads together.
- Reverse the crossing direction—left over right—and pass through once to finish the opposing half-knot.
- Tighten evenly. Keep both tails long until you have checked that the knot holds.
If the crossing directions are hard to picture, use your cord’s printed directions alongside The Bead Shop’s close-up knot demonstration. It demonstrates a Stretch Magic finishing method; follow your own cord maker if the method differs.
5. Finish according to your cord’s instructions
For the Elasticity method, add the recommended small amount of jeweler’s cement to the knot and let it dry before trimming the excess. Keep a little tail rather than cutting into the knot. Hide it in an adjacent bead only if it fits without force. Avoid using metal crimps on elastic.
Wait for the adhesive’s stated drying time before wearing. Then try the bracelet on over your tray and check for a slipping knot, strained elastic or scratchy beads. If anything feels wrong, fix it now; your kitchen floor does not need a bead installation.
When something looks a little off
- The bracelet feels tight.
- Restring with another bead or two and test again. Do not solve the fit by stretching it harder.
- The beads have big gaps at rest.
- Check whether you tied the loop with slack between the beads. Remake the finish with the beads meeting naturally, without squeezing the loop rigid.
- The knot is visible.
- A small visible knot is acceptable. For a future version, choose an end bead with enough room to hide it. You do not need to force a bulky knot into a tiny hole.
- The colors feel too busy.
- Remove one accent color or use fewer accent beads. Changing five beads is easier than deciding the entire hobby is not for you.
Wear it, enjoy it, and keep the project small
Roll the bracelet gently over your hand instead of pulling it into a long oval. Remove it for swimming and keep it out of prolonged direct sun; Beadalon notes that water and sun degrade elastic. Check worn cord before wearing it again.
For a simple gift, fold a paper sleeve and add a note about why you chose the colors. Include the fit and care details. Save a few matching spare beads in a labeled bag so repairs do not become a detective series.
For another small making session, try LIFVYT’s watercolor bookmarks. To give your finished bracelet a home, make a little clay trinket dish.
Sources and helpful demonstrations
- Etsy: Fall and Winter 2026 Trend Report — October 14, 2026; seasonal craft and gift-making context.
- Beadalon: elastic-cord FAQs — product-specific guidance on cord length, bead holes, knots, finishing and care.
- The Bead Shop: knotting Stretch Magic — a close-up demonstration; an older technique reference, not a trend source.
- Kernowcraft: stretchy-bracelet instructions — printable alternative guidance for that cord.
Project note: This is an editorial beginner guide checked against supplier guidance, not a hands-on product test. Images are AI-generated illustrations of the project; use the written directions and your materials’ instructions for technique.
The Sunday Soft Reset
A calmer start to your week.
Get Lifvyt’s weekly collection of gentle wellness reads, nervous-system resets and practical tools — plus the free 5-Minute Nervous System Reset Guide.
By signing up, you’ll receive the free guide and one gentle Lifvyt email each week. Unsubscribe anytime.