
Soft Spaces · Make a little room for handmade
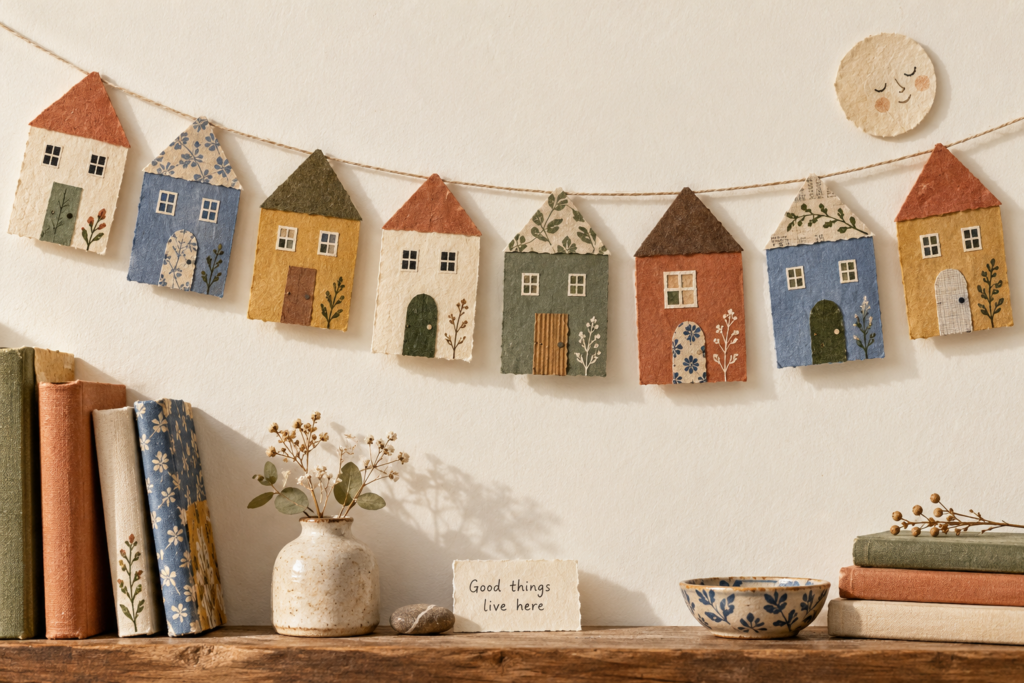
That pretty paper bag you have been saving can finally stop auditioning for a purpose. Turn it into a tiny neighborhood for a shelf or a quiet patch of wall.
A paper house garland is a row of flat, decorated house shapes attached to string. This version uses scissors, card and tape: no cutting machine, sewing machine or miniature architecture degree required.
You will make eight houses from one reusable template, then add doors, windows and a few scraps you love. Keep the details simple enough to finish, or spread the project across a couple of evenings.
What you need—and what you can skip
- House bases: two A4 or US-letter sheets of medium-weight card, roughly 160–220 gsm, or equivalent clean, thin packaging card. Choose something you can cut comfortably.
- Decorative scraps: wrapping paper, a paper shopping bag, envelope interiors or leftover colored paper. Remove any names or addresses before using envelopes.
- 120 cm (about 47 inches) of thin cotton string: smooth cord is easier to tape down than thick, fuzzy twine.
- Pencil, ruler and scissors: ordinary scissors are enough; draw the windows instead of cutting tiny openings.
- Glue stick and paper-friendly tape: glue is for the decorative layers; tape holds the string to the back. Test both on a spare piece of your card.
- One dark pen or colored pencil: for doors, window frames and the occasional ambitious houseplant.
Thin gift wrap makes a good surface layer but a floppy house base. Glue it lightly to card first. Avoid greasy food packaging, glitter that sheds everywhere and thick corrugated board for this first attempt.
Pick three main colors and one neutral before cutting. For example: cornflower blue, terracotta, moss green and cream. A limited palette lets mismatched scraps feel like neighbors rather than attendees at four separate parties.
1. Make one template you can trace eight times
Use the back of a spare card or clean packaging panel. These measurements make a house 6 cm wide and 10.5 cm tall—about 2⅜ by 4⅛ inches. Use the metric measurements for the drawing so the rounded inch conversions do not accumulate.
- Draw a rectangle 6 cm wide by 10.5 cm tall.
- On each long side, make a mark 7 cm up from the bottom. These marks are where the roof begins.
- Mark the center of the top edge, 3 cm from either side.
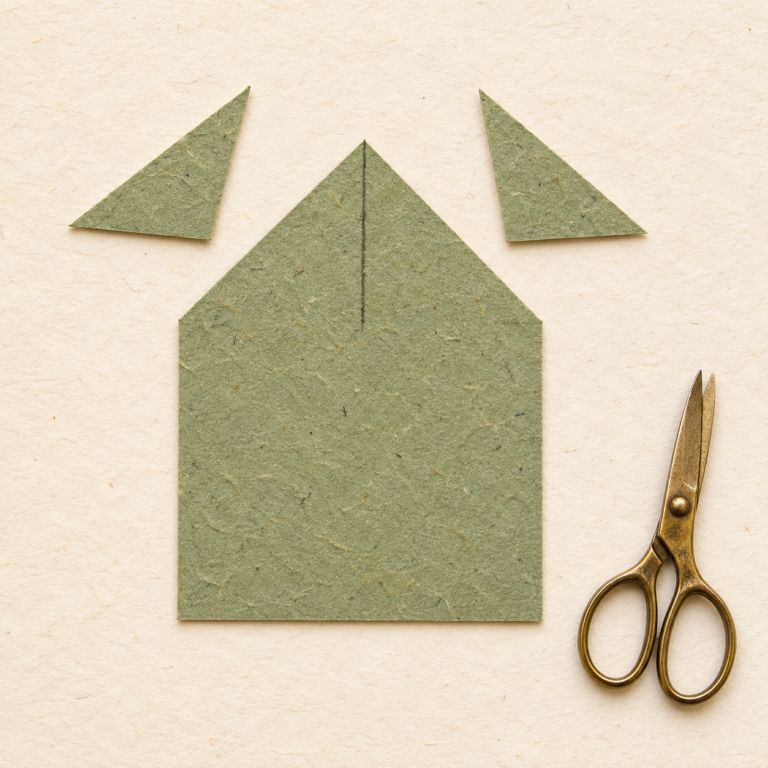
- Draw a diagonal line from each side mark to that top-center point. Cut away the two outer top corners, leaving a rectangle topped by a triangle.
- Trace the finished outline eight times onto your base card and cut out the houses.
Four of these outlines fit on one A4 or US-letter sheet in a two-by-two arrangement. Leave a little space between them so the cutting stays comfortable. Keep the template for another day.
If measuring is not your favorite part, use a small rectangle of scrap card as the body and draw a roof above it. Keep all your houses about the same size; the project does not depend on exact geometry.
2. Give each house just enough personality
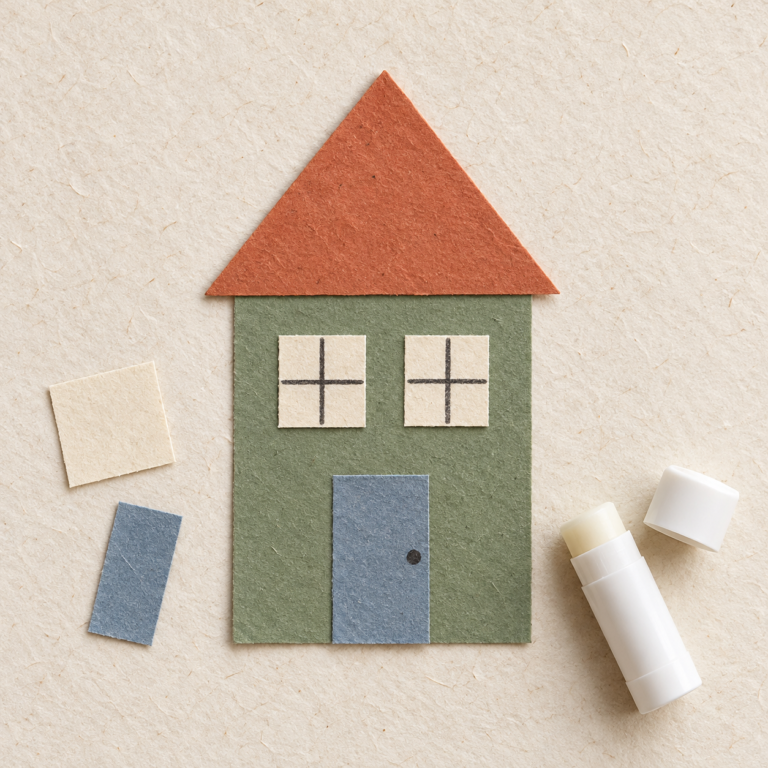
Start with one door and two windows. A door around 1.5 by 3 cm and windows around 1 cm square suit this template. Draw them first, or cut contrasting scraps and glue them down.
For a paper roof, trace only the triangular top of your template onto a different scrap, cut it out and glue it over the base. This adds color without requiring a second structural piece.
Use a thin, even coat of glue stick on the reverse of each scrap. Press it onto the house on a protected flat surface. Let glued layers dry before attaching the string; check the adhesive instructions rather than assuming every glue dries at the same speed.
Then choose one extra detail: a drawn vine, a round attic window or a crooked chimney made from a small card rectangle glued behind the roof. Stop there if you like it. The village does not need a planning committee.
3. Lay out the whole row before attaching anything
Place the decorated houses face up on a table. Alternate light and dark pieces so one end does not feel much heavier than the other. Try cream, blue, terracotta, green, then repeat.
Leave about 4 cm between neighboring houses. Eight 6 cm houses plus seven 4 cm gaps make a 76 cm decorated run. On a 120 cm cord, that leaves approximately 22 cm free at each end for tying and adjustment.
Those numbers describe the straight layout. Once the cord hangs in a curve, the horizontal span will be shorter. Choose a wall area roughly 80–90 cm wide and adjust the free ends and curve to suit; dry-fit before installing new hooks.
4. Attach the houses with two tape strips each
Turn the houses face down, keeping their order. Lay the cord across each back, just below where the triangular roof meets the rectangular body. This high attachment point helps the house hang below the cord.
Use two short pieces of tape per house, spaced apart across its width. Each strip should run vertically over the horizontal cord, with enough tape above and below it to grip the card. Press the tape firmly onto the card on both sides of the string.
Lift the first attached house gently before doing the rest. If the tape peels, the cord slides or the roof tips forward, fix that one test piece first. Tape performance varies with the paper surface, cord thickness and adhesive.
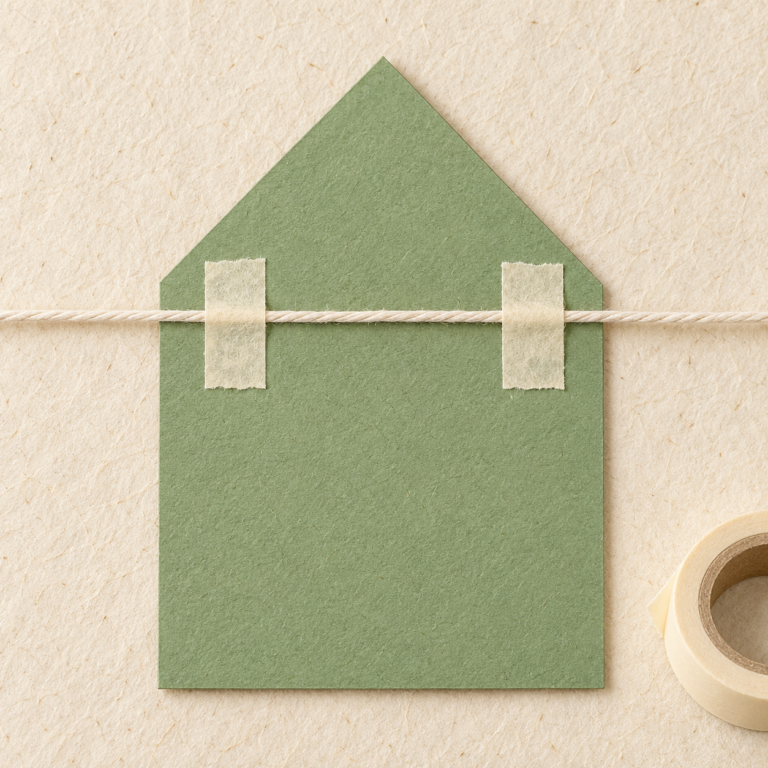
After attaching all eight, lift the cord by both ends over the table and inspect the row. Keep the drape gentle; pulling the string tightly is unnecessary. Reposition a loose house now, while you can still reach both sides easily.
5. Put it somewhere it can look lovely and stay out of the way
A dry wall above a bookshelf or a craft corner works well. Keep the paper and cord away from flames, heaters, hot lamps, water and cooking splashes. Choose a spot out of reach of young children and pets, with no dangling loops near beds or cribs.
Use suitable existing hooks, or select removable hooks rated for your wall surface and the finished decoration. Follow that exact product’s preparation, weight, waiting and removal instructions. Ordinary craft tape used on the houses is not a wall-hanging system.
For example, Command’s general hook instructions specify a one-hour wait before loading and say not to use the products on wallpaper. Check the pack for your particular hook and surface; “removable” does not mean every finish is compatible.
If you cannot attach anything to the wall, leave the houses unstrung and arrange them inside an existing frame, using a suitable backing. You still made something worth keeping.
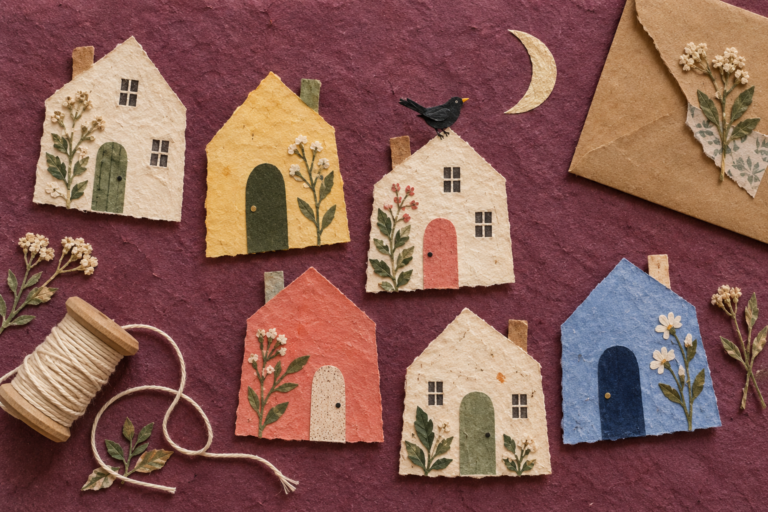
Choose a look that feels like your home
Quiet cottage
Use cream and kraft bases with moss-green doors. Draw fine window frames and one little sprig per house. Let the paper texture do most of the decorating.
Cheerful little street
Pair blue, coral and warm yellow with contrasting doors. Keep the windows the same dark color across all eight houses so the varied colors still feel connected.
A slightly odd storybook village
Add one tiny paper bird, an oversized moon nearby or a house with a wildly tall door. One unexpected detail makes a stronger impression than decorating every roof with everything in the scrap drawer.
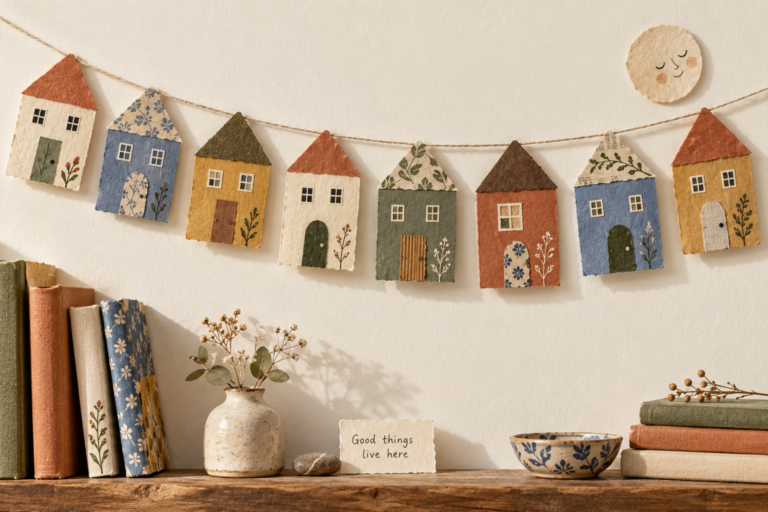
The artwork shows optional layered botanical details. For an easier, flatter version, draw the plants or use paper cutouts. You can also set a small note nearby saying “Good things live here”—a nice message for a home currently hosting a laundry pile.
Small fixes that save the whole project
The houses curl
Use a sturdier base and less wet adhesive on the next piece. Let the current houses dry completely, then place them between clean sheets of paper under a book. Skip pressing over raised decorations.
The cord slips under the tape
Try thinner, smoother cord and fresh tape with more contact on the card. Test again before hanging. For glossy packaging, make the back from matte card instead.
One house keeps tilting
Check whether the cord is attached too low or at an angle. Move it near the top of the rectangular body, use two spaced tape strips and remove any heavy decoration pulling one side down.
It looks busy from across the room
Replace a couple of heavily patterned houses with plain ones. Repeat one door color and remove an extra embellishment. Step back before adding anything else.
Cutting tiny pieces is frustrating
Draw the details. If you prefer larger shapes, increase the template to 9 cm wide and 15.75 cm tall, make fewer houses and measure the cord again. Comfortable cutting matters more than miniature windows.
Store your little neighborhood without the spaghetti situation
Take the garland down by releasing its ends, not by pulling on a house. Lay it flat, then loosely stack the houses with their cord sections folded between them. Keep sharp bends out of the decorated fronts.
Place the stack in a shallow box or roomy envelope with a scrap-card backing. Do not wind it tightly around a spool. Label the packet with the number of houses so you know whether one is still enjoying life behind the sofa.
If you enjoyed arranging the colors, try paper weaving for a small framed piece. To give your garland a home, our cozy reading nook ideas offer several styles you can adapt to your own corner.
Sources and useful references
This is an original beginner project with suggested dimensions. The collage images are illustrative styling ideas; materials and working time will vary.
- Pinterest: 2026 Hobbies Trend Report (August 25, 2026). Context for interest in tactile, personal crafts; it does not measure demand for this specific garland.
- Michaels: 2026 Creativity Trend Report announcement (March 10, 2026). Retailer research on handmade home decor and everyday creative projects.
- Command: applying and removing hooks. Manufacturer guidance; use the instructions for your specific product.
Project note: This is an original, illustrative craft guide. Follow your adhesive and hanging-hardware instructions, and keep the finished paper-and-cord decoration away from heat and young children.
The Sunday Soft Reset
A calmer start to your week.
Get Lifvyt’s weekly collection of gentle wellness reads, nervous-system resets and practical tools — plus the free 5-Minute Nervous System Reset Guide.
By signing up, you’ll receive the free guide and one gentle Lifvyt email each week. Unsubscribe anytime.