
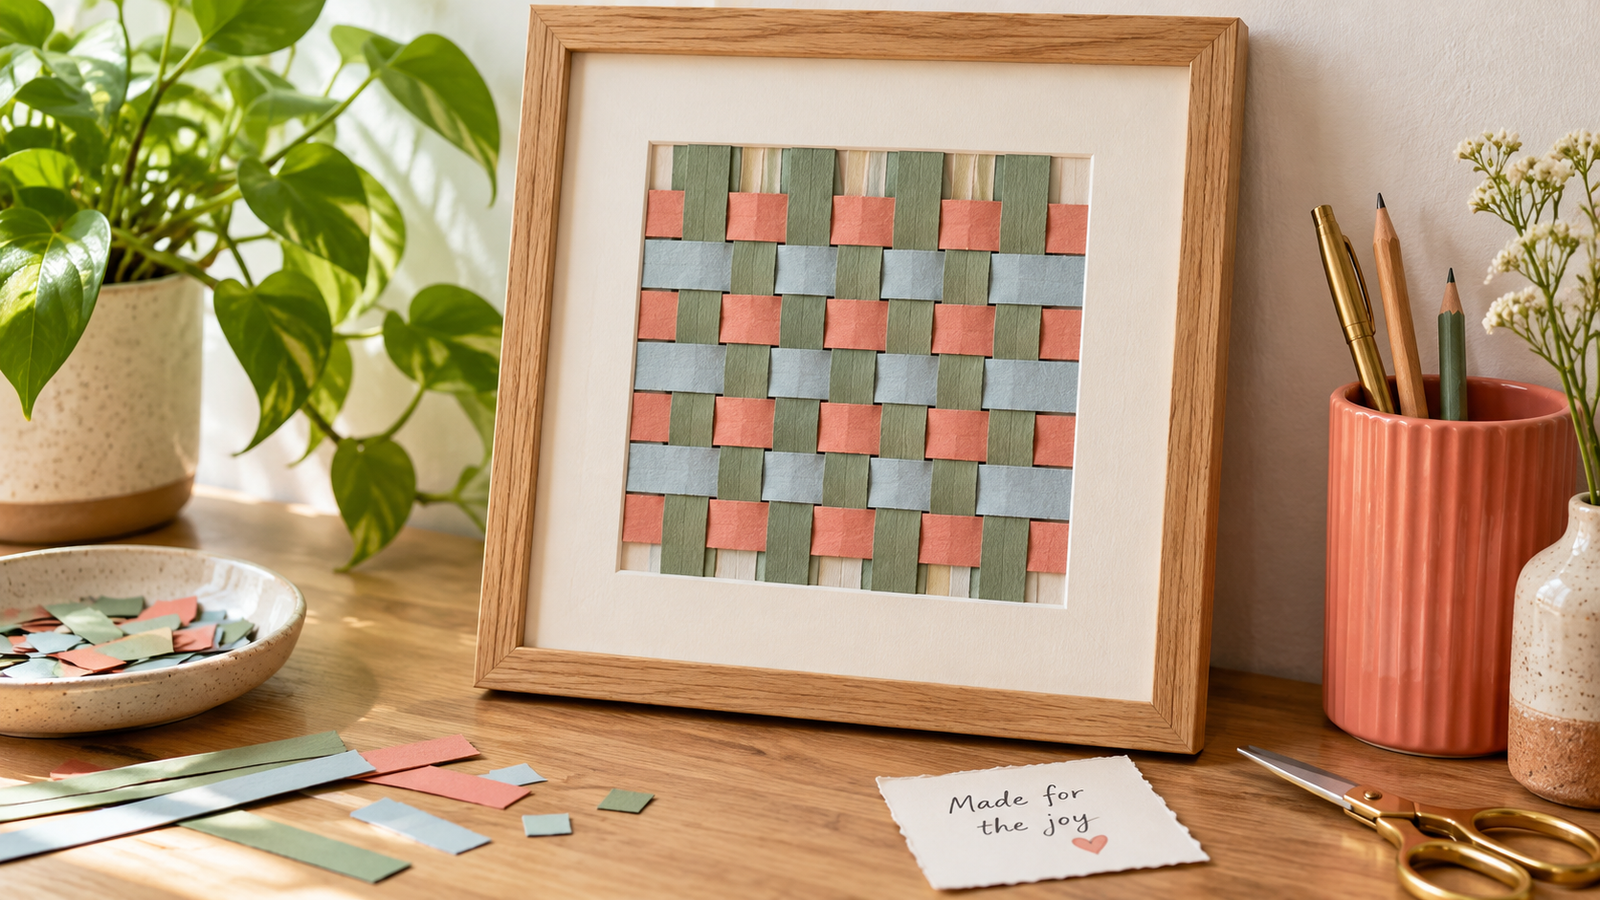
You can make a little piece of wall art without a loom, a power tool or suddenly becoming a person with a craft room.
Paper weaving for beginners starts with one simple movement: over, under, repeat. A few colors and a generous border turn that familiar technique into something that belongs beside your books—not just on a classroom bulletin board.
Choose paper that bends without giving up
Gather colored paper in two or three shades, scissors, a ruler, pencil, low-tack tape, a glue stick and a thicker backing sheet. Ordinary colored paper or light craft paper is easier to thread than very stiff cardstock. Tissue paper tears easily, so save it for another project.
Try sage with coral and blue, plum with pale pink, or navy with warm cream. Choose one light shade and one darker shade so you can see the pattern. If every strip has a busy print, your eye has nowhere to rest.
Wrapping-paper offcuts also work if they are sturdy enough. Test a strip before cutting up a whole sheet. Keep anything with private information out of a piece you might display or give away.
Two words that make the instructions easier
Warp means the strips held in one direction. Weft means the strips you pass across them. In this project, the warp runs top to bottom and the weft runs side to side.
We are using separate strips held temporarily with tape. Museums also teach a version that uses slits cut into a folded sheet; both demonstrate the same over-under structure. Pick one setup for your first piece rather than mixing them halfway through.
Make your first woven square
1. Cut the strips
Cut eight vertical strips about ½ inch wide and 7 inches long. Cut eight horizontal strips the same size in another color, or alternate two colors. Aim for similar widths; exact perfection is optional, but wildly different widths make a tidy grid harder.
Eight half-inch strips make a woven area about four inches across when snug. The extra length gives you ends to handle and trim later. Work on scrap paper or a protective mat.
2. Anchor one end
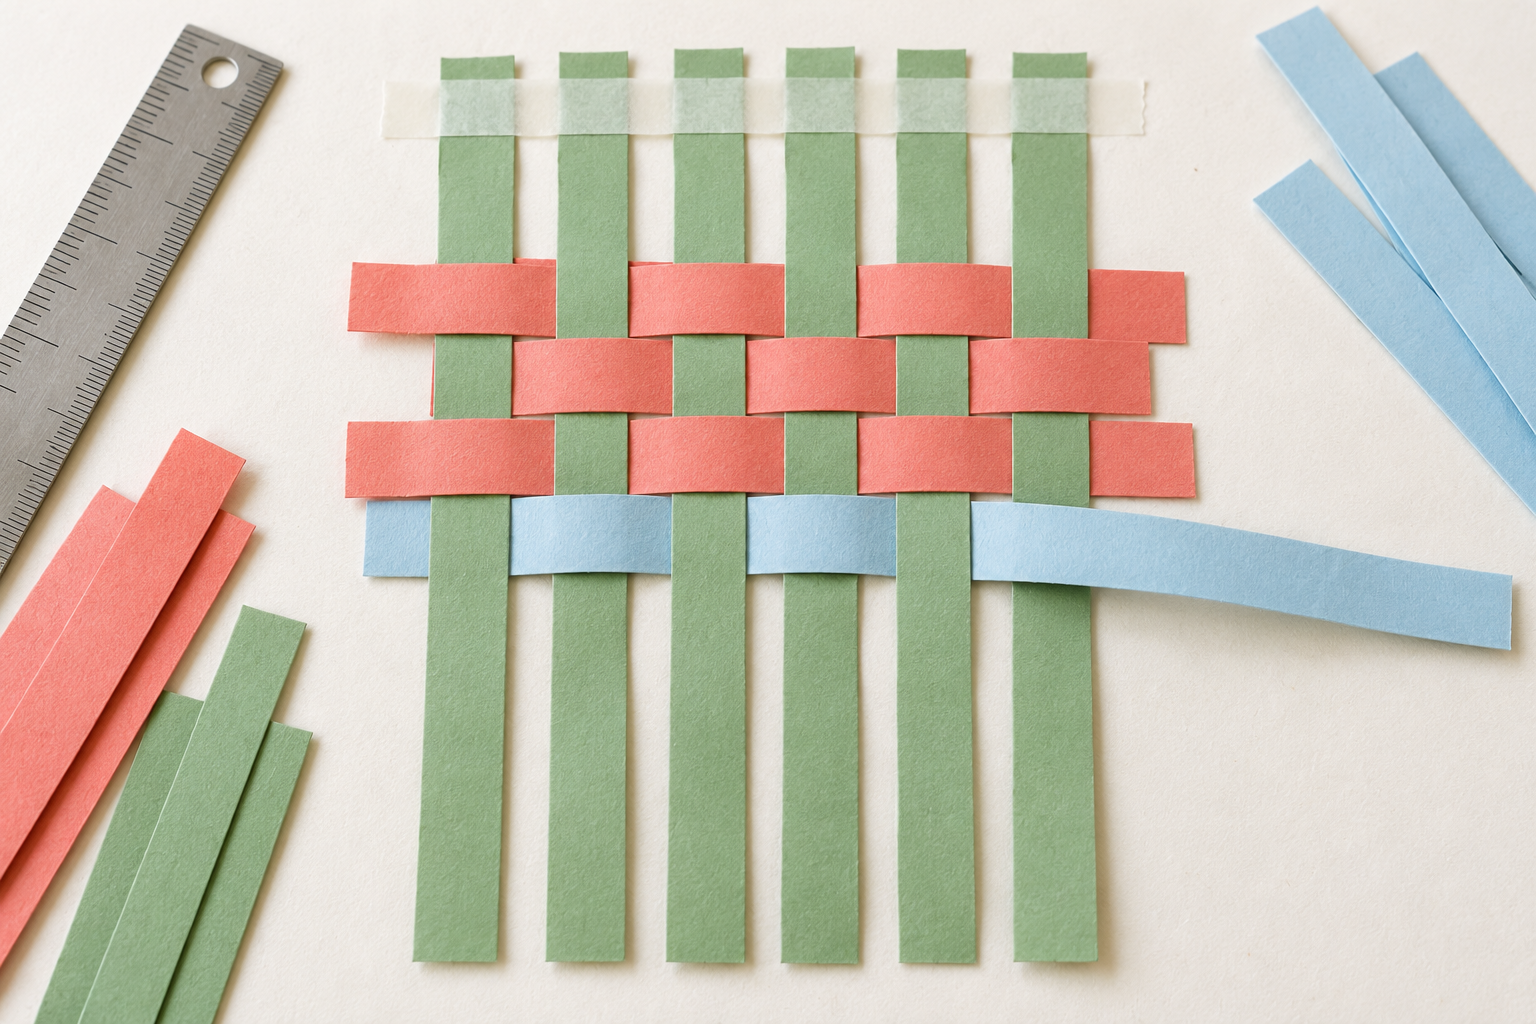
Lay the eight vertical strips parallel, side by side with very small gaps. Place a strip of low-tack tape across their top ends to hold them to your work surface. Test the tape on a spare strip first so it does not tear the paper when lifted.
3. Weave the first row
Take a horizontal strip across the vertical set: over the first, under the second, over the third, under the fourth, continuing across all eight. Lift the vertical strips gently instead of forcing the horizontal strip through.
Slide the row up near the anchored ends, leaving a little working space below the tape. Keep a loose grip; paper does not improve under interrogation.
4. Reverse the next row
Start the second horizontal strip under the first vertical strip, then over the second. Continue the opposite pattern across. Slide it gently toward the first row. The exposed squares should alternate like a checkerboard.
Continue this first-row/second-row sequence until all eight rows are in. After every two rows, straighten the edges. Small adjustments now are easier than pulling the whole piece apart later.
5. Secure before you lift
Check the pattern, then use tiny dabs of glue under the loose outer ends where they meet another strip. Leave the center unglued so the paper keeps its woven texture. Let the glue set according to its label before peeling away the tape slowly.
If the tape grips too strongly, trim off the taped tips beyond the woven area instead. Trim the other long ends evenly, keeping the outer intersections intact.
6. Give it room on the backing
Center the square on your backing sheet. Use a small amount of glue at the back edges to hold it; avoid soaking the whole weave with liquid glue. Leave a wide, even border. That empty space is doing useful design work.
Set it flat while the adhesive dries. If you frame it, check the actual frame opening before mounting, since a mat may cover more than you expect. For long-term keeping, choose acid-free paper and suitable mounting materials; ordinary craft paper can fade. Display away from direct sun.
What if it looks wonky?
- Two rows look the same: undo the newest row and begin with the opposite over-under sequence.
- The square narrows: loosen the horizontal strips. You may be pulling them too tight.
- A strip bends or creases: remove that strip and replace it; do not keep forcing it through.
- The gaps are uneven: nudge rows with your fingertips before gluing. Leave deliberate gaps if you prefer an open look.
Three ways to make it feel like your home
Quiet and modern: use two colors and equal-width strips, with a wide ivory border.
Bright and playful: keep the vertical strips one color and alternate two horizontal colors. The rhythm is lively without needing twenty different papers.
A keepsake: use strips from a spare copy of a drawing or a piece of saved gift wrap. Keep irreplaceable originals intact; a photograph or photocopy lets you experiment.
Turn it into a low-pressure afternoon with a friend
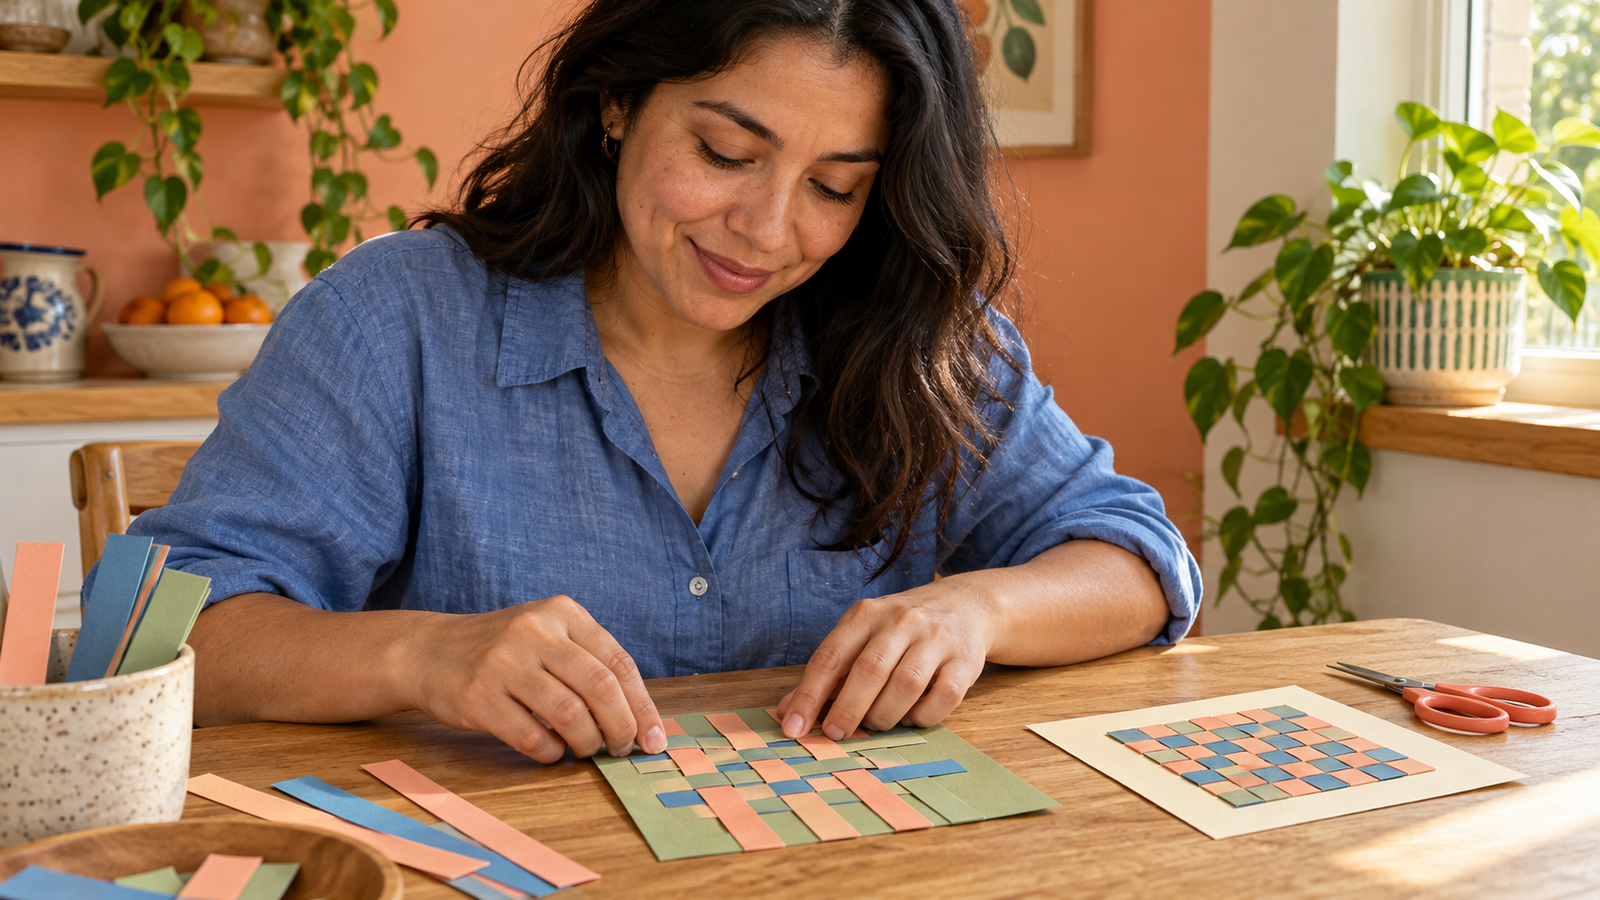
Each person can bring two sheets of paper to swap. Cut strips before sitting down together if you would rather talk than measure. Start with the same small pattern, then let everyone choose their own colors. Matching results are not the assignment.
Ask your local library or community arts center whether it hosts open craft tables or adult making sessions. Availability varies, but searching the events calendar for “paper craft,” “weaving” or “open studio” is a practical first step.
If you like the repetitive movement, our slow stitching guide offers another gentle place to begin. If you like playing with scraps, try junk journaling. And if your hobby starts demanding a business plan, revisit keeping hobbies low-pressure.
Learn more
- MassArt Art Museum: Weaving With Paper—an illustrated introduction to warp, weft and pattern changes.
- Georgia Museum of Art: Paper Weaving—the folded-sheet alternative, plus context about basket weaving in its collection.
This is LIFVYT’s small separate-strip project, not a reproduction of a culturally specific basket design. Images are AI-generated editorial illustrations; follow the written over-under sequence when making your own.
The Sunday Soft Reset
A calmer start to your week.
Get Lifvyt’s weekly collection of gentle wellness reads, nervous-system resets and practical tools — plus the free 5-Minute Nervous System Reset Guide.
By signing up, you’ll receive the free guide and one gentle Lifvyt email each week. Unsubscribe anytime.