

Offline Hobbies & Everyday Creativity
Little Scraps.
Ordinary Days.
Something Worth Keeping.
Turn receipts, paper offcuts, and the photo you finally printed into a page that feels like your life. Start with a notebook and a glue stick. Let the rest be a little imperfect.
That café receipt at the bottom of your bag? It might have one more job before retirement.
Junk journaling turns ordinary paper scraps into little records of your life. A coffee outing, a lovely color on a shopping bag, a photo you finally printed: they can all become part of a page. You do not need to draw well, buy a matching stationery collection, or develop an interesting new personality first.
This beginner guide walks you through one small page using things you may already have. Start there. The impressive craft cupboard can wait.
You can keep a little piece of your day without making your whole life look scrapbook-worthy.
What Is Junk Journaling, Exactly?
Junk journaling is a flexible paper craft that combines collected or reused materials with pictures, writing, and collage. Some people make books from envelopes and folded paper. Others use an ordinary notebook and add scraps to its pages. Both approaches count.
The “junk” might be a ticket, wrapping paper, a paper bag, a magazine clipping, or an envelope with a lovely pattern inside. You arrange pieces, attach them, and add whatever words you want. A date and one sentence are enough.
It overlaps with scrapbooking, but you do not have to document a milestone or work in chronological order. A page about a good sandwich has every right to exist beside a page about a holiday.
You may see makers use the word ephemera. It means paper items originally intended for brief use, such as tickets, leaflets, and menus. You can call them scraps. Knowing the vocabulary is optional; enjoying the paper is the point.
| Activity | A common focus | An easy first try |
|---|---|---|
| Junk journaling | Collected papers, textures, everyday memories, and playful combinations. | A receipt, a photo copy, and a sentence. |
| Scrapbooking | Recording photos and stories, often around an event or theme. | A page about a birthday or a trip. |
| Art journaling | Exploring ideas through drawing, paint, collage, and other materials. | A color study with a short written reflection. |
| Written journaling | Putting thoughts and experiences into words. | A paragraph about today. |
These are overlapping practices, not strict categories. Your notebook can contain all four.
What You Need—and What Can Wait
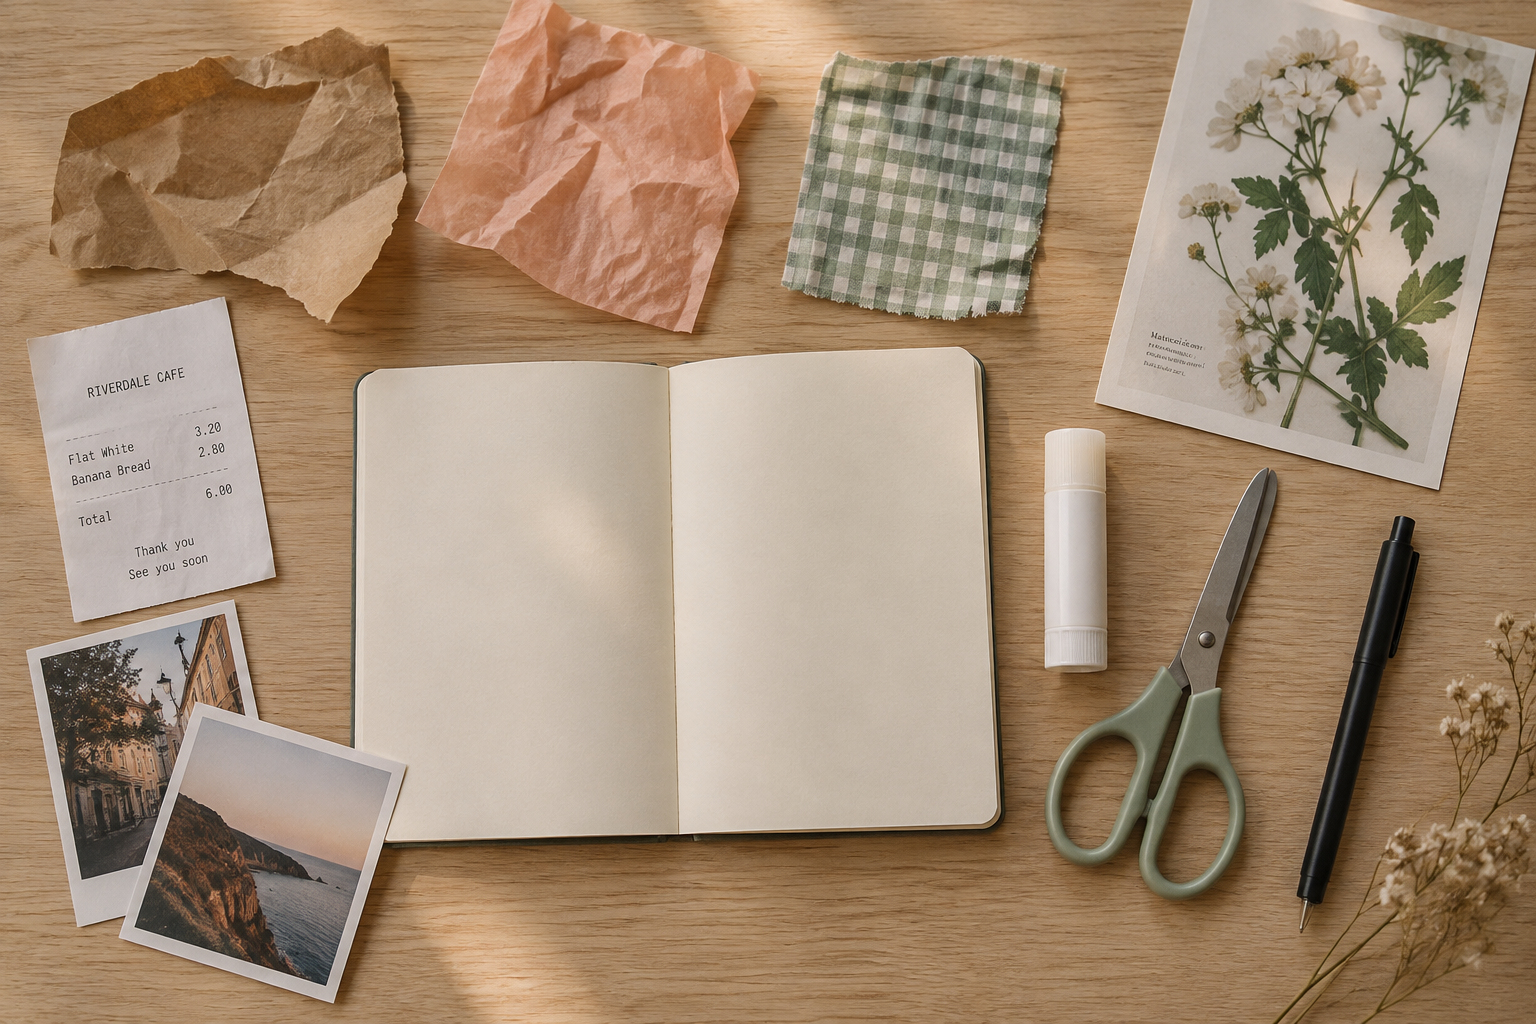
Before shopping, look in one drawer and your recycling pile. Choose clean, dry paper. Skip anything greasy, damp, moldy, sharp, or still carrying food residue.
Your notebook
A partially used notebook or sketchbook is fine. Pick a size that opens comfortably on your table. For a first page, lightweight scraps are easier than bulky fabric or cardboard. A ring binder gives you room to rearrange pages later.
The paper
Choose one main piece, one background scrap, and one or two smaller accents. A photo copy, clean paper bag, receipt, and patterned envelope are enough. Begin with thin, flat materials so the book still closes.
Glue and a pen
Use a paper-craft glue stick for replaceable scraps and a pen that does not smear on your chosen paper. Put scrap paper under the piece while gluing. Test ink on an offcut before writing over a glossy surface.
Scissors and storage
Tear edges by hand or use ordinary scissors. Keep supplies in a pouch and spare paper in one envelope. You do not need cutting machines, specialty punches, or a printer to complete this guide.
Stickers, stamps, special tapes, and printed kits can be enjoyable later. None of them is an entry requirement.
Protect the irreplaceable things: Use copies of treasured photographs, original letters, and important documents. Ordinary papers and adhesives are not a long-term preservation system. Keep the originals separately; the Library of Congress preservation guides are a useful starting point for looking after meaningful keepsakes.

Your First Page: “A Good Little Afternoon”
Choose one ordinary moment: a walk, coffee with someone, a library visit, or a quiet lunch. If nothing comes to mind, use today’s colors and call the page “Tuesday.”
Pick one main piece.
Choose a small photograph, a receipt, or a picture you like. This is the item you want to notice first. You can use a drawing or a handwritten note if you have no printed photos.
Add a background scrap.
Tear a rectangle from wrapping paper or a paper bag. Keep it smaller than the notebook page so some blank paper remains around it.
Arrange everything without glue.
Put the background down first, then overlap your main piece slightly. Add one small strip of patterned paper. Keep important writing or parts of the photograph uncovered.
Check that the book can close.
Keep the center fold clear and avoid a thick stack of materials. Turn the page once before attaching anything.
Glue from the bottom layer upward.
Lift the top pieces away, apply a thin, even coat to the back of the background scrap, and press it down. Repeat with each piece. Smooth gently from the center toward the edges.
Add the date and one real detail.
Try “We took the long way home” or “The coffee went cold because we kept talking.” A specific detail often tells you more than a page full of decorative words.
Let it dry before closing.
Follow your adhesive’s instructions. Put unused pieces in the envelope, cap the glue, and call the page finished.
The stopping rule: One main piece, two supporting scraps, one sentence. You can always add another page tomorrow.
A layout you can remember
One main piece, two supporting scraps, and one sentence. Put the main piece slightly off-center, tuck one scrap behind it, and let the second overlap a corner.
Keep faces, important details, and the center fold clear. The blank space belongs there.
How to Make a Page Feel Put Together
You do not need a design course. A few small decisions make arranging things easier:
- Repeat one color. If your photograph contains green, add a green scrap elsewhere. That simple repetition can connect the pieces.
- Mix sizes. One larger piece and two smaller ones are easier to arrange than six equally important rectangles.
- Leave breathing room. Blank paper is part of the page. You do not have to cover every corner.
- Try one gentle overlap. Tucking a receipt partly underneath a photograph can make the layout feel connected. Check that the detail you want to remember stays visible.
If you keep rearranging the same pieces, remove one. Then choose a layout and glue it down. This is a hobby, not a committee meeting.
A Second Project: The Little Keepsake Pocket
A pocket gives loose notes somewhere to live without covering them in glue. Use an ordinary notebook page and a lightweight paper rectangle about 3 by 4 inches. Adjust the size so it fits inside your page margins.
Fold three small tabs
Place the rectangle with its patterned side facing down. Fold the left, right, and bottom edges inward by about a quarter inch. Leave the top edge unfolded: that is the opening.
Test the pocket before attaching it
Turn it over and place it on the notebook page. Slide a small note behind the front panel to check that it fits between the folded sides. Make the note smaller if it catches.
Glue only the tabs
Apply glue to the exposed back surfaces of the three folded tabs, then press those tabs against the notebook page. Keep adhesive away from the center and top opening. Let it dry before inserting anything.
Add one small thing
Slip in a folded memory note, a copied ticket, or a paper tag. Write a short label outside, such as “Keep this bit.” Check that the notebook closes easily; an overfilled pocket pulls on the page.
For an even simpler version, glue the back of a small clean envelope into the notebook with its opening accessible. Use copies for precious keepsakes; a handmade pocket is not archival storage.
When Something Goes Wrong, Try This
| What you notice | What to try |
|---|---|
| The page wrinkles | Let it dry fully. Next time, use thinner layers and less adhesive. Test on a spare page before covering a large area. |
| An edge lifts | Add a little glue under that edge with a scrap of paper, then press gently. Avoid soaking the page. |
| The ink smears | Give it more drying time. Write on a plain paper label and attach the label instead of writing directly on glossy packaging. |
| The notebook bulges | Reduce the layers and vary where you place them. Avoid forcing the cover shut; try a ring binder for thicker work. |
| The receipt fades | Save a copy of details that matter and write the date and memory separately. Do not rely on the original receipt as your only record. |
| The page feels crowded | Before gluing, remove one item and leave more blank space. Once glued, try adding a plain label to give the eye a resting place. |
| You cannot choose a layout | Limit yourself to three pieces and two possible arrangements. Choose one and make a practice page. |
A hobby can collect your memories without collecting every scrap of paper in your house.
Make It Social: A Scrap-and-Chat Afternoon
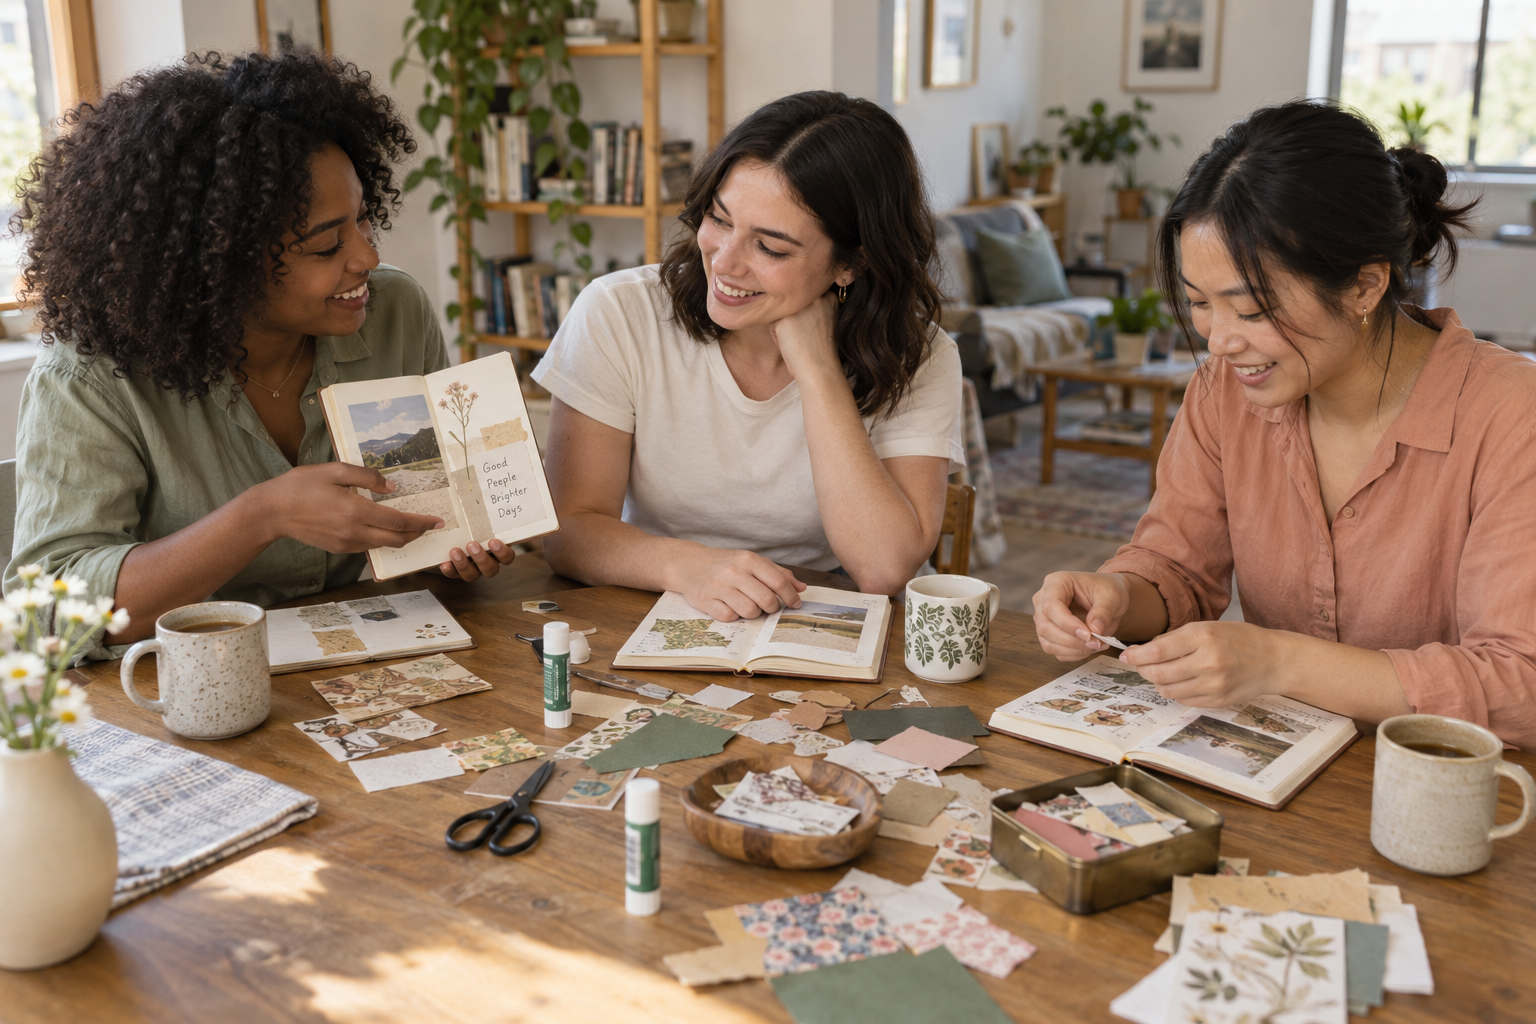
Invite two or three people and ask everyone to bring a notebook, a pen, and a handful of paper scraps they are happy to share. Make it clear that no one needs to buy a kit.
For a simple one-hour gathering, spend the first ten minutes looking through materials, about thirty-five minutes making pages, and the last fifteen minutes sharing and tidying. Sharing is optional; personal pages can stay personal.
- Offer one loose theme: “Small things that made this week better,” “Places we went,” or “A color we keep noticing.”
- Put communal scraps in a shallow tray: People can browse without mixing up their own keepsakes.
- Keep drinks off the working area: A side table saves paper from the inevitable elbow.
- Ask before photographing anyone’s page: Receipts, tickets, addresses, and written memories may reveal more than expected.
There is no need for matching projects or a big reveal. Sitting together while everyone makes something different is plenty.
Make it easy to say yes
“Want to come over for an hour of junk journaling? Bring any notebook and a few paper scraps. I have glue. No experience or shopping required—mostly an excuse to sit together and make something.”
Try a scrap swap: each person contributes three pieces they are happy to give away. Keep personal letters and identifiable receipts out of the shared pile. Everyone chooses one unfamiliar scrap to build a page around.
Host shortcut: Clear a table, put out the supplies, and choose an end time. Nobody needs a themed snack board to glue down a bus ticket.
Find Supplies and People Near You
Search beyond “junk journaling”
Try adult collage, paper crafts, book arts, mixed media, and open craft tables. Ask whether beginners can bring a notebook and work on their own project.
Try a small materials swap
Ask friends for clean paper bags, spare gift wrap, or unwanted magazines. Give a specific request and a small limit. “A handful of scraps” is easier to manage than “anything you have.”
Check your public library’s event calendar for adult craft sessions, collage workshops, or art groups. Search for “creative reuse center,” “paper craft meetup,” or “junk journal workshop” plus your town. Check the date, fee, age range, and whether supplies are included before you go.
If you are in Charlotte, start with Charlotte Mecklenburg Library’s programs and events calendar. Ask a librarian about craft books, relevant gatherings, and any creative-learning resources available with your card. You do not need an event specifically called junk journaling to enjoy a general collage session.
For technique demonstrations at home, Creativebug offers arts-and-crafts video classes. Check its current access options and whether your own library provides access. Watch one technique, then close the screen and try it.
Five Pages to Make After Your First One
- A neighborhood walk: A copied map, a small photograph, and something you noticed.
- A meal worth remembering: A clean label, a recipe note, and who was there.
- Your current favorites: A book title, a song written by hand, and a color you love.
- A very ordinary weekend: One ticket or receipt and a sentence about the best part.
- A letter to your future self: Fold a short note into a paper pocket and add the date outside.
Keep the Hobby Small Enough to Return To
Choose one envelope for collected papers. When it fills, make a page or sort it before collecting more. Save a piece because it interests you now, not because it might become useful in an imaginary future project.
For a low-energy evening, lay out three pieces without gluing them. Put them inside the notebook and close it. Next time, you can begin with a decision already made. There is no daily streak to protect.
Junk Journaling for Beginners: Common Questions
Do I need a special junk journal?
No. Start in an ordinary notebook. Making a book from scratch is a separate skill you can explore later. Try a few pages before deciding what binding or paper you prefer.
What if I do not have photographs or a printer?
Use a magazine clipping, a simple sketch, a map drawn from memory, or a handwritten note as the main piece. A page can be entirely paper shapes and words.
Do I have to write about my feelings?
No. Write a date, a place, what you ate, or nothing at all. A junk journal can be playful, private, decorative, reflective, or a mixture.
Can I use fabric and dried flowers?
You can experiment, but start with flat paper. Fabric adds thickness and may need a different adhesive. Plant material must be fully dry and can crumble or stain. A photograph or botanical paper clipping is an easier first-page choice.
Is acid-free glue enough to preserve everything?
No single product makes a whole collage archival. Papers, inks, adhesives, storage, and handling all matter. Use copies of anything irreplaceable and consult preservation guidance for valuable originals.
Does junk journaling have to look vintage?
No. Bright packaging, bold typography, clean shapes, muted colors, or a chaotic ticket collection can all work. Choose materials you actually like rather than shopping for someone else’s aesthetic.
How do I know when the page is finished?
When the pieces are attached, the writing you want is there, and you are ready to stop. Take a break before adding something simply because there is an empty corner.
Save one ordinary moment
You do not have to become “a journaling person.” You can simply spend twenty minutes choosing paper, making a page, and remembering a piece of your day.
Keep the notebook, glue, pen, and scrap envelope together somewhere easy to reach. The next time you want something offline to do, the setup is already waiting.
Start here: What ordinary moment would you like to remember six months from now?
Want more ideas for time away from your phone? Explore Lifvyt’s Offline Hobbies, or read How to Stop Doom Scrolling at Night When You’re Exhausted.
This article is for educational and creative inspiration purposes only. It is not medical or mental health advice, and hobby activities are not a substitute for professional care. Follow the instructions for your tools and materials, and check current schedules, fees, and requirements before attending community activities.
The Sunday Soft Reset
A calmer start to your week.
Get Lifvyt’s weekly collection of gentle wellness reads, nervous-system resets and practical tools — plus the free 5-Minute Nervous System Reset Guide.
By signing up, you’ll receive the free guide and one gentle Lifvyt email each week. Unsubscribe anytime.