
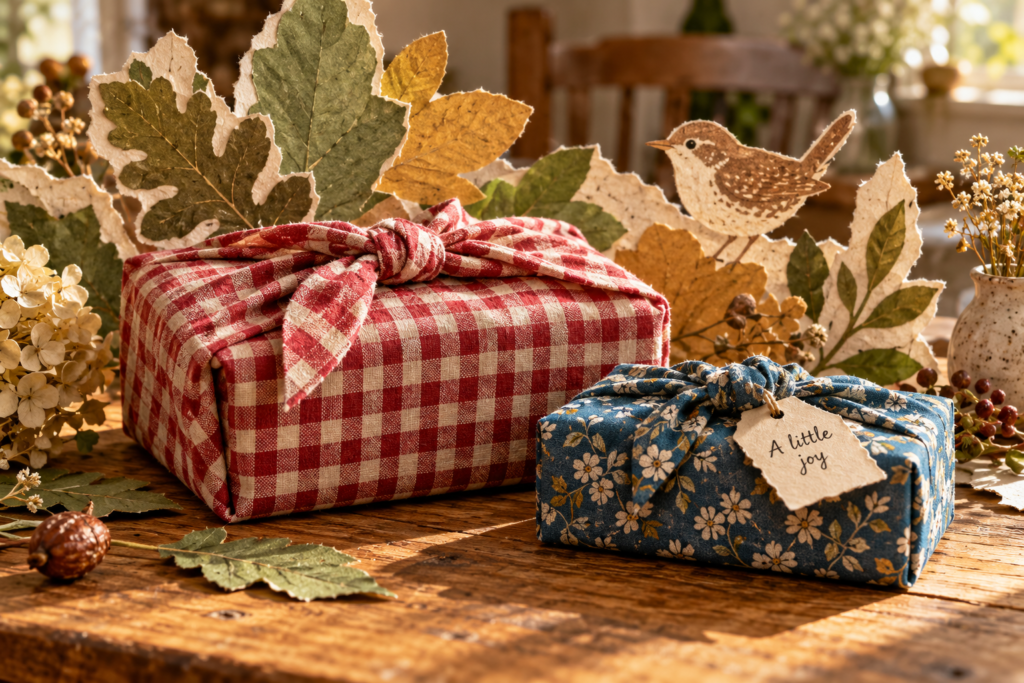
LIFVYT · EVERYDAY LIFE · MAKE SOMETHING LOVELY
You found a thoughtful gift. The tape has vanished. A square of fabric would like a word.
Reusable fabric gift wrap turns a small present into something tactile, personal and ready for another outing. You can start with a clean square cloth you already own and practice on an empty box. No sewing machine or entire new craft identity required.
This guide teaches one straightforward box wrap. You will learn how to check the fit, tie the corners and give the cloth a useful next chapter. Save the dramatic bottle arrangements for another afternoon.
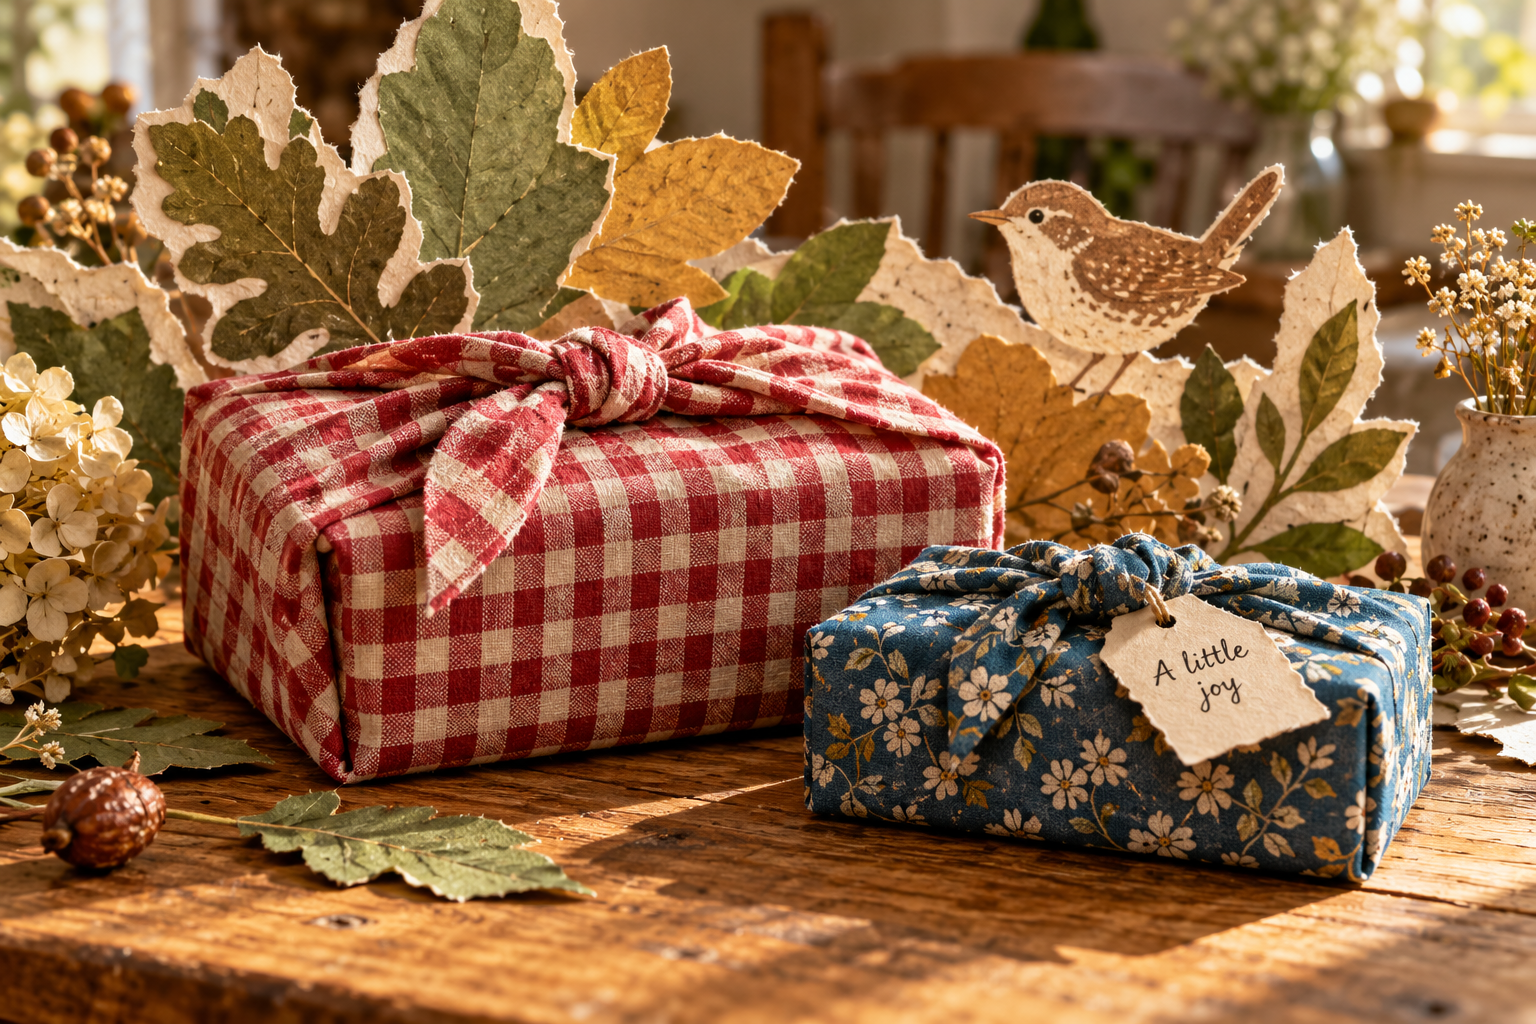
A Japanese tradition, with room in your everyday life
Furoshiki are Japanese wrapping cloths used to wrap and carry objects. Fabric wrapping is a longstanding practice, not a new invention of the holiday internet. Japan’s Ministry of the Environment shares an illustrated guide to several wrapping methods.
Our starting point is a basic box wrap, commonly called otsukai tsutsumi. You do not need to master every style to use one well. A simple wrap around a book or small box is a useful place to begin.
Why try it this season? Etsy’s October 14, 2026 trend report highlights festive crafting and visible handmade details. That is a broader seasonal signal for personal, hands-on gifting; it does not prove that fabric-wrap searches themselves are rising.
Choose fabric that cooperates
Start with a soft, opaque, light- to medium-weight cotton square. A generously sized cloth napkin or an existing wrapping cloth can work. A scarf may work too, but a slippery one can make your first knot unnecessarily theatrical.
- Check the shape. A square has four equal sides. A long tea towel needs a different approach; it is not a direct substitute for the method below.
- Check the feel. Gather two corners and try a loose knot. If they feel stiff or form a huge lump, choose thinner fabric.
- Check the condition. Use clean, dry cloth without weak spots. Keep precious or delicate textiles for a project that will not strain them.
- Check the care label. Follow the fabric’s washing instructions. Do not assume every silk, rayon or printed cloth can go into a hot wash.
A finished hem makes repeated use easier. For a first attempt, choose an existing hemmed square rather than turning this into a sewing project. If you later cut your own woven fabric, finish the edges to limit fraying.
Check the size before you start tying
The box’s height matters as well as its length. A cloth that fits a thin paperback may not fit a chunky box with the same footprint.
As a reference, SHIWASU’s size examples pair a 50 cm square with a 19 × 12 × 5 cm box, and a 70 cm square with a 26 × 19 × 9 cm box for otsukai wrapping. These are examples, not a promise for every fabric or package.
The no-math fit test
Lay the cloth as a diamond, with a corner toward you. Center the box on it. Bring the left and right corners together above the box: you need enough free fabric to cross and tie them twice without pulling hard.
Now test the near and far corners. They must cover the top with overlap. If either pair barely meets, move up a cloth size. If fabric overwhelms the box, try a smaller square.
For practice, use a small empty box before the real gift. You can untie and repeat without worrying about creasing a book jacket or knocking something fragile.
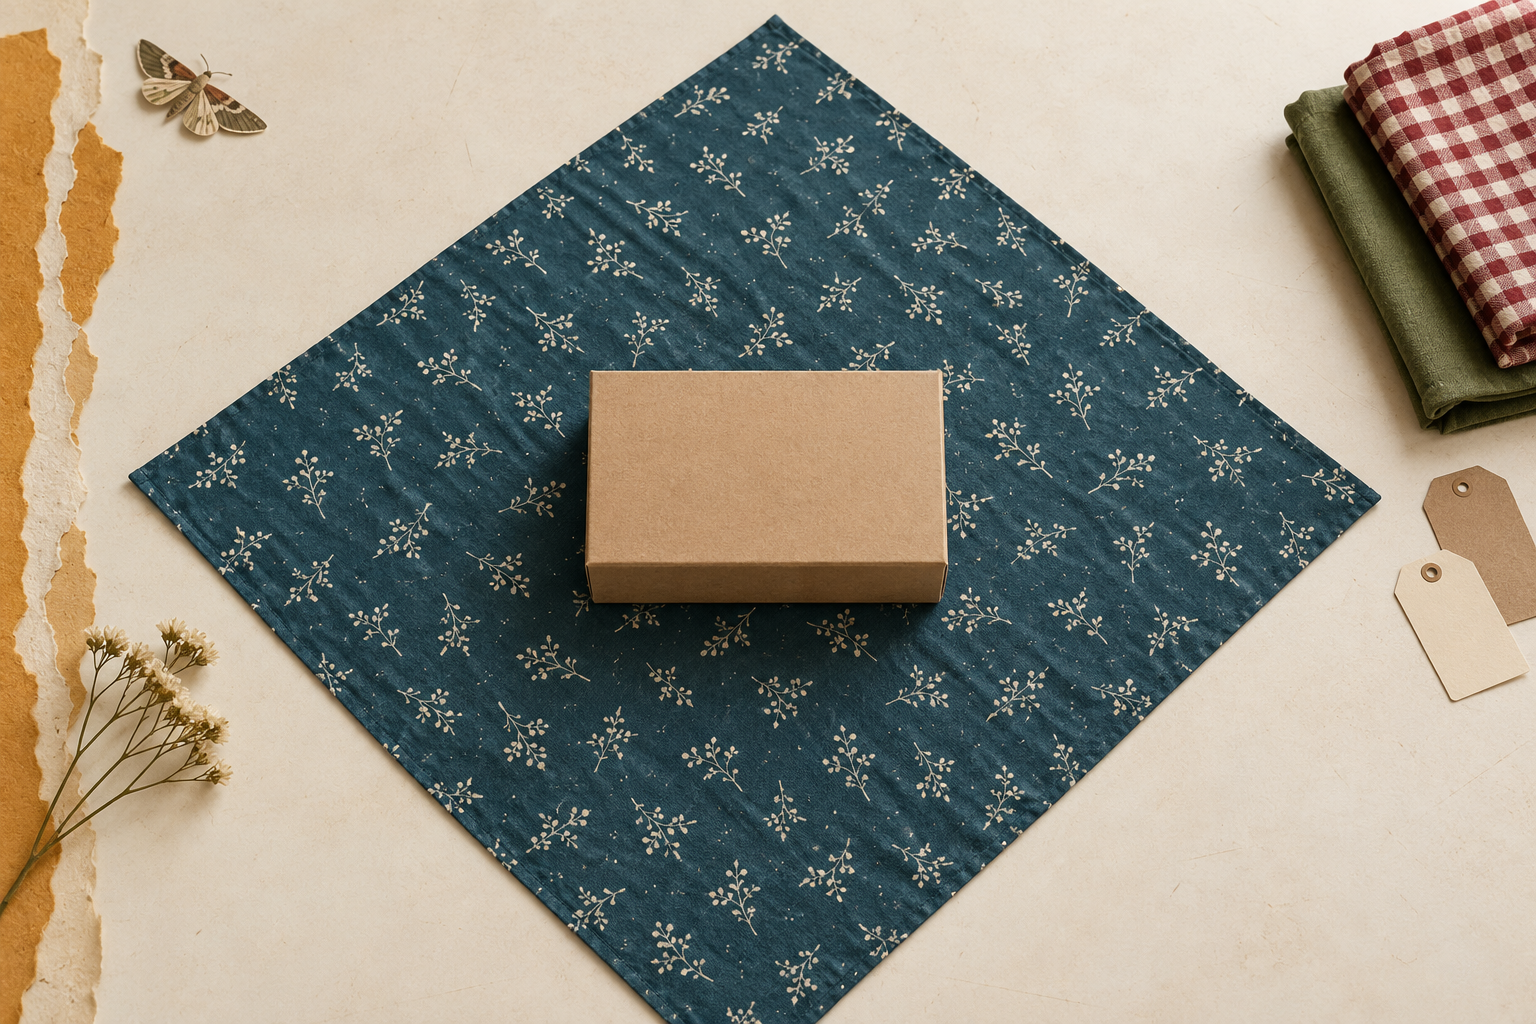
How to make your first fabric gift wrap
Set the cloth’s decorative side facing down. Keep the box level throughout. These instructions describe a basic wrap; the MUSUBI guide includes a demonstration of otsukai tsutsumi if seeing the movement helps.
Center the box
Place it in the middle of the diamond. Its edges should face you and the sides of the table, rather than following the cloth’s diagonal edges. Leave a corner extending in each direction.
Cover with the near corner
Bring the corner nearest you over the box. Smooth it across the top. If the tip reaches beyond the far edge, tuck that tip underneath the box.
Bring the far corner toward you
Fold the opposite corner across the top. Tuck its point under its own fold if it extends too far. Keep the surface covered; you should still have the left and right corners free.
Gather the two side corners
Bring them up over the center. Smooth the fabric around the box’s sides with your fingers, then gather each corner into a manageable tail. Do not twist the whole parcel.
Tie a square knot
First crossing: hold one fabric tail in each hand. Cross the tail on your right over the tail on your left, tuck it underneath, then pull gently. The tails have now changed sides.
Second crossing: use their new positions. Cross the tail now on your left over the one now on your right, tuck it underneath, then pull both tails sideways to settle the knot.
The reminder is right over left, then left over right. You are tying fabric ends, not making a looped bow. Keep enough tail beyond the knot that the ends do not disappear into it.
Check it on the table
Look around all four sides for gaps. Gently nudge the parcel and check that the knot stays settled. Support the box from underneath when carrying it; do not use this practice knot as a carrying handle.
When the wrap looks more laundry than lovely
- The tails will not reach
- Recenter the box and retry the fit test. If the fabric still pulls tight before you can tie twice, use a larger cloth or a smaller box. Stretching harder will not create extra fabric.
- The knot is a bulky mountain
- Untie it, smooth the layers and gather narrower tails. If it still feels thick, switch to a lighter cloth. A plush tea towel is doing a different job in life.
- The knot twists or loosens
- Check that the second crossing reverses the first. If both crossings went the same way, start again. Slippery fabric may still be frustrating; try cotton and use the linked demonstration.
- A corner of the box shows
- Undo the knot and smooth the covering flaps before tying again. If coverage disappears whenever you tie, the cloth is too small or the box is too tall for that arrangement.
- The object is round, breakable or awkward
- For this beginner method, put it in a suitable box with protective packing first. Fabric is decoration, not impact protection. Use a normal outer shipping package if you are mailing it.
Make it personal without adding more stuff
Let the cloth do most of the decorating. Red gingham feels cheerful; blue florals feel a little storybook; plain green cotton lets a handwritten tag stand out. Choose one small detail rather than adding an entire woodland to the knot.
Write a note that sounds like you: “For your next quiet afternoon,” “A little joy,” or “No tape was harmed.” Tuck it securely beneath the knot or add it inside the gift. Skip pins or staples that could catch a hand or damage the cloth.
If you enjoy the note-writing part, LIFVYT’s cozy snail-mail guide has more ways to send something personal without needing a profound speech.
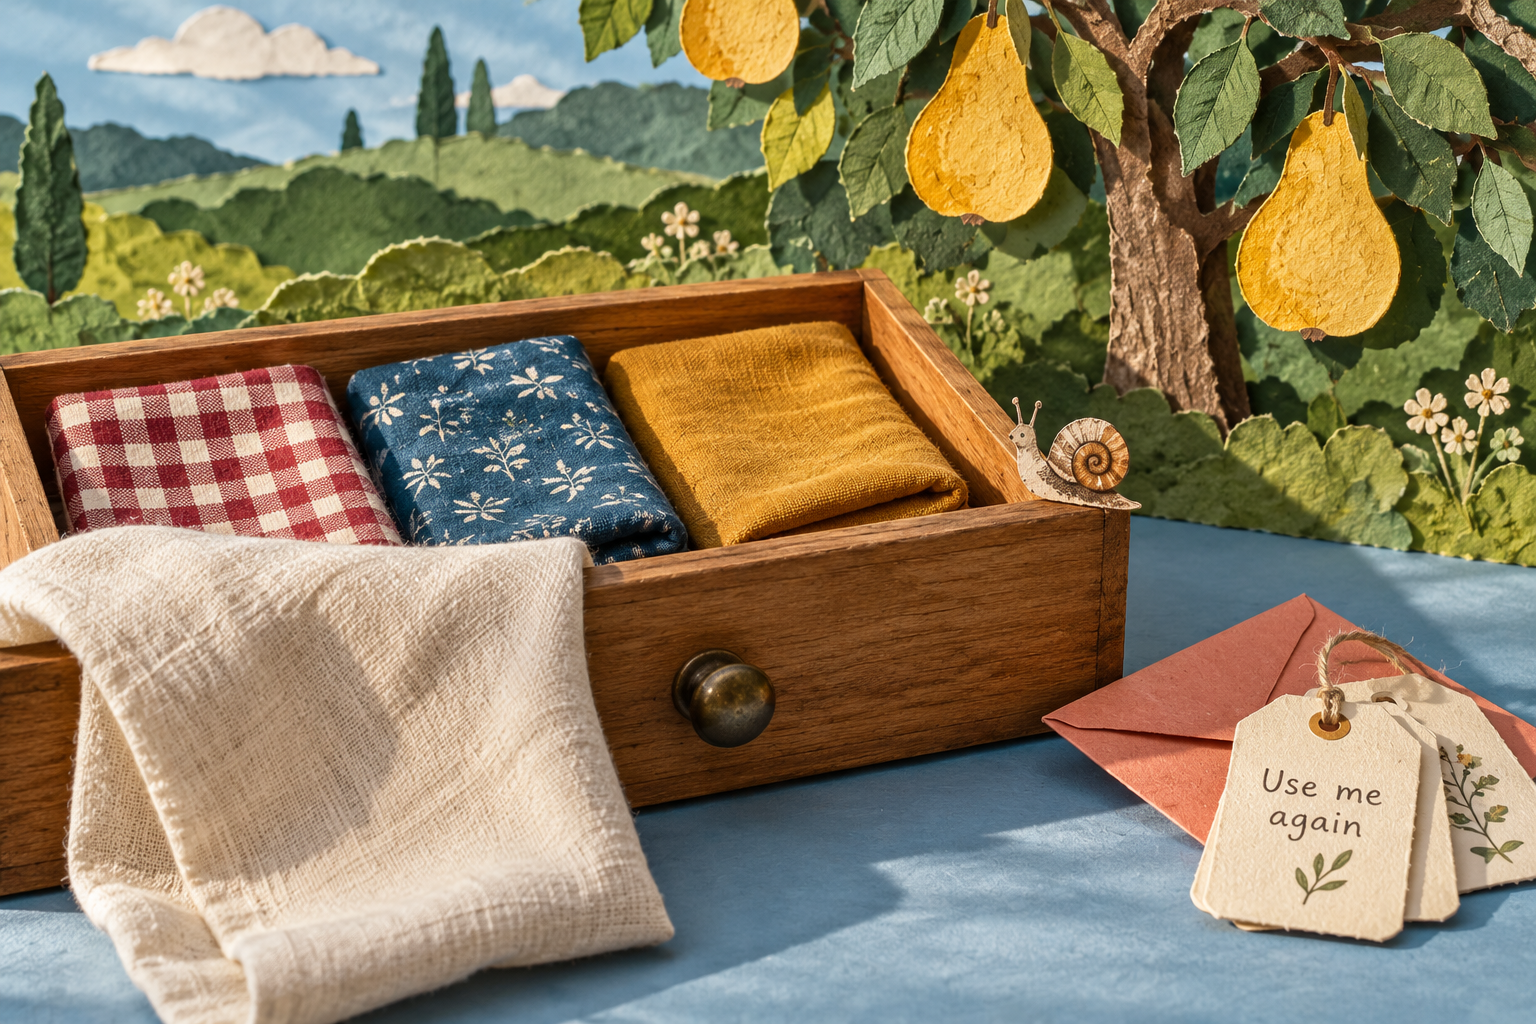
Decide who keeps the cloth
For casual gifting, make your intention clear. If the cloth is part of the present, say so. If you are using a favorite wrap to transport something and want to take it home, explain that before the unwrapping. Different households and occasions have different customs.
“The cloth is part of your gift. Keep it, use it, or wrap something for someone else.”
Include any care instructions you know. Do not promise that an unidentified thrifted cloth is machine-washable. A recipient who does not want extra fabric can return it to you without a ceremonial guilt trip.
At home, keep a few clean, dry squares together in one drawer or pouch with your spare tags. After use, check for spills, clean according to the fabric’s instructions and dry fully before folding. Retire damaged cloth from wrapping fragile items; a sound leftover section might suit another project, such as a small tote-bag patch.
The practical reuse win is repetition. Start with cloth already available and keep using it. This guide does not claim that buying new fabric for one gift has a smaller environmental footprint than every paper option.
The Sunday Soft Reset
A calmer start to your week.
Get Lifvyt’s weekly collection of gentle wellness reads, nervous-system resets and practical tools — plus the free 5-Minute Nervous System Reset Guide.
By signing up, you’ll receive the free guide and one gentle Lifvyt email each week. Unsubscribe anytime.