
LIFVYT · OFFLINE HOBBIES · SMALL THINGS COUNT
For the evening when you want to make something, but “learn an entire new skill” sounds a bit ambitious.
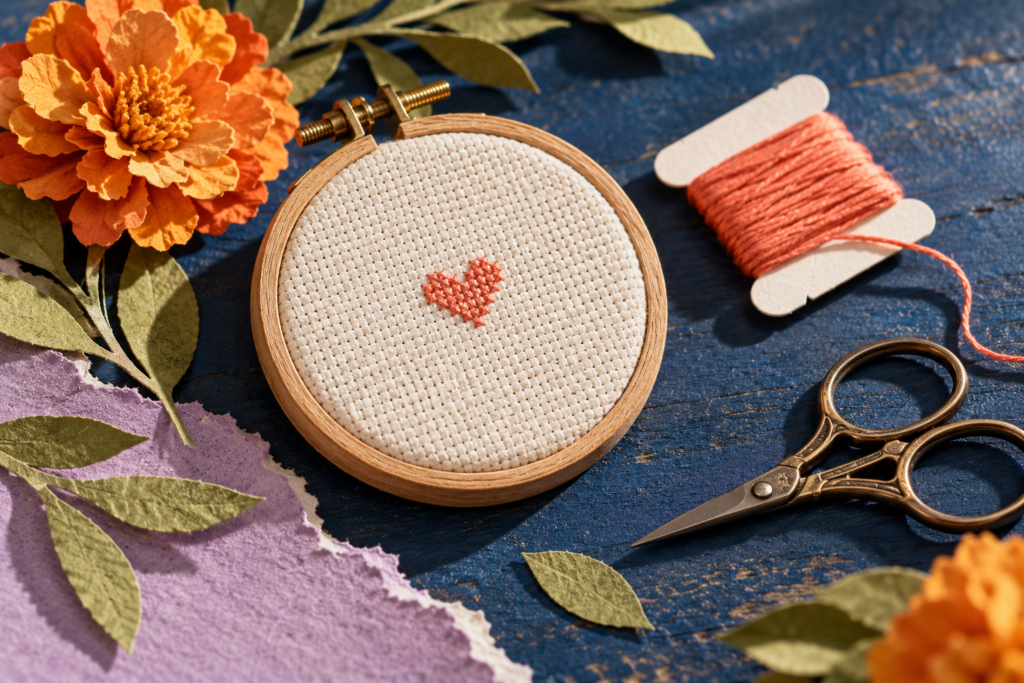
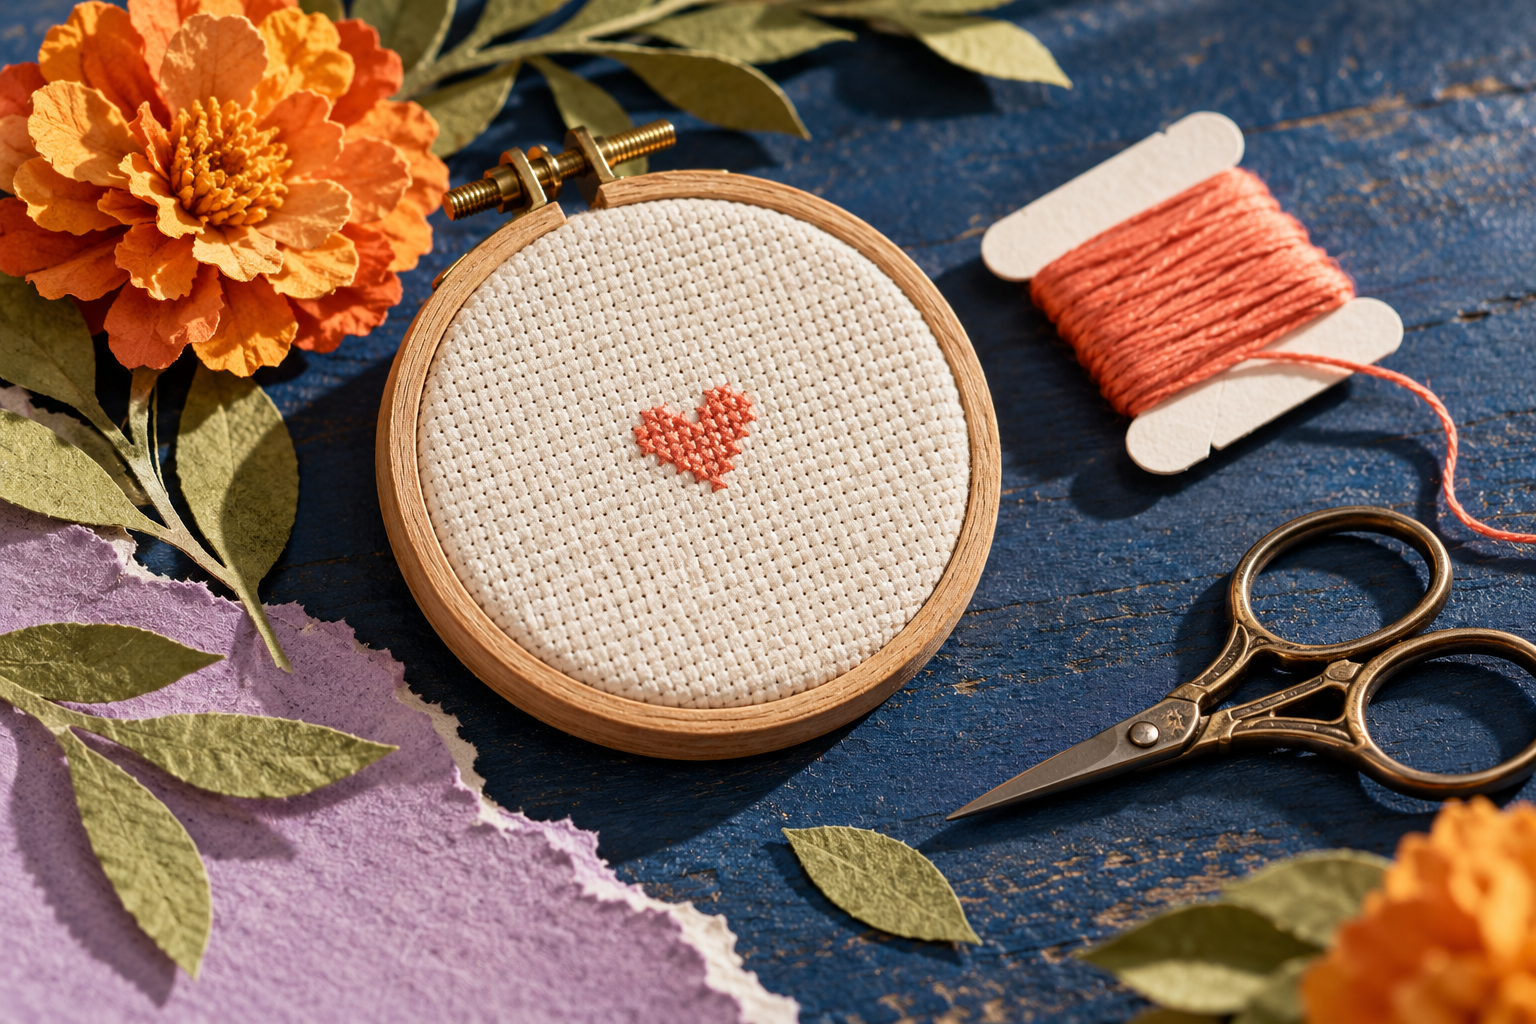
Cross stitch for beginners can start with one color and a heart smaller than a postage stamp. No elaborate sampler. No alphabet to memorize. Just a piece of gridded fabric and a series of little Xs that become something you can hold.
This guide gives you a complete first project: a 46-stitch heart, with a chart, written row instructions and a simple card finish. Make it for a friend, a teacher or yourself. You are also a perfectly valid recipient of nice things.
Why this little project fits right now
Etsy’s October 14, 2026 trend report highlights hands-on holiday crafting and visible handmade details. That is a useful seasonal reason to try a small stitched gift. It is not evidence that cross-stitch searches specifically are surging.
The project works beyond the holidays, too: a thank-you, a birthday note or a small “thinking of you.” You can change the thread color without changing the chart.
Counted cross stitch follows a grid. If you prefer to improvise with scraps and wandering lines, try our free-form slow-stitching guide. Here, the tiny squares do the planning for you.
A starter kit that fits in a small pouch
For the optional card finish: add a blank folded card, a matching envelope, double-sided craft tape and a pen. Test the tape on a spare fabric scrap first.
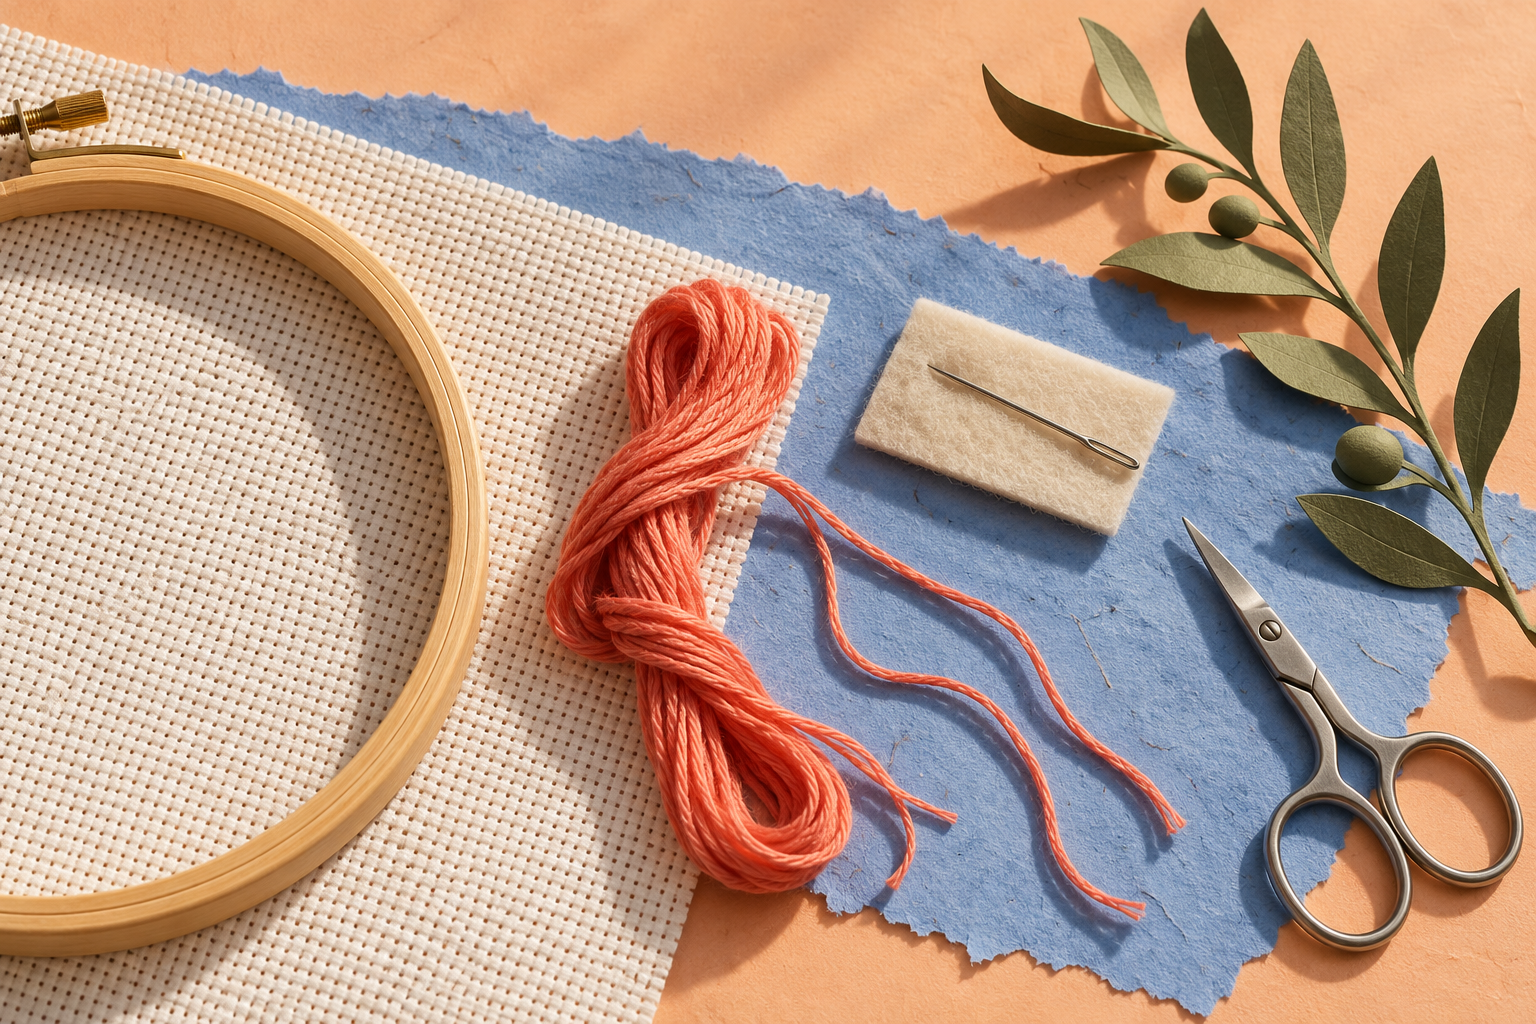
- Light-colored 14-count Aida: a 6-inch (15 cm) square gives you room to hold the fabric. Aida has visible blocks and holes. “14-count” means 14 stitches per inch when each X covers one block.
- One color of six-strand cotton embroidery floss: coral, plum or forest green shows up well on cream. Skip metallic thread for this first project.
- A size 24 blunt tapestry needle: its rounded tip finds the existing holes rather than making new ones. An ordinary sharp sewing needle is less helpful here.
- Small scissors and a needle holder: a felt needle book or closed case works. Count the needle back in before putting your kit away.
- Optional 4-inch hoop: borrow one if you can. You may also hold this small piece in your hand without scrunching the stitch area.
- The chart below, printed or enlarged: plus a pencil or sticky note to mark your place.
Buy only the missing basics. A 200-color collection is a different hobby, and it is very persuasive.
Get the fabric and thread ready
1. Give yourself room
Keep the fabric at its full 6-inch size while stitching. If the edges shed threads, cover just the outer cut edges with masking tape temporarily, well away from the design. Remove or trim away that border later.
For a hoop, loosen the screw, lay the cloth over the inner ring and fit the outer ring on top. Tighten until the cloth is smooth and held securely. It should not look stretched out of square. Follow the cloth’s care label if washing or pressing; prewashing is optional for this practice piece.
2. Separate one strand, then fold it
Cut about 36 inches (90 cm) of six-strand floss. Hold near one end and gently draw out one thin strand, allowing the other five to gather, then straighten them for later. Fold that single strand in half.
Put the two cut ends through the needle’s eye together. You now have two working strands, with a loop at the far end. Leave a short loose tail through the eye so the needle stays threaded. Do not tie a knot. This is the loop-start setup described in the Embroiderers’ Guild of America beginner manual.
Make your first X, without a knot
Find one Aida block: a small woven square with a hole at each corner. Each full X covers one block, not four blocks and not an individual fabric thread.
- Bring the needle from the back through the block’s bottom-left hole. Leave the folded loop behind the fabric.
- Take the needle down through the top-right hole. On the back, pass it through the waiting loop. Draw the thread gently snug.
- Come up through the top-left hole, then go down through the bottom-right hole. You have one complete X.
For the next X, repeat the two diagonal movements without another loop start. Keep the same diagonal on top throughout. Pull only until the thread rests against the cloth; the holes should not be dragged wider.
We are completing each X before moving on. You may see tutorials make a whole row of half stitches first; that is another standard method. DMC illustrates both approaches.
Your tiny heart chart: 46 stitches, one color
This LIFVYT practice pattern is nine columns wide and eight rows tall. The numbered chart shows the heart upright. An X means stitch; an empty cell means leave the fabric bare. All Xs use your chosen color. There are no fractional stitches or outlines.
| Row | 1 | 2 | 3 | 4 | 5 | 6 | 7 | 8 | 9 |
|---|---|---|---|---|---|---|---|---|---|
| 1 | empty | X | X | empty | empty | empty | X | X | empty |
| 2 | X | X | X | X | empty | X | X | X | X |
| 3 | X | X | X | X | X | X | X | X | X |
| 4 | X | X | X | X | X | X | X | X | X |
| 5 | empty | X | X | X | X | X | X | X | empty |
| 6 | empty | empty | X | X | X | X | X | empty | empty |
| 7 | empty | empty | empty | X | X | X | empty | empty | empty |
| 8 | empty | empty | empty | empty | X | empty | empty | empty | empty |
Start at the point and work upward
Fold your fabric in half each way, then open it. The crease intersection marks its approximate center. Choose a hole near that center and count four Aida blocks straight down. Use this as the bottom-left hole of row 8, column 5, the heart’s point. This places the tiny design roughly in the middle with ample fabric around it.
Make that first X using the loop start. Then work upward through the rows below. Read column numbers from left to right, even though you are stitching the rows from bottom to top. Adjacent blocks share corner holes: do not leave an extra block between Xs.
- Row 8: column 5 only — 1 X.
- Row 7: columns 4–6 — 3 Xs.
- Row 6: columns 3–7 — 5 Xs.
- Row 5: columns 2–8 — 7 Xs.
- Row 4: columns 1–9 — 9 Xs.
- Row 3: columns 1–9 — 9 Xs.
- Row 2: columns 1–4 and 6–9 — 8 Xs. Leave column 5 empty.
- Row 1: columns 2–3 and 7–8 — 4 Xs. Leave the middle three columns empty.
Stitch the two top sections separately
Use the row list to locate the stitches; you do not have to complete every row from left to right. Finish rows 8 through 3 first. Then make the two rounded top sections, or lobes, one at a time:
- Left lobe: stitch row 2, columns 1–4. Next stitch row 1, columns 2–3. Secure the thread on the back using the finishing method below.
- Right lobe: start a fresh folded strand at row 2, column 6. Stitch columns 6–9, then row 1, columns 7–8. Secure that thread too.
Count each new starting position from a stitch you have already checked. Leave the unmarked middle squares bare. Working the lobes separately keeps a length of thread from showing through the open center.
Finish a thread before it becomes too short
When a few inches remain, take the needle to the back. Slide it beneath four or five existing stitch backs without piercing through to the front. Pull through and snip close, leaving the woven-in section intact. Start a fresh folded strand with another loop start if needed.
Finish the final thread the same way. Check the front against the chart, then remove the hoop. It is fine if the back looks less orderly than the front; look for secure ends and loose tangles rather than perfection.
When the thread has other plans
The fabric is puckering
Ease out the last tight stitches and redo them with less pull. Smooth the cloth before continuing.
One row is in the wrong place
Stop before adding another. Unthread the needle and gently reverse the mistaken stitches with its blunt tip. Recount from a confirmed X. It is easier to fix three stitches than build a whole heart around them.
The floss keeps twisting
Let the needle hang briefly over your work tray to unwind, away from children and pets. Shorter working lengths can help on your next restart.
The needle will not pass through
Check that you are using an existing hole and have only two working strands. Do not force the needle through the center of a fabric block.
You can see cream fabric between the stitches
A little visible cloth is normal. Keep your tension gentle and your strand count consistent. Do not add random extra stitches to fill every speck.
Turn the sample into a small, thoughtful card
After the ends are secure, trim the fabric to roughly a 1½-inch (4 cm) square, keeping the heart centered and leaving several unstitched blocks around it. Keep the raw edge for a casual finish; it can fray a little, so handle gently.
Place a small piece of double-sided craft tape on the back of the fabric and press it onto a folded blank card. This is a simple decorative finish, not an archival textile mount. Test the tape on a spare scrap first; avoid wet glue that could seep through the holes.
Write a short note underneath: “Made with love,” “For your good days” or “A small thing, just because.” Inside, add one specific sentence: “Thank you for checking in when my week got loud.” The personal part does not have to be long.
For more ideas about sending the finished card, see our cozy snail-mail guide. If you enjoy stitching and want a useful next challenge, our beginner tote-bag repair teaches a different skill.
The Sunday Soft Reset
A calmer start to your week.
Get Lifvyt’s weekly collection of gentle wellness reads, nervous-system resets and practical tools — plus the free 5-Minute Nervous System Reset Guide.
By signing up, you’ll receive the free guide and one gentle Lifvyt email each week. Unsubscribe anytime.