
SOFT SPACES · AN OFFLINE PROJECT WITH A STORY
Turn a few small shells into something you can actually see, enjoy and remember.
Those shells you brought home had a lovely day at the beach. Since then, they may have spent six months in a sandwich bag, waiting for their next chapter.
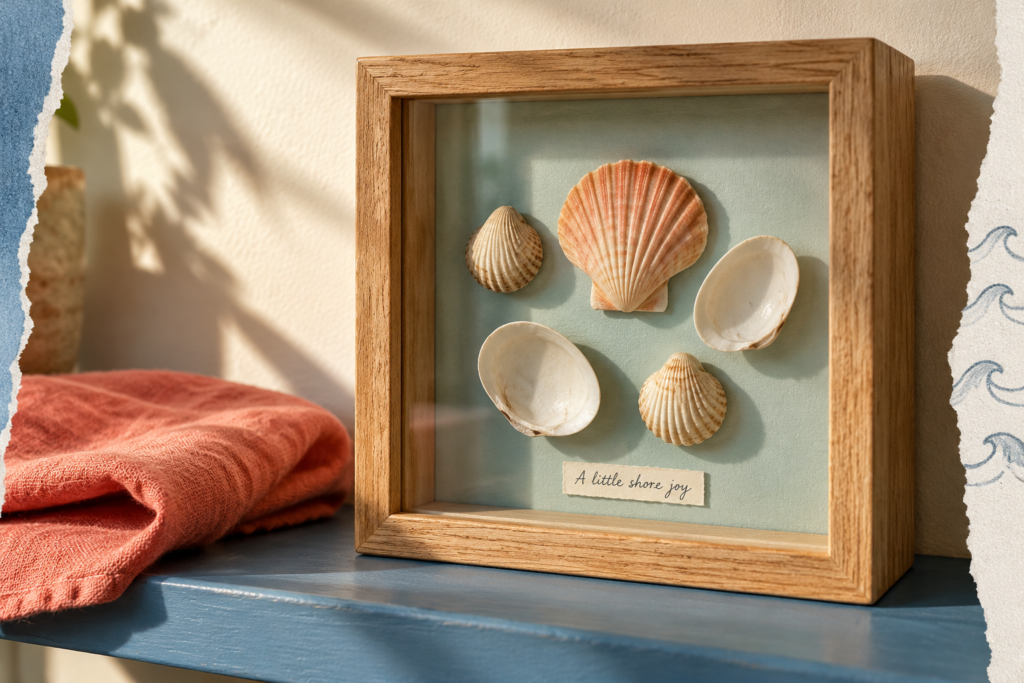
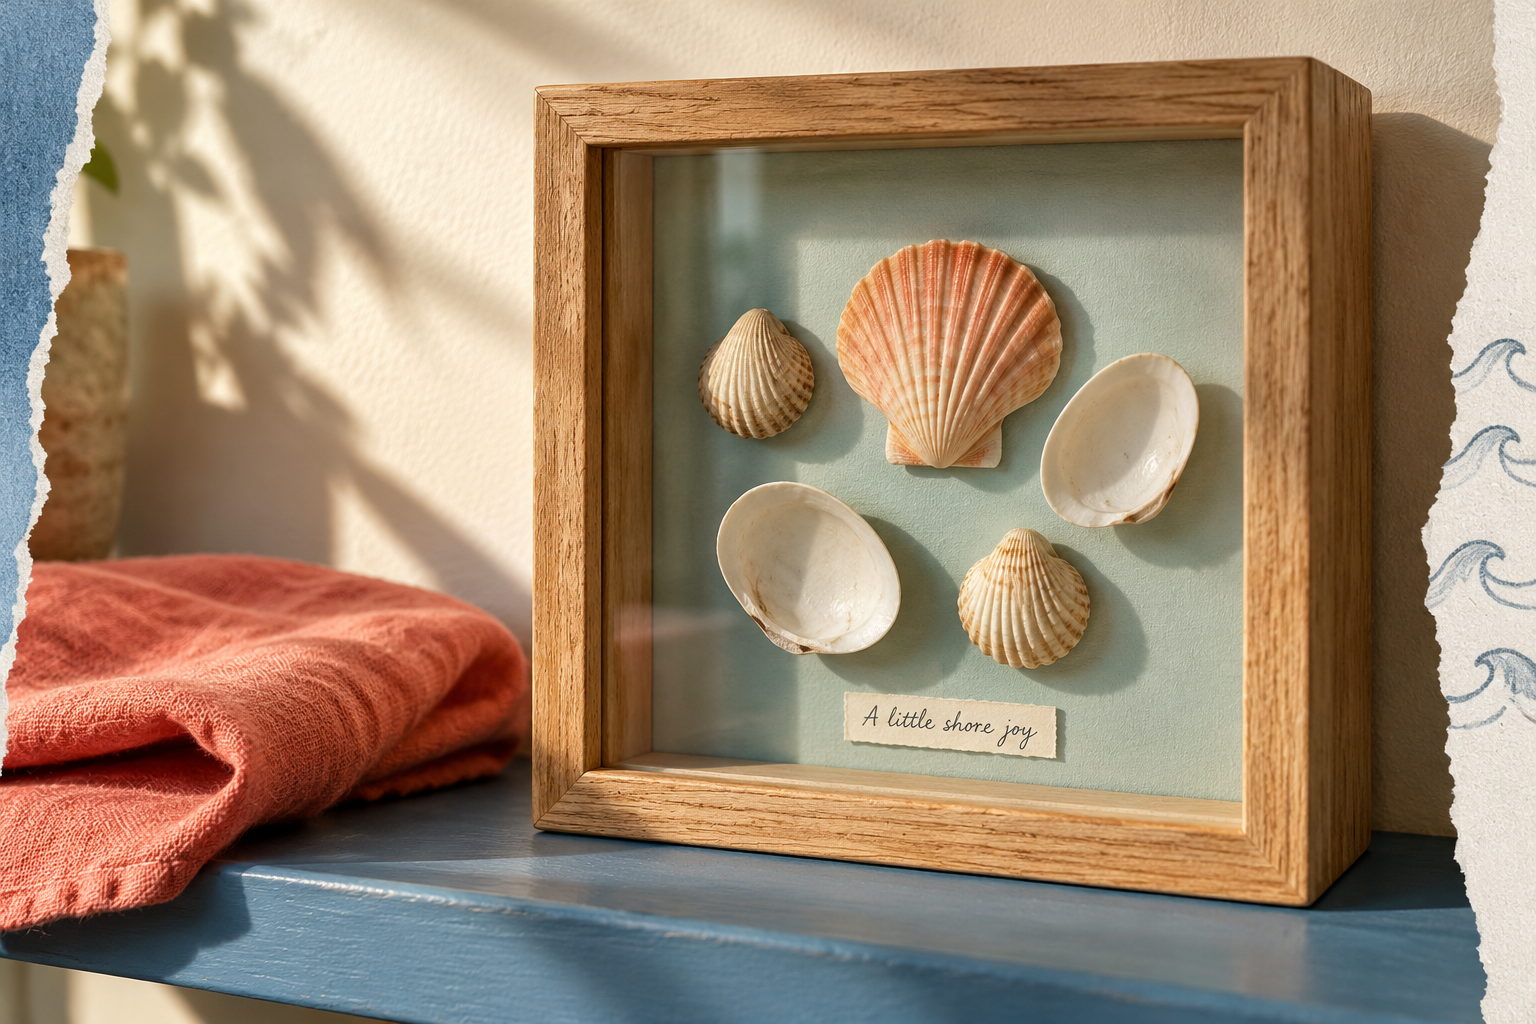
A seashell shadow box gives them one. You arrange a small selection inside a deep frame, add a place or memory label, and keep the natural ridges and colors visible. No resin pouring, shell drilling or elaborate ocean-themed shopping spree required.
Why this project feels right now
Etsy’s October 14, 2026 trend report highlights handmade character and shared craft activities. A small keepsake project fits that mood without needing seasonal decorations.
There is a coastal connection too: the National Park Service notes that winter can be particularly productive for beachcombing at Cumberland Island. That is local guidance, not a promise for every coast. Your existing shell collection works just as well as new finds.
1. Start with the beach’s rules, not the prettiest shell
Before collecting, check the current rules for the exact beach or park you plan to visit. Permission, limits and protected items vary. At Cumberland Island National Seashore, for example, certain unoccupied shells may be collected for personal use under stated limits; other natural objects remain protected. Do not apply that permission elsewhere.
For this project, choose a few clearly empty shells only where removal is allowed. Leave occupied shells and anything you cannot confidently assess. You do not need a bucketful to make a good picture.
Check local tide and weather information, follow closures and stay away from rough surf. A storm may move shells, but that is not an invitation to go out in dangerous conditions.

2. Choose the frame before committing to the layout
A shadow box has space between the backing and front glazing. A normal photo frame often does not. Check the usable internal depth, not just the outside thickness shown in a listing.
Place your tallest shell on the proposed backing. The front must close without touching or squeezing it. Include the thickness of any added backing or mounting material. If you cannot check that comfortably, choose flatter shells.
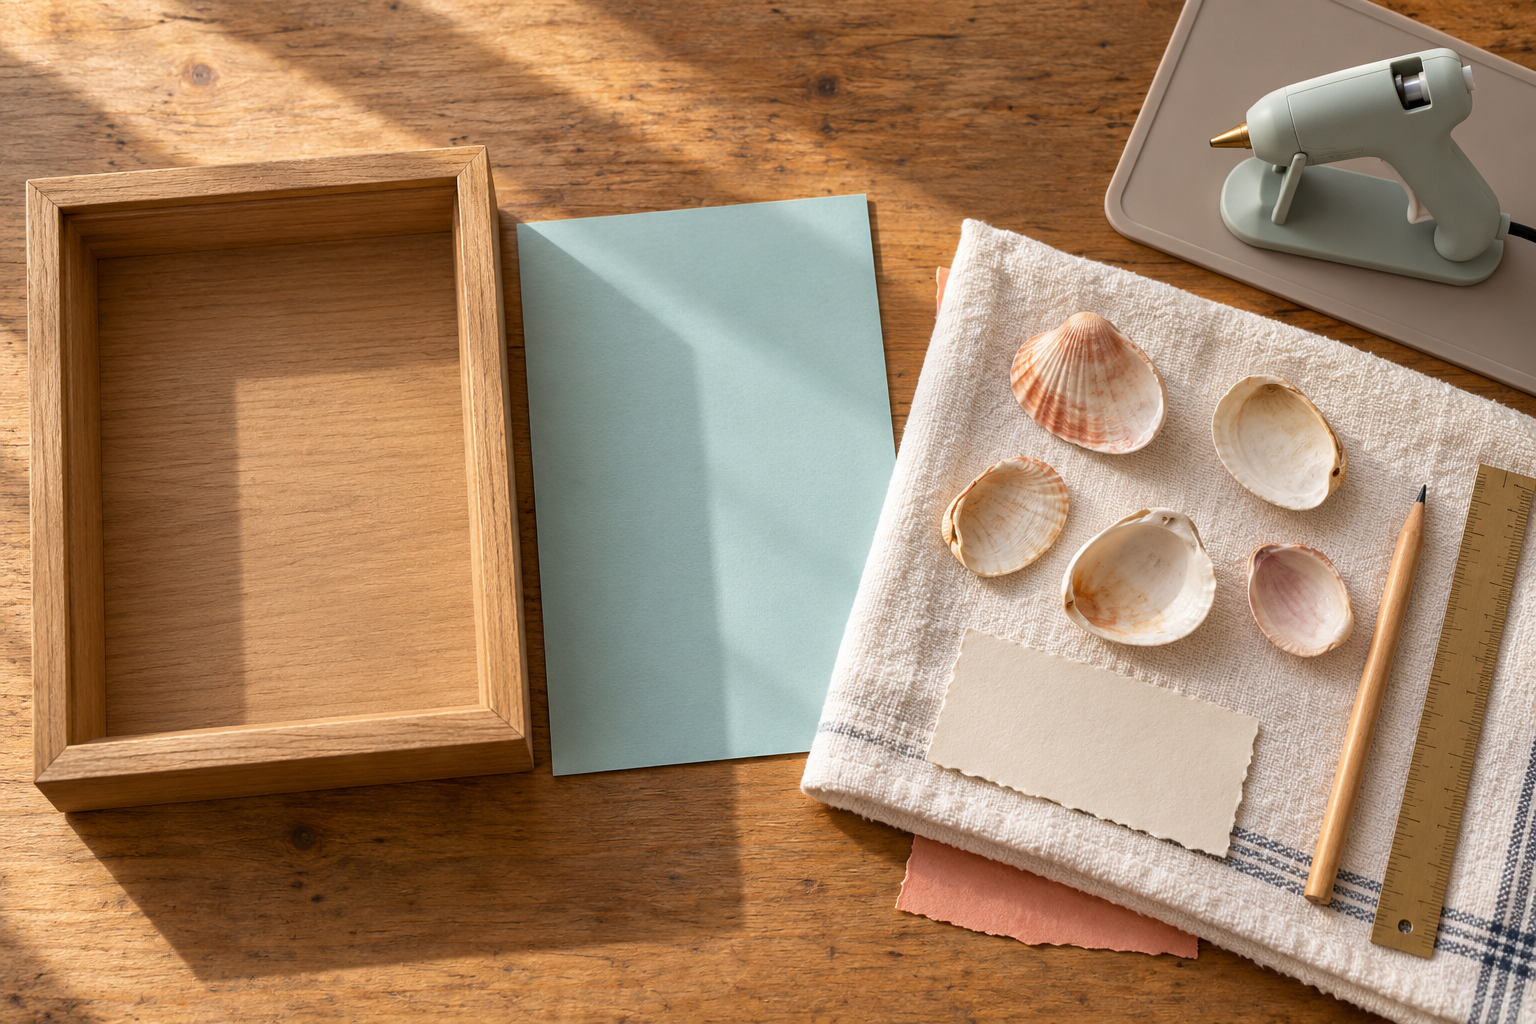
- A deep frame: roughly 8 × 8 inches is a manageable starting size.
- A rigid backing insert: use the supplied board if suitable, or a correctly sized rigid craft panel the frame can accommodate.
- Five small shells: lightweight, clean, dry and without sharp broken edges.
- A pencil, ruler and scrap paper: for spacing and a simple label.
- Background color: pale aqua, warm ivory or muted coral. If painting a suitable panel, let the coating dry fully before mounting.
- Mounting supplies: for the glued version, a low-temperature craft glue gun, compatible sticks and a heat-resistant work mat.
Avoid mounting heavy shells onto a loose sheet of decorative paper. Even if the glue holds, the paper itself can peel or tear. Keep the torn-paper look in a small label or border away from the weight-bearing contact points.
3. Clean gently and let everything dry
Set out your cleaning kit: a soft brush, fresh water and a clean towel for drying already-empty shells.
This simple preparation is for ordinary, already-empty beach shells with light sand or surface dirt. Rinse with fresh water, then gently work loose sand out with a soft brush. Handle thin edges carefully. Set the shells on a towel with space around them, turning them so trapped water can drain.
Do not mount them until the surfaces and recesses are fully dry. A shell that looks dry on top may still hold water underneath. This is an excellent place to pause the project overnight rather than rush.
Do not turn an occupied or foul-smelling shell into a cleaning project. Choose another specimen. For fragile, valuable or unusual shells, get specialist advice before using cleaners or adhesive. This project does not require bleaching, boiling or polishing; natural wear is part of its appeal.
4. Arrange first, glue later
Put the backing flat on the table and place the frame around it temporarily so you can see the visible opening. Leave a border around the shells; the frame lip may hide a little of the backing.
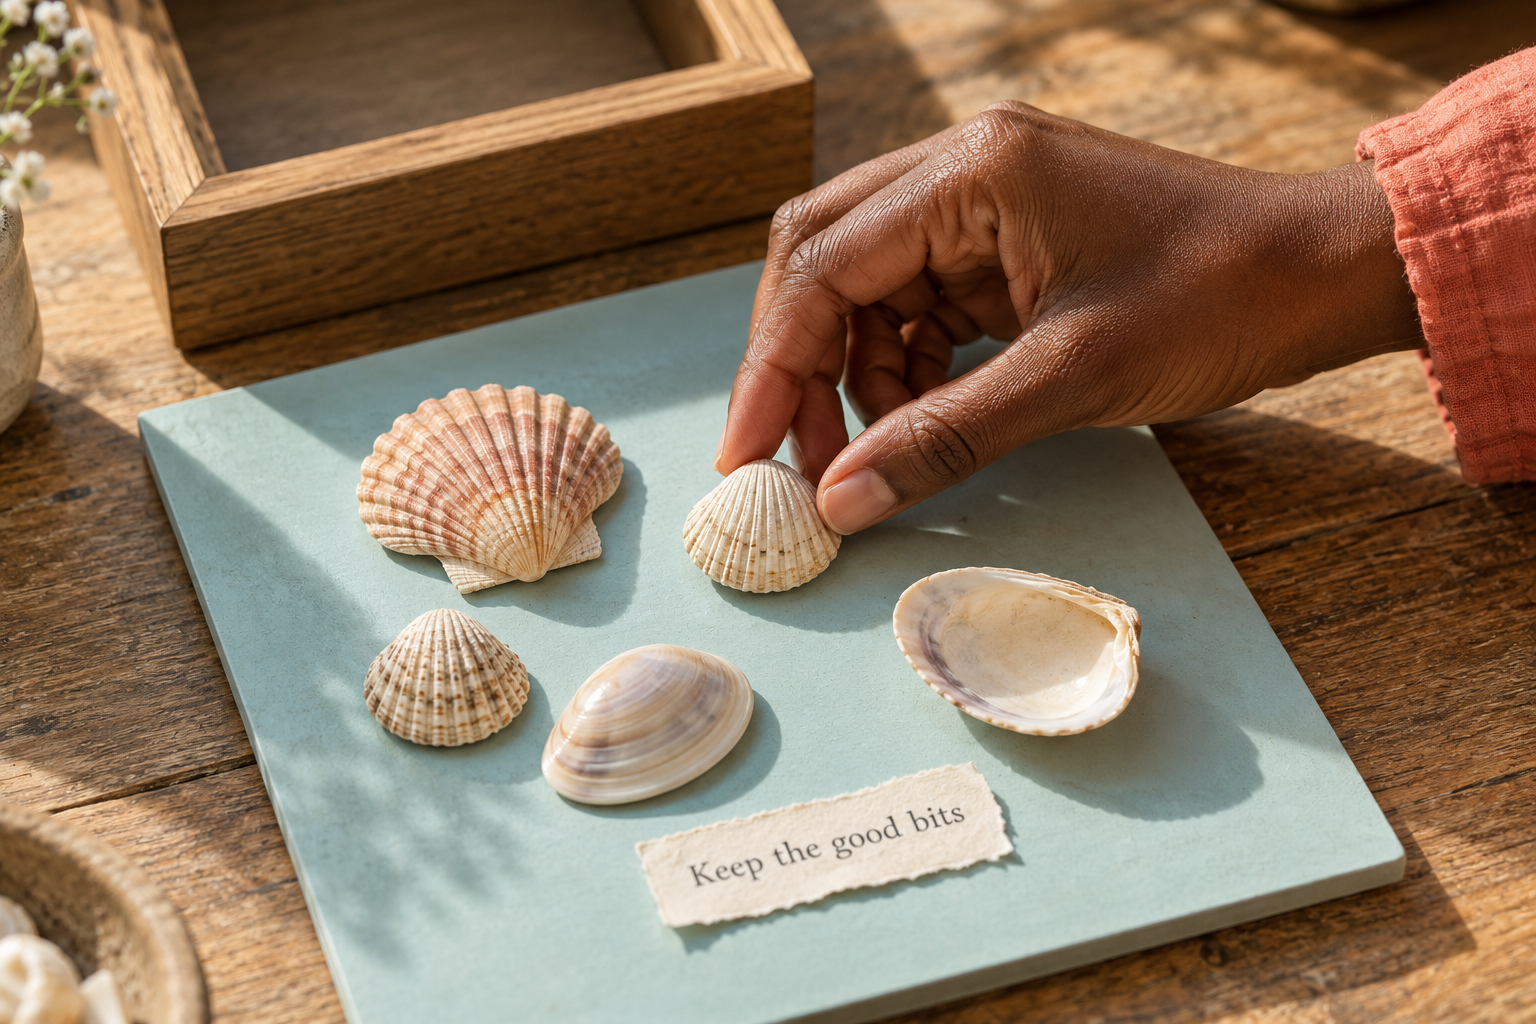
- Choose one focal shell. Place your largest or most colorful shell slightly above the center.
- Add two supporting shells. Set them to either side, a little lower.
- Add the last two. Balance the bottom half without making every gap identical.
- Leave label space. A small strip at the bottom is enough for a beach name, date or short phrase.
Try around ½–1 inch between small shells, adjusting to your frame. Turn one shell over if its inner surface is beautiful, but check whether that orientation gives you a stable mounting point.
Step back. Can you notice each shell separately? If not, remove one. You are making a keepsake, not boarding shells onto an oversold flight.
5. Test the mount before gluing your favorites
Hot glue is used in craft-retailer shell projects, but that does not make every shell-and-backing combination reliable. Michaels’ framed-shell project lists a low-temperature gun. Gorilla’s hot-glue guidance also calls for testing before intended use and matching the sticks to the gun.
Use this method only for small, lightweight, replaceable shells. Glue can stain or damage a shell and may not come off cleanly. Do not use this approach for valuable specimens or a heavy collection.
- Test one spare shell on a spare piece of the same backing. Follow the gun and adhesive instructions, including setting time.
- Identify the shell’s actual contact points. A hollow shell may touch the backing only along its rim; a blob in its center may never reach the board.
- Apply a small amount to suitable contact points, position the shell and keep fingers clear of the hot adhesive and nozzle. Do not fill the whole cavity.
- Let the test cool and set completely. Over a padded surface, gently tilt the backing to check that the shell stays attached. If it shifts or the surface peels, change the backing or choose the no-glue option.
- Once the test is satisfactory, mount the selected shells one at a time with the board flat. Allow each attachment to set before moving on.
Keep the gun on its stand over the mat, follow its safety directions and keep children and pets away from the hot work area. Low-temperature glue can still burn. Do not hold the board upright while the adhesive is setting.
The no-glue version
Use a shallow, lidded display box with individual compartments and keep it horizontal. Place each shell loosely in its own section with a paper label. Nothing is permanently attached, and you can rearrange it later. It is a tabletop collection, not something to hang vertically.
Three fixes that save the project
- The frame will not close
- Choose flatter shells or a deeper frame. Do not force the glazing against the shells.
- The shell rocks or detaches
- Stop and reassess the contact points and backing. Adding a larger pile of glue is not automatically a better bond. Use a flatter, lighter shell or switch to the horizontal display.
- The result feels busy
- Remove extra decoration, simplify the background and give each shell more space. One small label is usually enough.
6. Give the finished box a sensible home
After everything has set, gently test the completed backing over a towel before closing the frame. Display it securely on a shelf away from edges, heat and damp conditions. Follow the frame maker’s instructions if you intend to hang it, using hardware appropriate for its finished weight and your wall.
There is no need to varnish the shells just to make them shiny. Their ridges and soft color differences are what make this project interesting.
If you enjoyed noticing small things outside, try our photo-walk guide. For another framed project using ordinary materials, explore paper weaving for beginners.
Note: Adult craft guidance. Collect only where permitted, use small empty shells, and follow tool and adhesive directions. Low-temperature glue can still burn.
The Sunday Soft Reset
A calmer start to your week.
Get Lifvyt’s weekly collection of gentle wellness reads, nervous-system resets and practical tools — plus the free 5-Minute Nervous System Reset Guide.
By signing up, you’ll receive the free guide and one gentle Lifvyt email each week. Unsubscribe anytime.