
OFFLINE HOBBIES · A SMALL AUTUMN PROJECT
A few fallen leaves, two crayons and a piece of paper. That is enough to make something you might actually want on your wall.
Leaf rubbing art for adults starts with a very familiar move: put a leaf under paper and rub a crayon over it. The grown-up part is choosing the colors, leaving a little empty space and knowing when to stop. The leaf supplies the drawing skills. Very generous of it.
This guide takes you through one small, two-color botanical picture, with fixes for the things that usually go wrong. No special press, paint or expensive craft kit required.
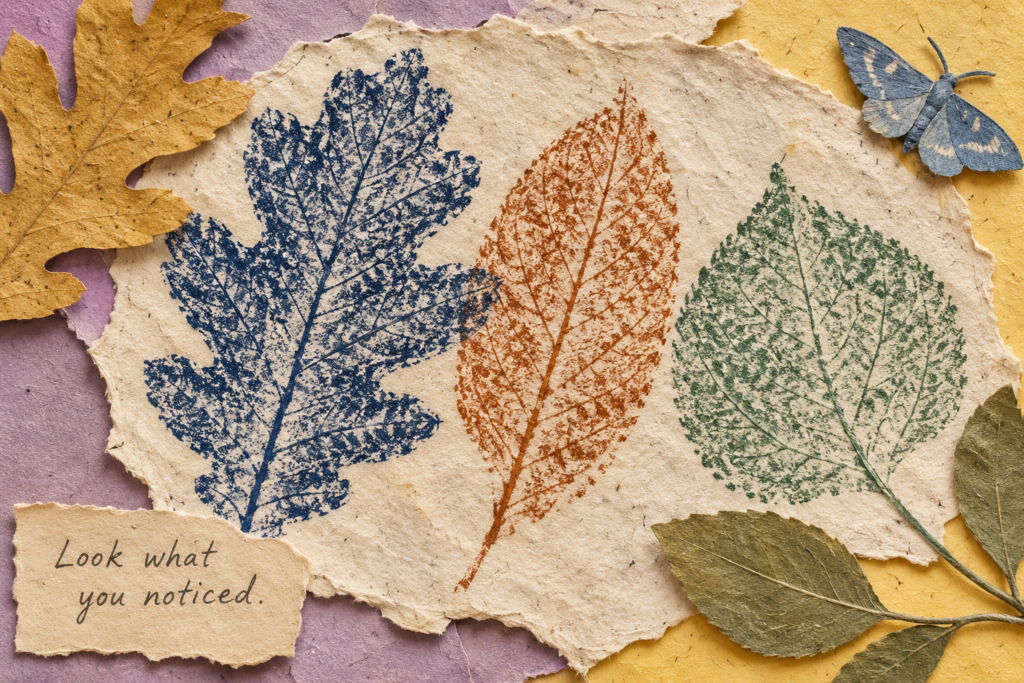
What is a leaf rubbing, exactly?
A leaf has raised edges and veins. With the leaf under paper, those high points catch more of the crayon as you shade across the surface. The result records its texture. You are not tracing around the leaf or coating it in paint to make a stamp.
The Georgia Museum of Art’s guide uses the bumpy side facing upward and encourages experimenting with layered colors. Melbourne Museum recommends thin paper, including ordinary printer paper. Those two choices do a lot of the work.
The supplies that matter—and the ones that can wait
For the rubbing
- Two or three clean leaves with noticeable veins.
- A few sheets of plain printer paper.
- Two ordinary wax crayons: one dark, one lighter.
- A smooth, hard board or tabletop.
- Optional low-tack tape to steady the paper.
For finishing later
- Scissors and a ruler.
- A glue stick or photo corners.
- A piece of heavier colored card or scrap paper.
- An existing frame, if you have one.
Make a successful rubbing before shopping for the display.
Start with wax crayons. A short unwrapped piece gives you a broad side to shade with. The Heckscher Museum’s demonstration emphasizes using that flat side rather than the pointed tip. Save paint, ink pads and delicate pencils for another experiment; they are not needed for this method.
Use the fancy paper as a backing. Thick, heavily textured paper can make it harder to pick up a leaf’s finer veins. Make the rubbing on smooth paper, then mount it on your lovely torn-paper scraps. You still get the cottagecore look without asking a crayon to perform a structural miracle.
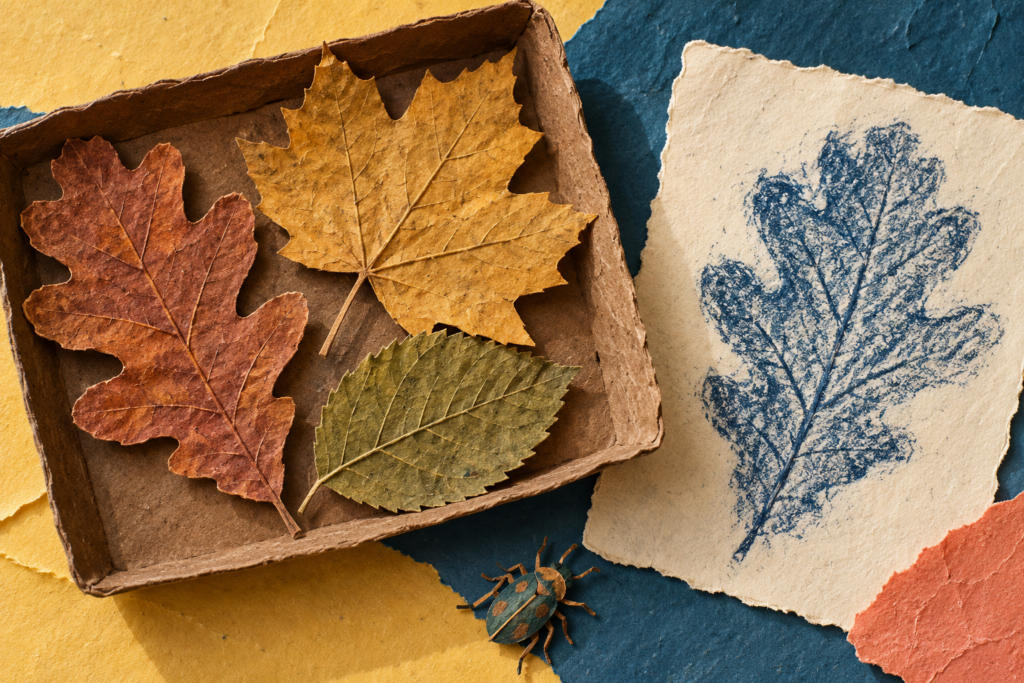
Pick leaves for their texture, not just their color
Look for a leaf that lies fairly flat, feels dry on the surface and still bends without crumbling. Turn it over: can you feel the central vein and smaller branching veins? A broad, uncomplicated shape is a forgiving first choice.
Collect just a few fallen leaves from somewhere collection is allowed, or use familiar leaves from your own garden. Follow park rules and leave unidentified or irritating plants alone. This is a craft project; you do not need a botanical scavenger hunt with a questionable ending.
Gently remove grit, then let any surface moisture dry. A wet leaf can dampen the paper; a brittle one may break before you finish. If your leaf curls sharply, choose a flatter one for the first attempt. Its original color will not transfer through the paper—the crayon supplies your palette.
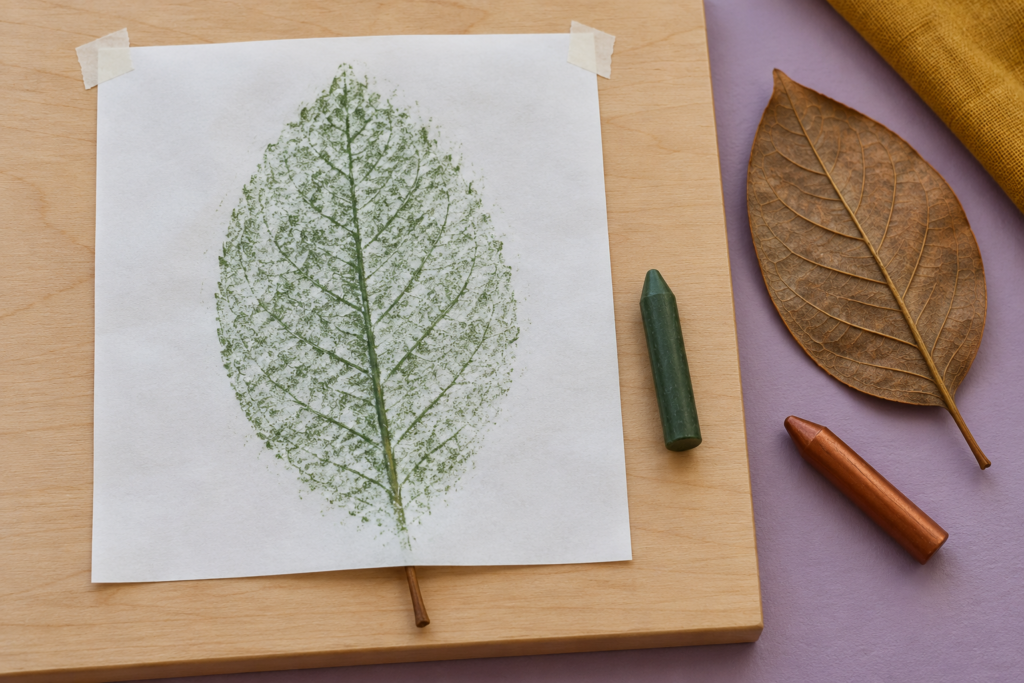
Make a two-color leaf rubbing in six steps
For this example, use a full sheet of printer paper, one larger leaf, one smaller leaf, a dark blue crayon and a copper or ochre crayon. Leave a generous blank border so you can crop or mount the picture afterward.
Make a small test first
Place the larger leaf on your smooth base with its raised veins facing up. Cover it with scrap paper. Peel enough wrapper off the blue crayon to expose its side, and try a few gentle strokes. You want a visible vein pattern before filling the entire silhouette.
Decide where the two shapes will go
On your clean sheet, plan one leaf slightly left of center and the smaller one toward the lower right. Keep both away from the outer edge. You can lay the leaves on top briefly to plan, but move the working leaf underneath before rubbing.
Steady the sheet and the leaf
Use two small pieces of low-tack tape at the top corners, testing first on a scrap so removal will not tear the paper. Hold the sheet near the leaf with your free hand. Tape steadies the paper, but the leaf underneath can still move.
Build the first impression gradually
Hold the crayon on its side and shade across the leaf with short, controlled strokes. Begin gently, then increase pressure a little if the pattern is faint. Work across the central vein and outward. Stop once the shape and branching veins are readable; you do not need to fill every white speck.
Add the second leaf in a new color
Lift the paper carefully, remove the first leaf and position the smaller one beneath the next area. Lower the sheet and repeat with copper or ochre. For a clear first picture, keep the two impressions mostly separate. Once that works, try a slight overlap on a second sheet.
Choose the crop before attaching anything
Remove the leaves and tape carefully. Lay strips of scrap paper around the image like a temporary frame; move them until the spacing feels balanced. Mark your chosen crop lightly on the back, then trim. Save a practice sheet with one good leaf—it may make a lovely small card.
If yours looks more like a smudge than a leaf
Two outlines
Likely cause: The leaf or paper shifted.
Try this: Start again on scrap paper; steady the sheet close to the leaf and use shorter strokes.
A dark block of color
Likely cause: Heavy pressure or too many passes filled the gaps.
Try this: Use a lighter touch on a fresh area. Wax is not easy to erase cleanly.
Almost no veins
Likely cause: Paper may be too thick, or the smoother leaf side is up.
Try this: Turn the leaf over and test ordinary printer paper before pressing harder.
Woodgrain everywhere
Likely cause: The backing surface has its own texture.
Try this: Move to a smooth board; remove crumbs and grit beneath the work.
A torn sheet
Likely cause: A sharp crayon tip or force caught on a raised area.
Try this: Use the broad side and lighter pressure. Choose a flatter leaf for the retry.
Change one thing at a time. If you swap the leaf, paper, crayon and pressure together, you will not know which change helped. Two small tests usually tell you more than repeatedly working over a disappointing first attempt.
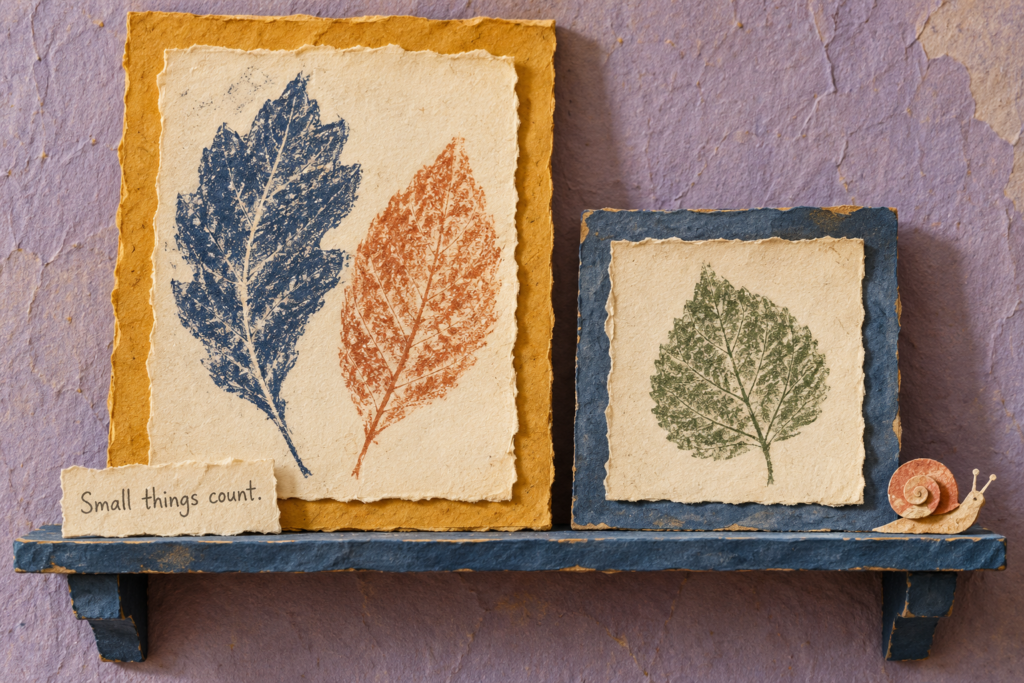
Make your rubbing feel like finished art
A simple two-color picture
Pair a dark color with one warm accent: indigo and copper, forest green and dusty rose, or brown and pale blue. Use the same pair across the composition. Leave a blank area around the leaves so the details have room to show.
Try a 4-by-6-inch rubbing mounted centrally on 5-by-7-inch card. That gives you a half-inch border on every side. Dry-fit it first, then use photo corners or a light application of glue stick on the reverse. Keep adhesive away from the waxy front and let it dry flat.
A small paper-collage scene
Cut out one successful rubbing with a narrow paper border around it. Place it over a contrasting torn-paper shape. Add just one unexpected detail—a tiny paper moon, a hand-drawn moth or a little snail. If everything is the focal point, nothing gets to be the interesting bit.
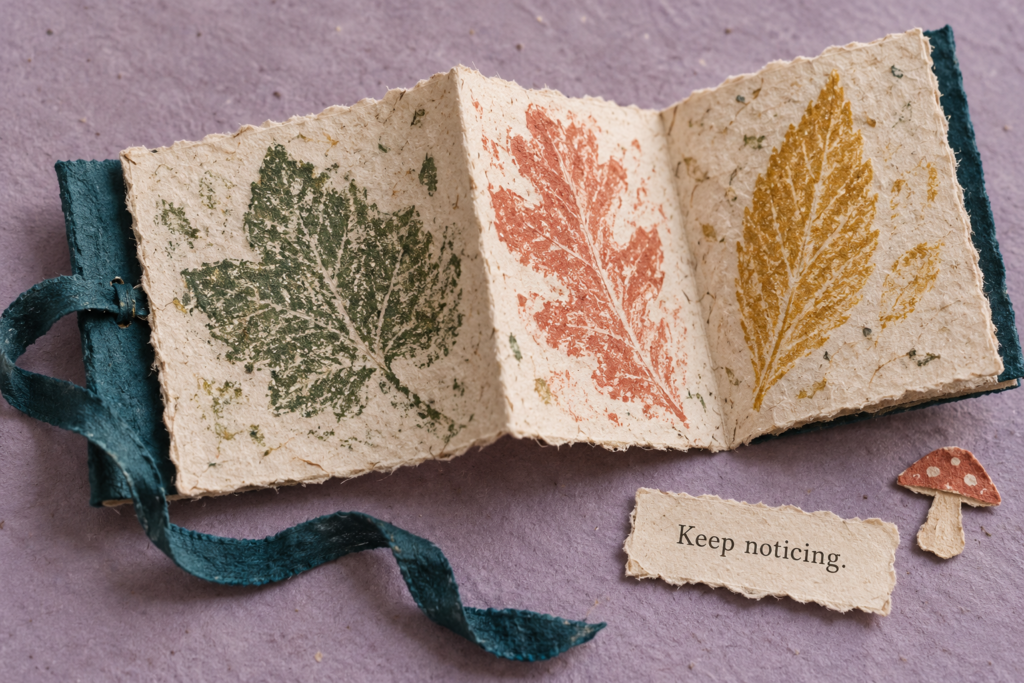
A tiny accordion keepsake
Use finished rubbings on thin paper for this version. Cut a strip of card 4 by 12 inches, then mark folds at 3, 6 and 9 inches. Fold back and forth to make four panels. Mount one small rubbing on each panel, leaving the folds clear. Close the booklet and tie it loosely with ribbon.
The textured illustration is a styling idea: make the actual rubbings on smooth, thin paper first and attach them to your folded card. That keeps the leaf veins clear and the booklet sturdy.
A note that does not need an occasion
Mount a small rubbing on a blank card and add “Saw this and thought of you” inside. Keep the front mostly clear. If you enjoy sending things through actual letterboxes, our beginner snail-mail guide helps you turn the finished card into an easy correspondence habit.
For a frame, measure the visible opening before cropping; some of your paper will sit behind the edge. Keep finished pieces dry and away from strong direct sunlight. Ordinary craft paper and crayons are not a promise of archival permanence. Photograph a favorite piece before giving it away.
Want to keep exploring?
Repeat the same leaf three times with different pressure and compare the results. Or choose two leaves with very different vein patterns and write one observation beneath each: “thick central rib,” “tiny branching lines” or simply “found beside the gate.” No guessed species names needed.
If you want to keep the actual plant material, rather than an impression of it, try our guide to pressing flowers at home. That is a separate drying process. For another paper-based project, paper weaving for beginners uses a completely different technique.
The Sunday Soft Reset
A calmer start to your week.
Get Lifvyt’s weekly collection of gentle wellness reads, nervous-system resets and practical tools — plus the free 5-Minute Nervous System Reset Guide.
By signing up, you’ll receive the free guide and one gentle Lifvyt email each week. Unsubscribe anytime.