
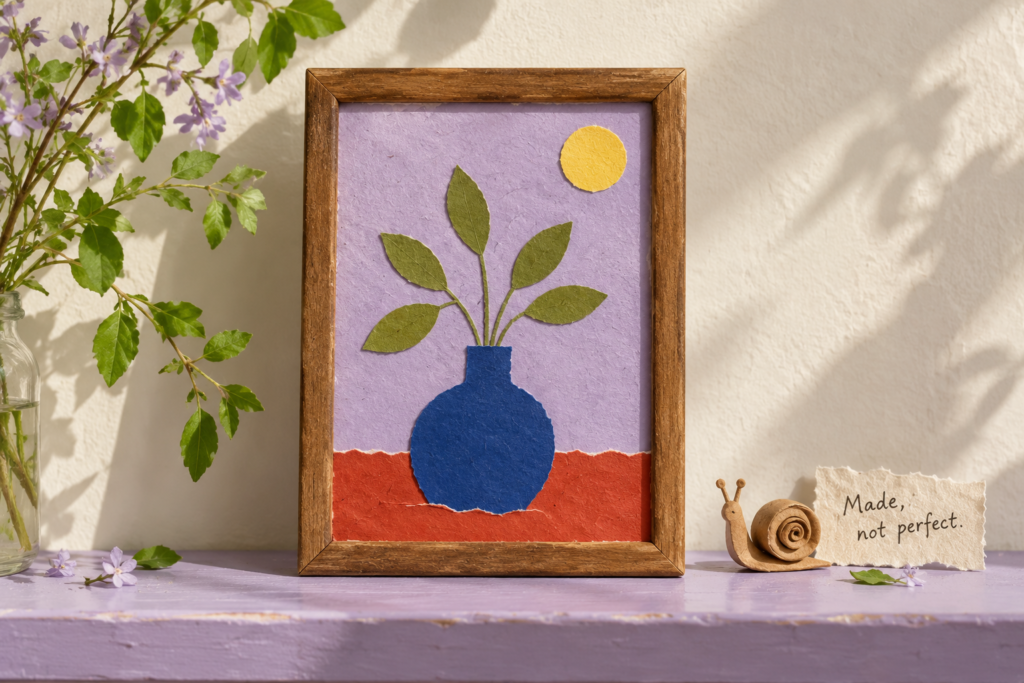
SOFT SPACES · SMALL ART, REAL PERSONALITY
One small background, a handful of shapes and an afternoon that does not require another subscription.
You do not need to be good at drawing to make something worth putting in a frame. With paper collage art, you can build a picture from shapes you cut or tear—and move everything around before you commit.
We are making a small vase-and-leaves picture. It is simple enough for a beginner, colorful enough to wake up a shelf and forgiving of the slightly wonky edges that happen when life interrupts your artistic era.
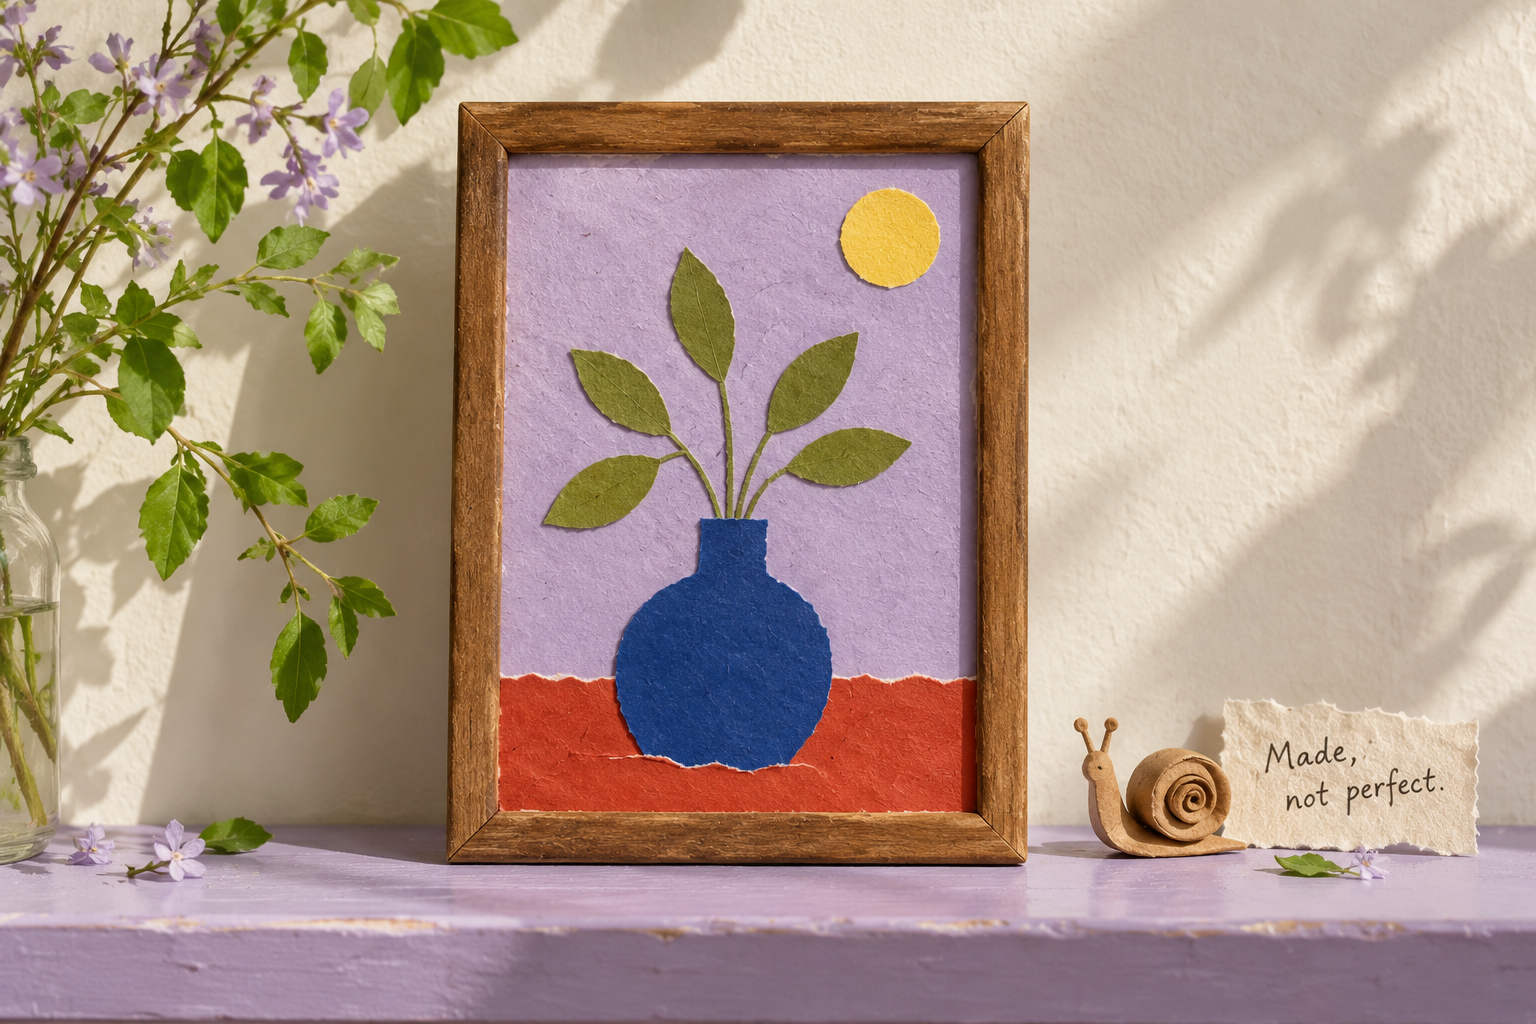
A handmade look that does not need tidying away
Etsy’s October 14, 2026 trend report highlights visible brushstrokes, hand stitching and uneven edges as part of its “Mark of the Maker” theme. That is a marketplace signal about handmade character, not proof that this exact project is trending.
It is also a useful permission slip: leave a little evidence that a person made your picture. One torn edge can be lovely. You do not have to sand the personality off a paper leaf.
Gather a small kit, not a craft-store cart
- A sturdy 5 × 7-inch background: colored cardstock around 200–250 gsm is a practical starting point. A clean, flat piece of thin packaging card can work for practice.
- Lightweight paper scraps: colored paper, matte magazine pages, wrapping-paper offcuts or your own dry painted paper.
- Scissors, pencil and ruler. Small scissors are useful, but use a pair that feels comfortable in your hand.
- A glue stick labeled for paper: choose acid-free materials if keeping the piece for years matters to you. Check the label rather than assuming every glue stick is archival.
- A scrap sheet: protect the table while applying glue.
- Optional: a frame or small display stand.
For this first piece, skip very thick handmade scraps, slippery coated packaging and tissue-thin paper. They can be fun later, but ordinary matte paper is easier to cut, position and stick flat. Keep irreplaceable photographs and sentimental letters intact; use copies if you want to include them in another project.
Choose a palette before you start cutting
Our example uses a lilac background, blue vase, green leaves, red tabletop and optional yellow circle. You can simplify it: use the background plus just two paper colors, repeating one for several shapes.
Try cream + forest green + coral for a softer look, or pale blue + navy + butter yellow for something crisp. These are options, not shopping requirements.
Place your scraps together first. The vase should be easy to see against the background from arm’s length. If the colors merge, swap one for a lighter or darker scrap. Patterned paper works best as one accent in this small project; five competing patterns can turn a peaceful vase into a committee meeting.
1. Cut a few generous shapes
These measurements are a starting recipe for a 5 × 7-inch card, not a precision test. Sketch lightly on the back of your scraps so pencil lines stay hidden.
- Tabletop: one strip the full 5-inch width and about 1½ inches high. Tear its top edge if you like.
- Vase: one shape about 2 inches wide and 2½ inches tall, including a short neck. Draw a rounded body with a flat bottom and a neck about ¾ inch wide.
- Stems: three narrow strips about ⅛ inch wide and 2–3 inches long. Make them wider if tiny pieces are frustrating.
- Leaves: five pointed ovals, roughly ¾–1¼ inches long. Vary them a little.
- Optional circle: one yellow circle about ¾ inch across.
Cut the vase as one piece. If drawing it feels awkward, begin with a rectangle, round the bottom corners, then trim the upper sides inward to make the neck. Keep the bottom flat so it appears to sit on the tabletop.
For leaves, cut a rough oval and taper both ends. They can be plump, narrow or slightly lopsided. Save every reasonable version until you see the whole arrangement.
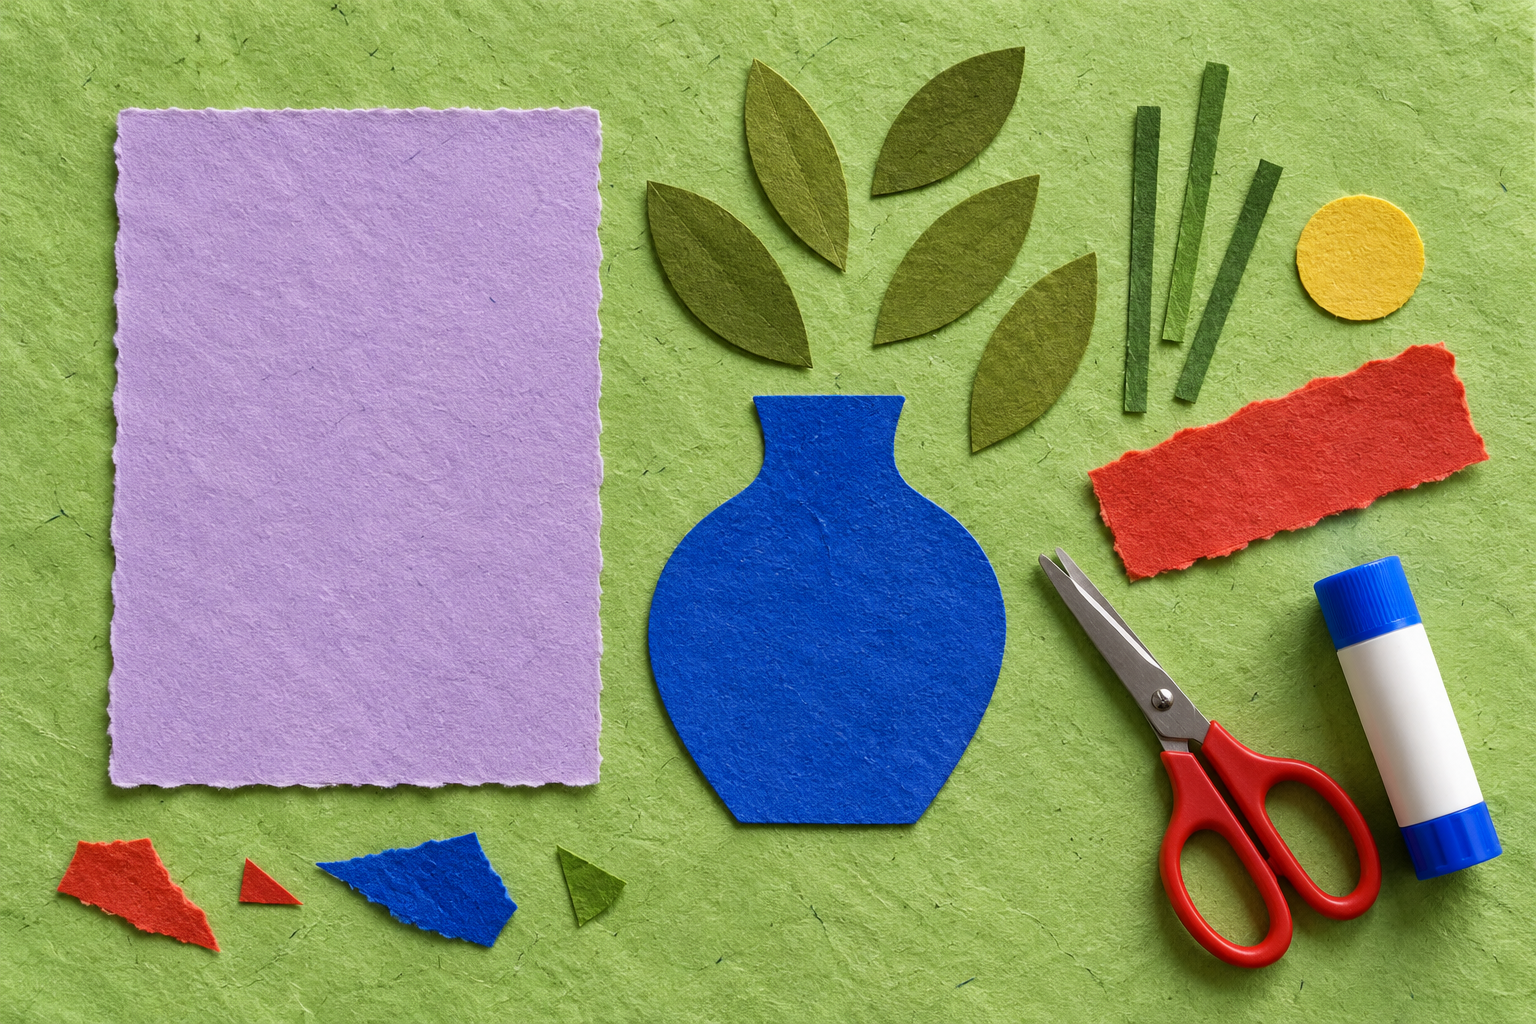
The illustrations show the visual idea, not a scale template. Use the written measurements for your own card.
2. Arrange everything before opening the glue
Lay the red strip across the bottom of the background. Set the vase on top so its base sits within that strip, rather than floating above it. Leave about ½ inch between the vase base and the bottom edge.
Slide the stems behind the vase neck. Fan them slightly, then place leaves along them. Keep the tallest leaf comfortably inside the card. Try the yellow circle in one upper corner; leave it off if the arrangement already feels complete.
Look for three things: a clear main shape, some overlap and enough empty background to give the leaves breathing room. Move a leaf instead of immediately cutting six more.
3. Glue from the background forward
- Attach the tabletop strip. Apply a thin, even coat of glue to its back on your scrap sheet, including the corners. Place it and press gently.
- Attach the stems. Check their position with the unglued vase, then remove the vase and stick the stems down. Their lower ends will be covered.
- Add the leaves. Let the base of each leaf overlap a stem slightly so the plant looks connected.
- Add the vase. It should cover the bottom ends of the stems. Smooth from the middle toward the edges with clean, dry fingers.
- Add the optional circle. Then stop and let the adhesive dry according to its instructions.
Use a fresh area of the scrap sheet for each piece so the fronts do not pick up stray glue. Work slowly around narrow stems; a light coating is enough. This is paper, not bathroom tile.
If you are interrupted, put the loose pieces in an envelope and keep the background flat on a tray. Label the envelope “vase collage.” Future you deserves more context than a bag of mysterious green slivers.
Something looks off? Try one small fix
- The background is wrinkling
- Pause before adding more adhesive. Use a sturdier background next time and less moisture. Let this piece dry fully; do not rub wet paper hard to force it flat.
- A corner keeps lifting
- Apply a little more suitable adhesive beneath that corner, then press gently with a clean scrap sheet between your fingers and the artwork.
- The vase disappears
- Before gluing, switch its color for stronger contrast. If it is already stuck, consider a small contrasting detail rather than peeling up the entire shape.
- The picture feels crowded
- Remove the optional circle or one leaf before gluing. Empty space is part of the design, not evidence you ran out of ideas.
- A piece landed crooked
- If it lifts easily, reposition it carefully. If the paper starts to tear, leave it and adapt the composition. A slightly leaning vase can still look intentional.
Keep the method; change the subject
Once the vase makes sense, try a pear: one rounded shape with a narrower top, a short stem and a leaf. Or make an arched window from a large arch with a smaller contrasting arch layered over it.
For a pair of pictures, repeat the background size and one color. They do not need matching subjects. Your pear and your window can be friends without dressing identically.
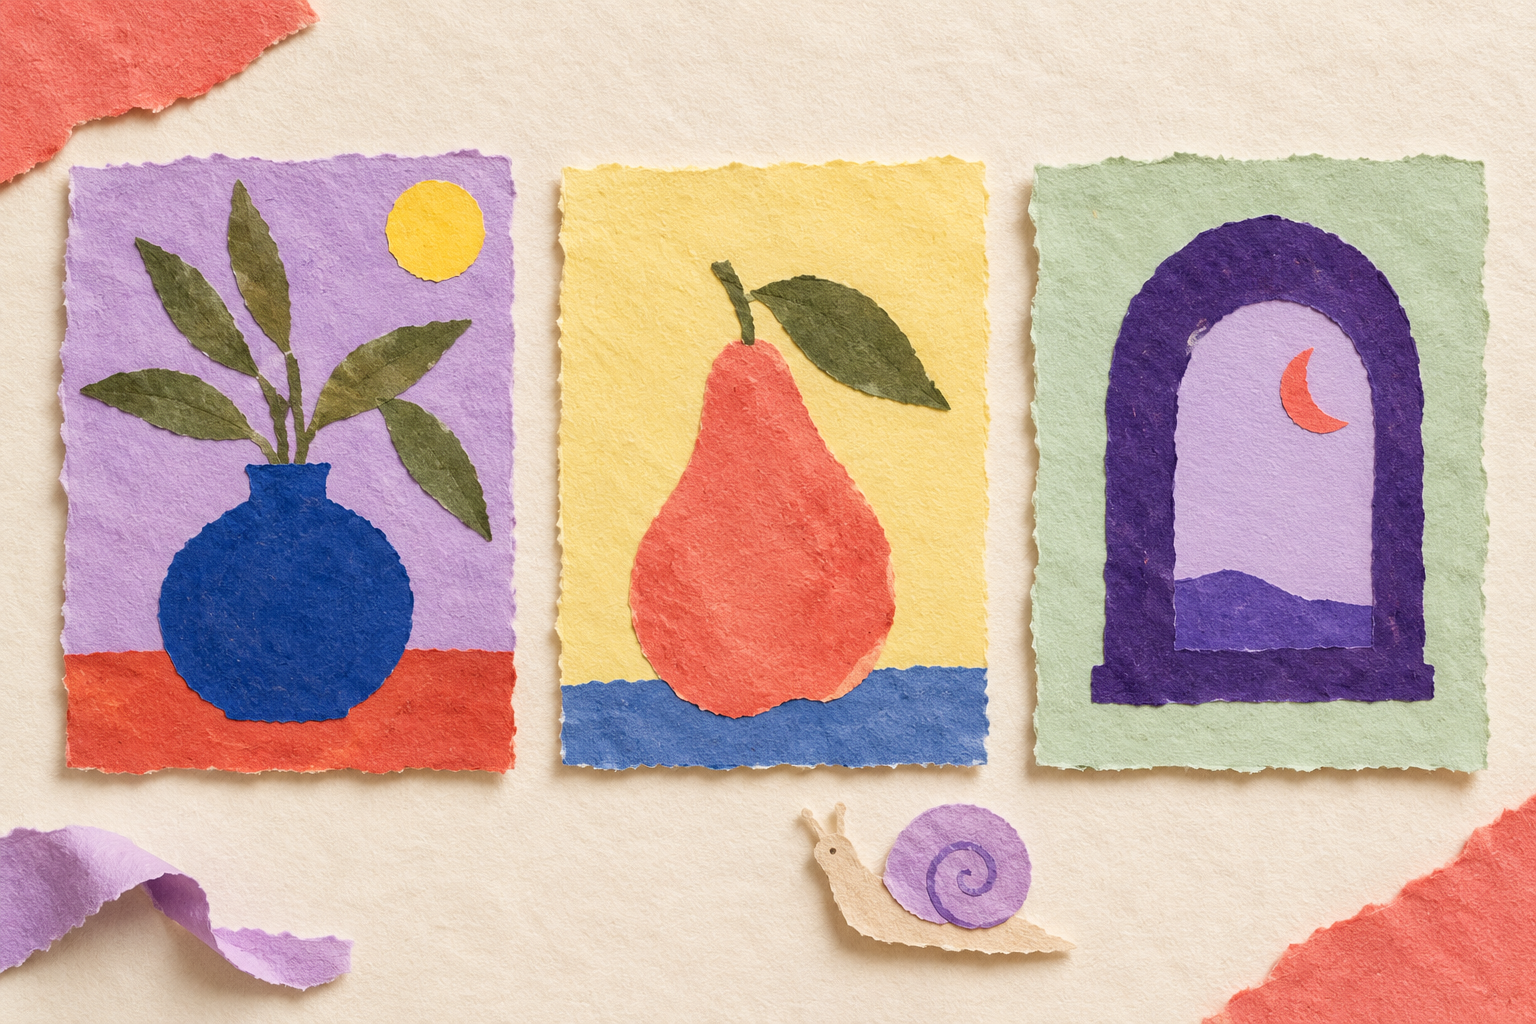
If cutting recognizably shaped objects is not enjoyable, make an abstract version with three large torn shapes. The Georgia Museum of Art’s two-color collage activity is a good resource for exploring simple shapes without needing a scene.
Give your tiny artwork a proper home
Let the piece dry fully before framing. Check the frame’s actual visible opening: a frame labeled 5 × 7 inches may hide a little of the paper around the edges. Keep your favorite details away from that area.
If the collage has thick layers, choose a frame with enough depth or a mat that keeps the surface from pressing directly against the glazing. A display stand is another option; place it somewhere dry and out of strong direct sunlight.
Want a soft little message? Add a short handwritten phrase on a separate scrap, such as “Made, not perfect.” Keep it small enough that the art still leads. You can also write the date and a title on the back: “The Vase I Made Instead of Scrolling” is available.
For another small framed project, try paper weaving for beginners. If you would rather make something useful for your current book, our watercolor bookmark guide offers three simple designs.
The Sunday Soft Reset
A calmer start to your week.
Get Lifvyt’s weekly collection of gentle wellness reads, nervous-system resets and practical tools — plus the free 5-Minute Nervous System Reset Guide.
By signing up, you’ll receive the free guide and one gentle Lifvyt email each week. Unsubscribe anytime.