
A tiny analog skill with extremely satisfying results
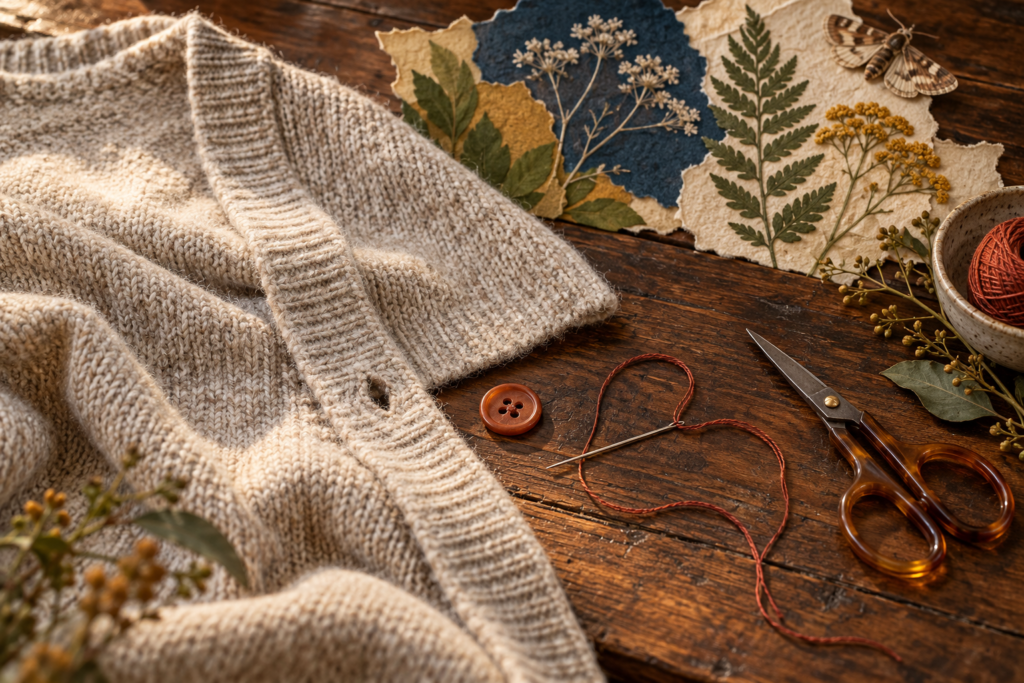
A loose button has a special talent for making a perfectly wearable cardigan feel like a future problem. The good news: learning how to sew on a button takes one needle, ordinary thread and about 15 to 25 quiet minutes. No sewing machine. No craft-room credentials. No need to send the whole sweater into witness protection.
This beginner guide shows you how to replace a two-hole or four-hole button so it sits securely, moves through the buttonhole comfortably and does not pull the fabric into a tiny sad crater. You will also learn what to do when the original button is missing, why a straight pin makes a useful spacer and how to fix the most common button mistakes.
Quick safety note: This is an adult craft guide. Work in good light, keep needles and scissors away from children and pets, and follow the garment’s care label. For leather, heirloom pieces, structured coats or badly torn fabric, a tailor may be the safer choice.
A very small repair is still a real skill
Repair and visible-mending ideas continue to show up in 2026 hobby reporting. Pinterest’s annual hobby report describes growing interest in repair-minded aesthetics, while Michaels reports increased searches around visible mending. Those are broad cultural signals—not proof that everyone is suddenly searching for buttons—but they do help explain why practical, hands-on clothing care feels current again.
The appeal is refreshingly unglamorous. You get to solve a concrete problem with your hands, wear the result immediately and avoid turning one missing fastener into a reason to ignore a garment for six months.
What you need—and what you can skip
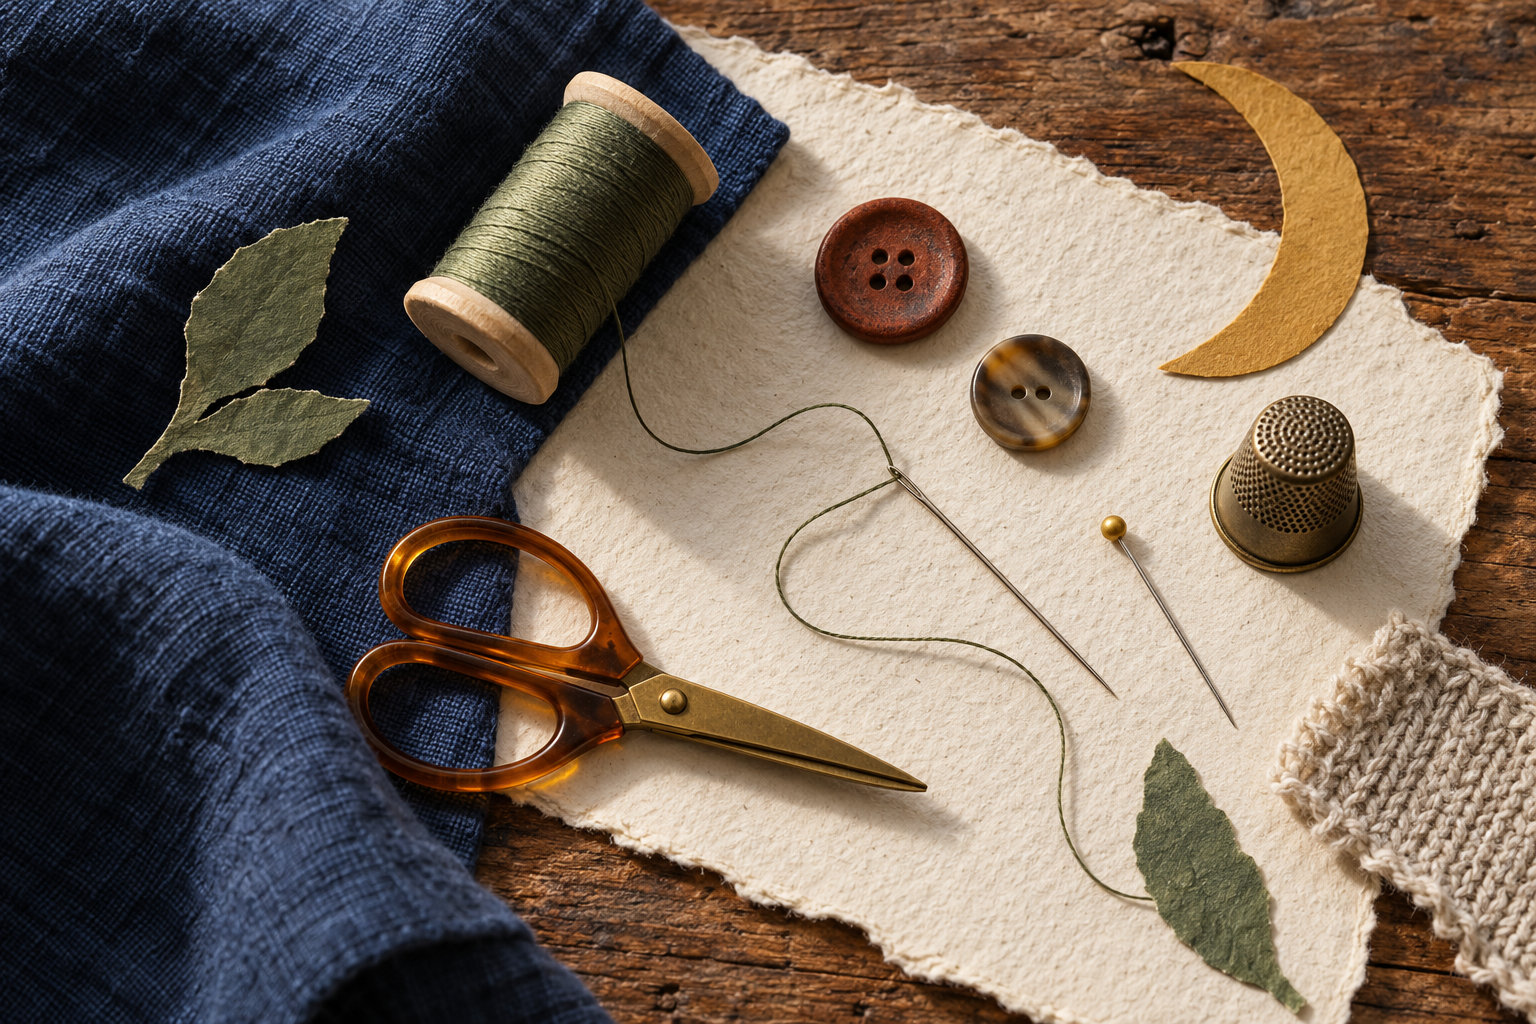
- A matching or replacement button: Make sure it passes through the buttonhole before you sew.
- All-purpose sewing thread: Choose a color close to the existing stitches, or use contrast deliberately.
- A hand-sewing needle: It must pass easily through the button holes. For tightly woven fabric, use a finer needle.
- Small scissors: Sharp enough to cut thread cleanly.
- A straight pin or toothpick: This creates breathing room between the button and fabric.
- A thimble, optional: Helpful with denim, canvas and other stubborn fabric. Push with the thimble, never the tip of your finger.
- Tailor’s chalk, optional: Useful when there is no visible mark showing the original placement.
You do not need fabric glue. Glue can stiffen the area, seep through some fabrics and make a later repair harder. Dental floss is sometimes suggested for heavy buttons, but ordinary sewing thread is easier to knot, less bulky and suitable for most everyday garments.
How to sew on a button in seven clear steps
1 Clear the old thread
Snip loose stitches one at a time and pull them out gently. Do not slice against the garment itself. If the fabric under the button is stretched, thin or torn, reinforce that area first; a new button cannot hold securely in damaged cloth. The principles in our beginner visible-mending guide can help you understand basic reinforcement.
2 Find the correct position
Lay the garment flat and close the neighboring buttons. Use their row as your guide. Pull the buttonhole across without stretching it and mark where its center naturally lands. Before threading the needle, hold the replacement button there and make sure it can move through the buttonhole.
3 Prepare a manageable length of thread
Cut about 18 to 24 inches of thread. Push one end through the needle, bring the two ends together and tie them into one knot. Double thread makes the repair faster and stronger. More thread is not more efficient; a dramatic arm-span length mostly creates knots and mild betrayal.
4 Anchor the thread from the back
Take one or two tiny stitches at the marked spot, keeping them within the area the button will cover. This gives the thread a secure starting point. Bring the needle from the back of the garment to the front through one button hole.
5 Add a spacer and sew evenly
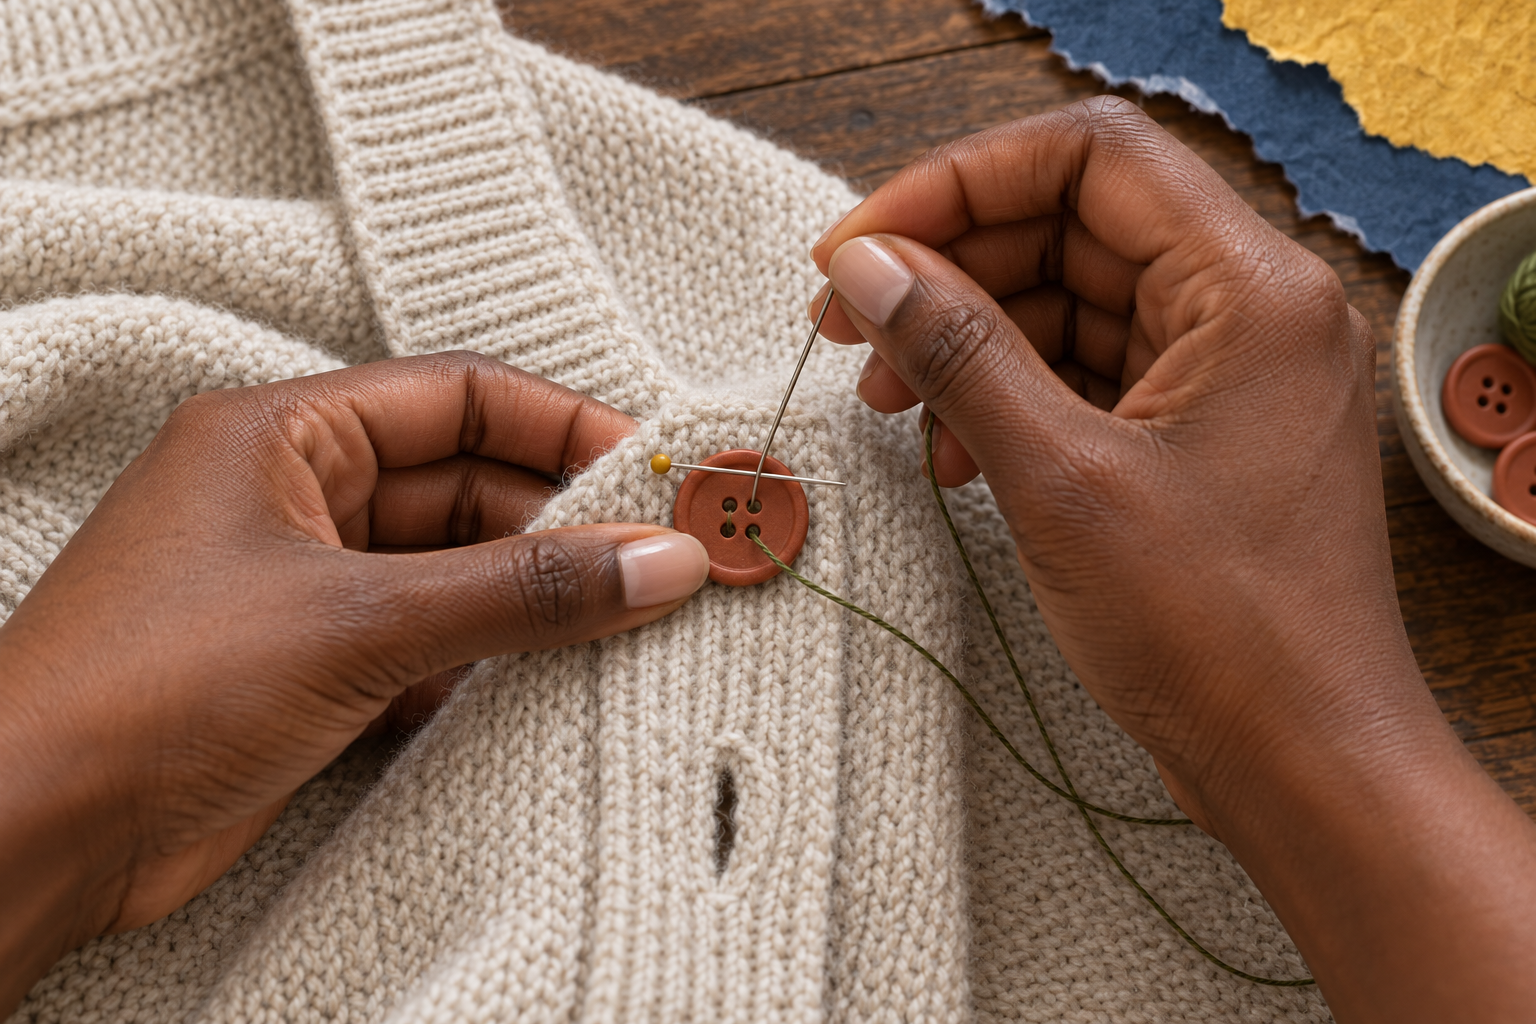
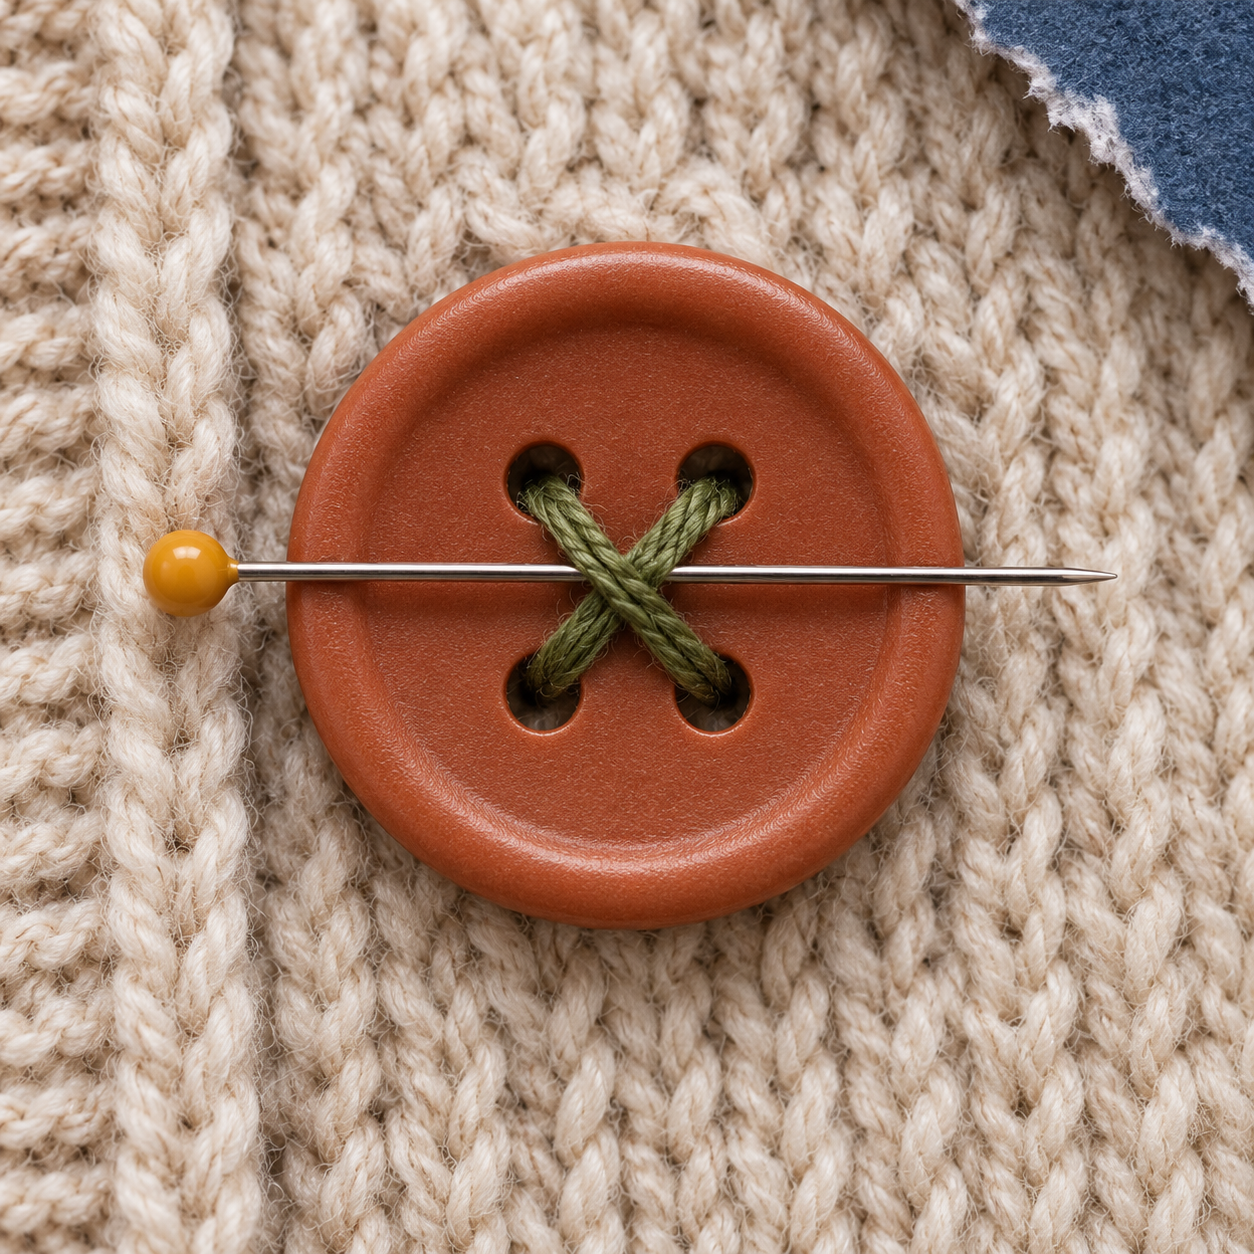
Lay the straight pin across the top of the button, between the holes, then stitch over it. For a two-hole button, travel down through one hole and up through the other. For a four-hole button, copy the parallel or X pattern used on the neighboring buttons.
Make roughly six to eight secure passes in total. Pull until the thread lies neatly, but do not yank. The fabric should stay flat rather than puckering around the button.
6 Build the little thread neck
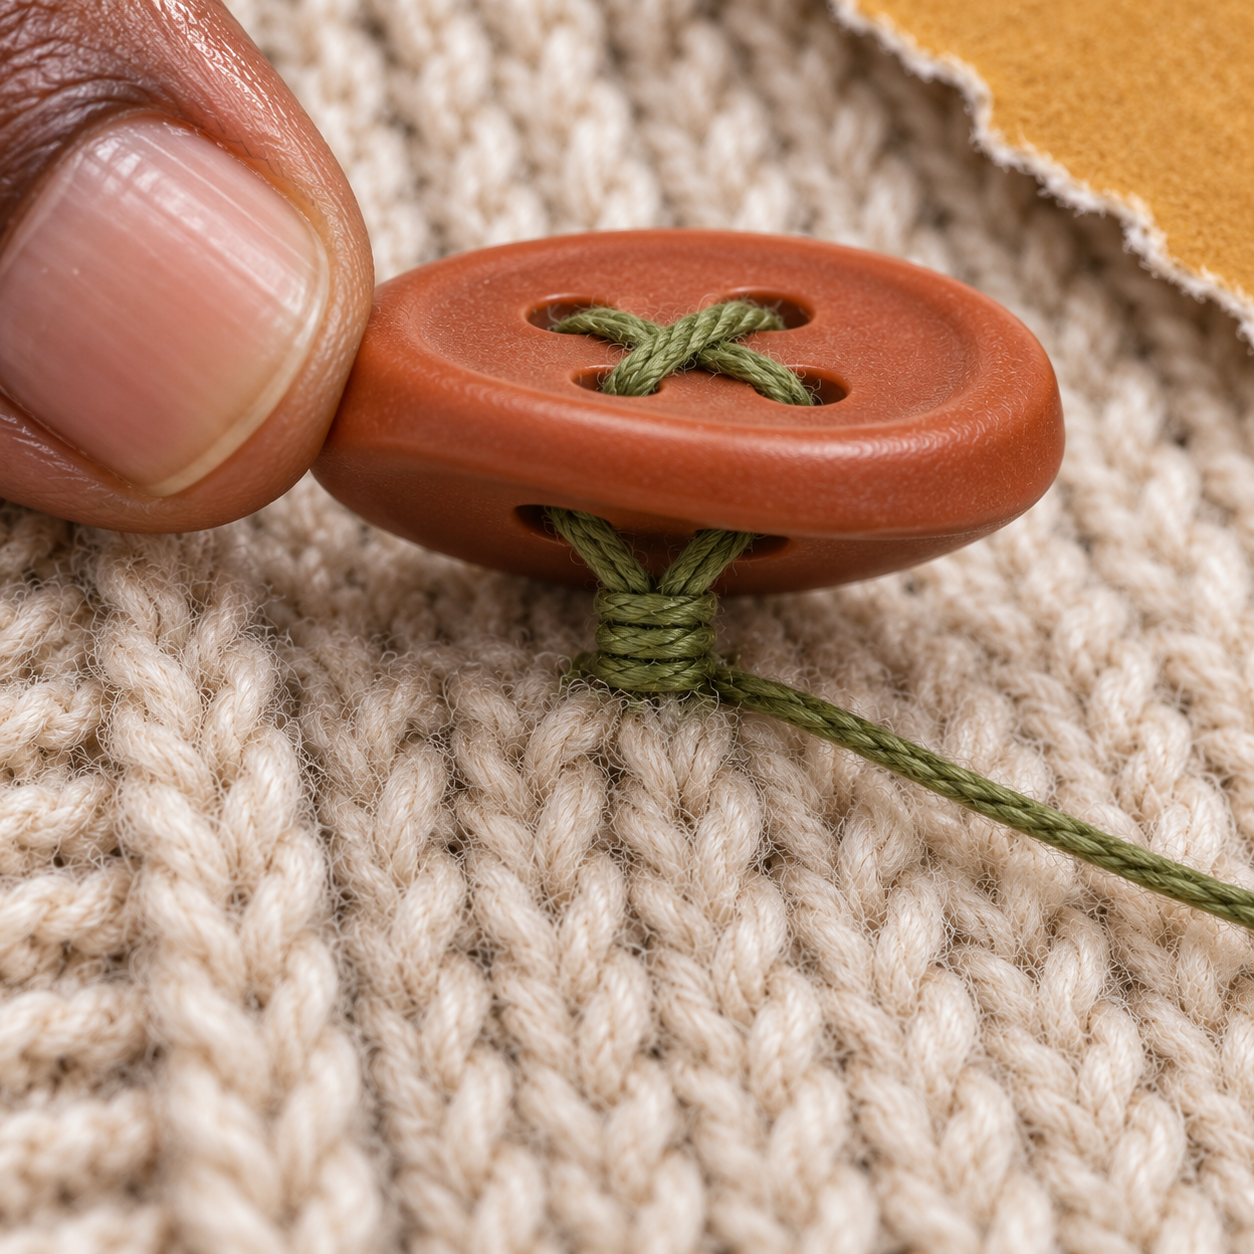
Remove the pin. Bring the needle up through the fabric without passing through the button, then lift the button slightly. Wrap the working thread three or four times around the stitches beneath it. This creates a thread shank: a small neck that gives the buttonhole fabric somewhere to sit.
A thin shirt needs only a little space. A chunky knit or thick coat needs more. The goal is comfortable fastening, not a wobbly button on a thread pedestal.
7 Secure the back and test it
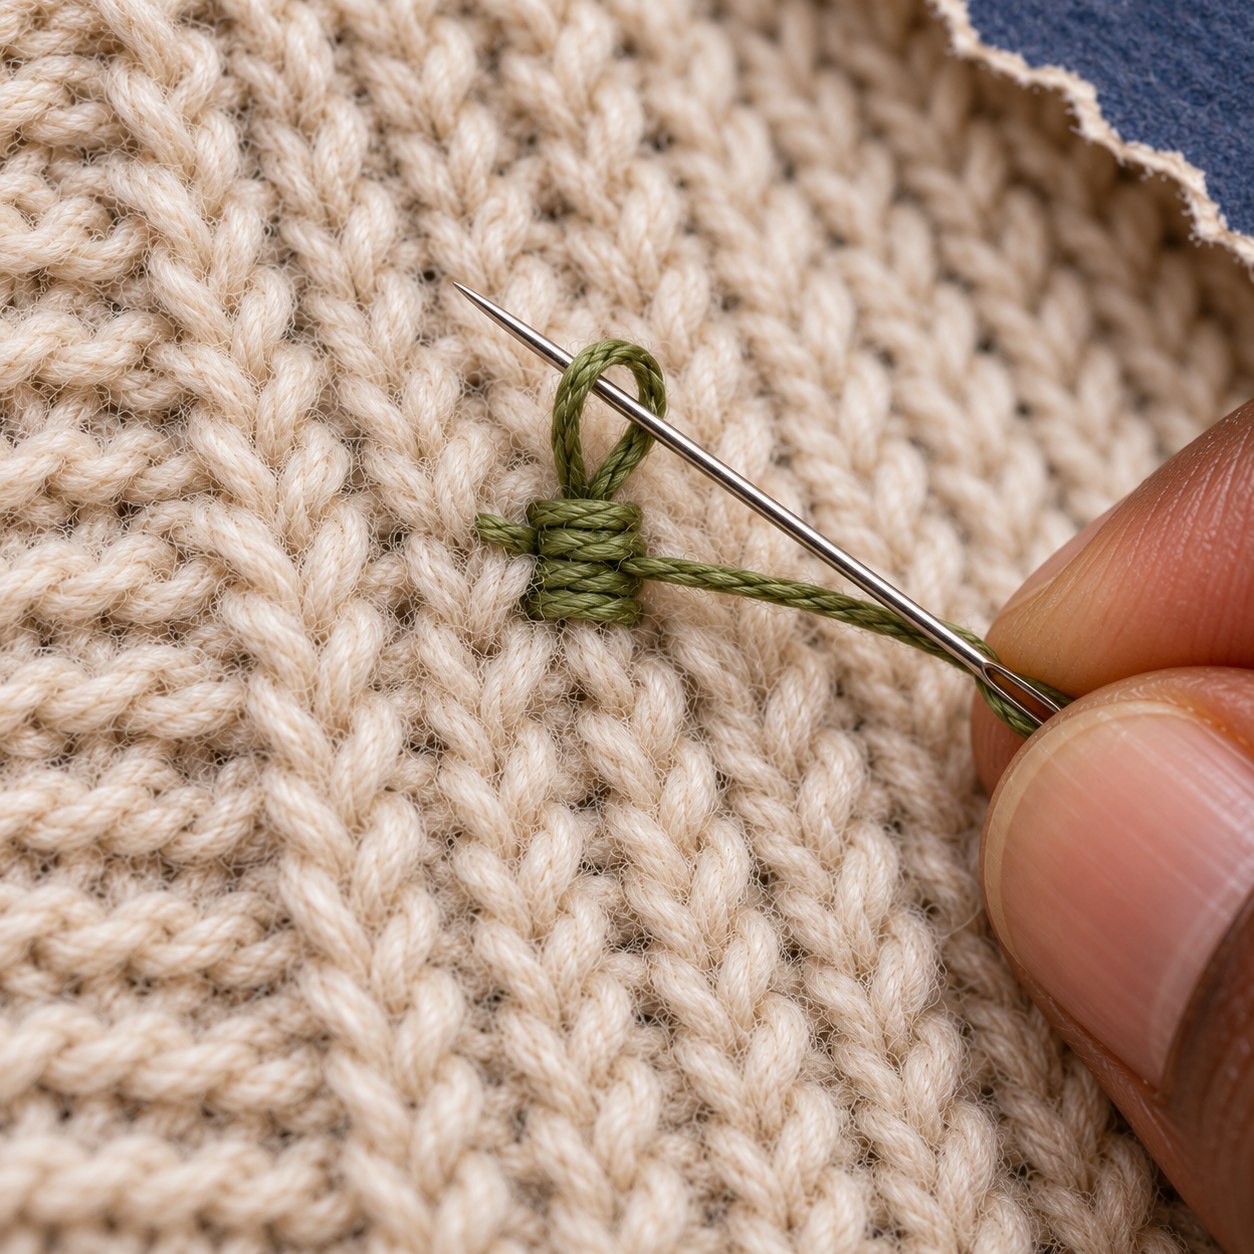
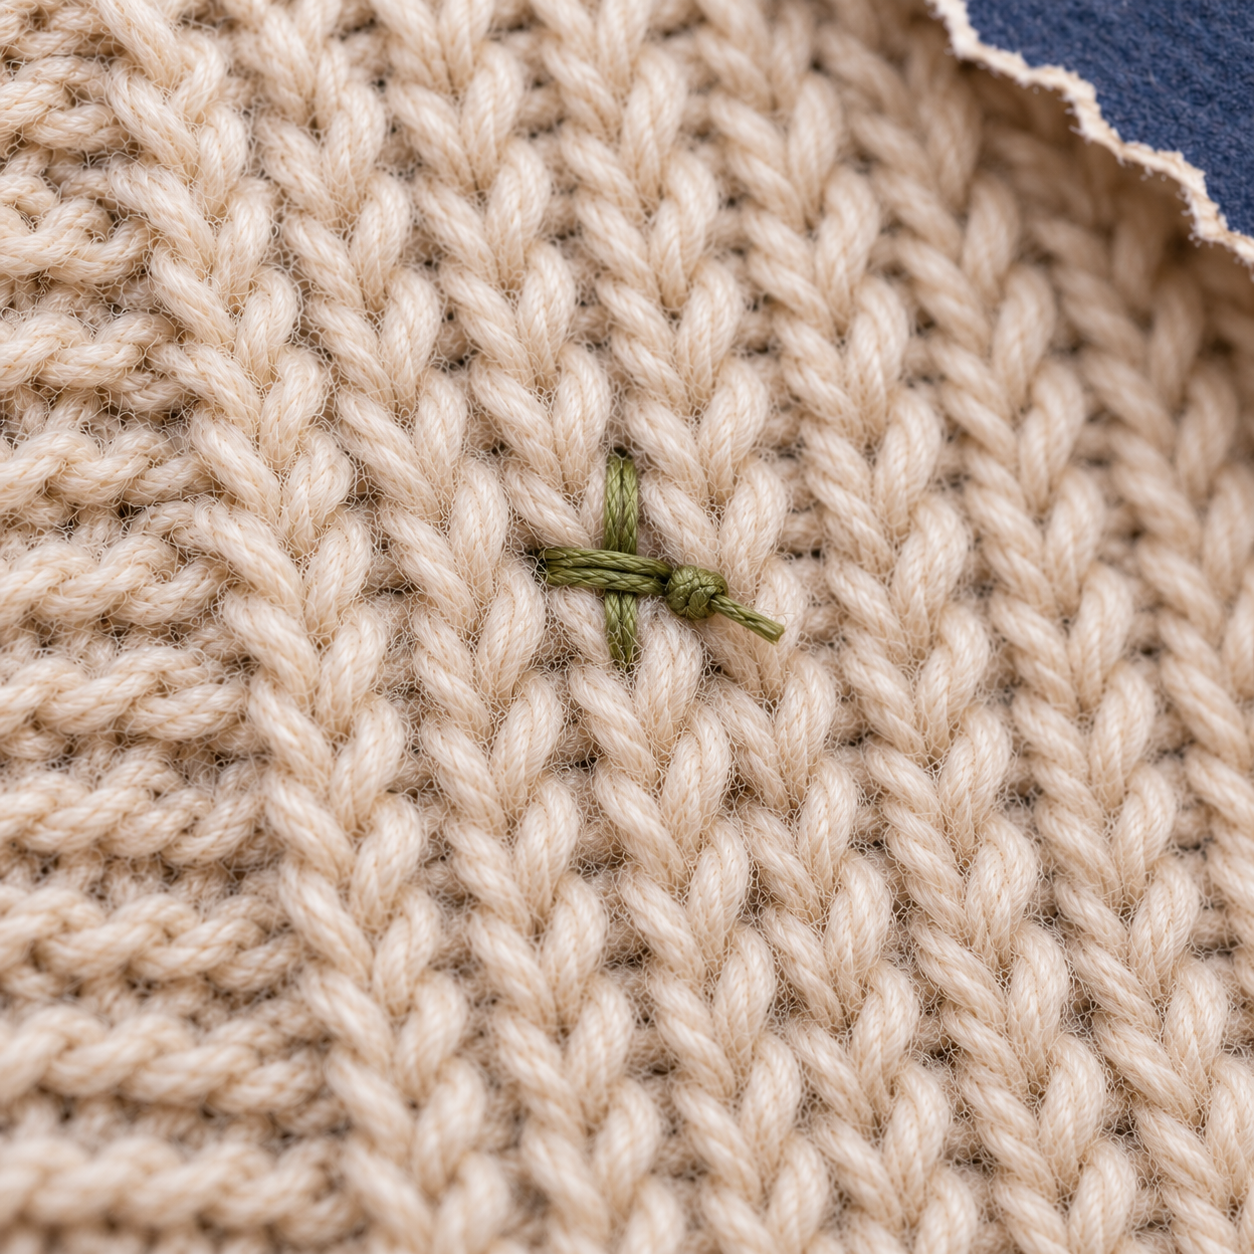
Send the needle to the back of the garment. Take two or three small stitches through the existing thread, form a secure knot and trim the tail. Button and unbutton the garment a few times. The button should move through the hole without a wrestling match, sit straight and stay firmly attached.
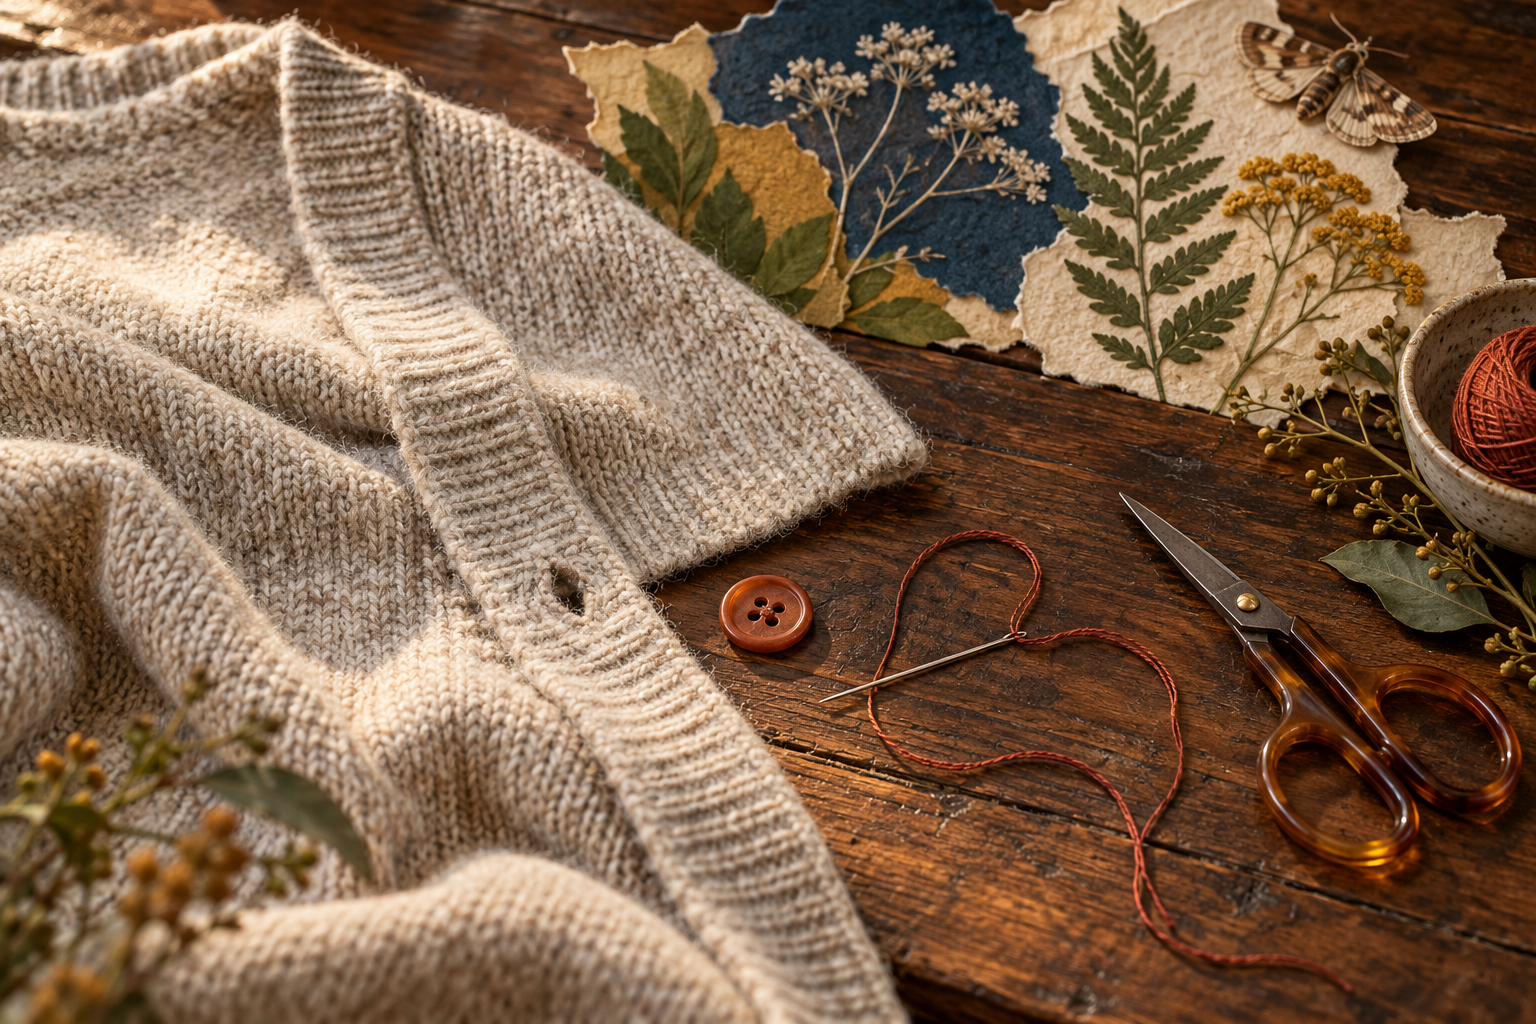
Worked example: On an oatmeal knit cardigan with rust four-hole buttons, line up the replacement with the buttons above and below it. Match their stitch pattern, place a pin over the button as a spacer and keep your tension firm but gentle. The knit should remain soft and flat around the finished repair.
If it looks wrong, the fix is usually simple
The button is too tight
The garment fabric cannot fit beneath it. Remove the stitches and repeat with a pin or toothpick spacer, then wrap a thread shank.
The fabric is puckering
Your tension is too strong. The stitches should hold the button securely without gathering the fabric underneath.
The button tilts or wobbles
Check that the position is correct, add a few even passes and make the thread shank slightly shorter.
The thread keeps tangling
Use a shorter length. Pause occasionally and let the needle hang so the thread can untwist itself.
The new button looks different
Move a matching button from a less noticeable spot, replace the full row or make the mismatch look intentional with a coordinated set.
The fabric has a hole
Stop before attaching the button. Patch or reinforce the weak area first, or ask a tailor to rebuild it.
After the first wash, inspect the repair before wearing it. Follow the garment’s original care label; a hand-sewn button does not change what the fabric can safely handle.
When a tailor is worth it
Basic shirt and cardigan buttons are excellent beginner repairs. Take the garment to a professional when the surrounding fabric is ripped, the item is leather or suede, a heavy coat needs reinforcement, the piece is valuable or sentimental, or the fastener requires rivets and setting tools.
If you enjoy this small win, try another low-pressure hands-on skill at a library makerspace. Many offer sewing tools, repair events or staff who can point you toward beginner-friendly equipment.

Your next step can be tiny
Choose one loose button today. Set out a needle, thread, scissors and a straight pin. Give yourself twenty unhurried minutes and copy the spacing and stitch pattern already on the garment.
The useful part is not perfect stitches. It is knowing that a small clothing problem no longer gets to decide whether you wear something you love.
Sources and further reading
- iFixit: How to Sew on a Button — a visual repair sequence for a common sew-through button.
- Pinterest: 2026 Hobbies Trend Report — broad cultural context on repair aesthetics and hands-on hobbies.
- Michaels: 2026 Creativity Trend Report — retailer search data on visible mending and other creative interests.
Educational note: This guide is for general craft education. Needles, scissors and damaged garments can create hazards. Use tools as directed, supervise young makers, follow the garment manufacturer’s care instructions and consult a qualified tailor for valuable, delicate or structurally damaged items.
The Sunday Soft Reset
A calmer start to your week.
Get Lifvyt’s weekly collection of gentle wellness reads, nervous-system resets and practical tools — plus the free 5-Minute Nervous System Reset Guide.
By signing up, you’ll receive the free guide and one gentle Lifvyt email each week. Unsubscribe anytime.