
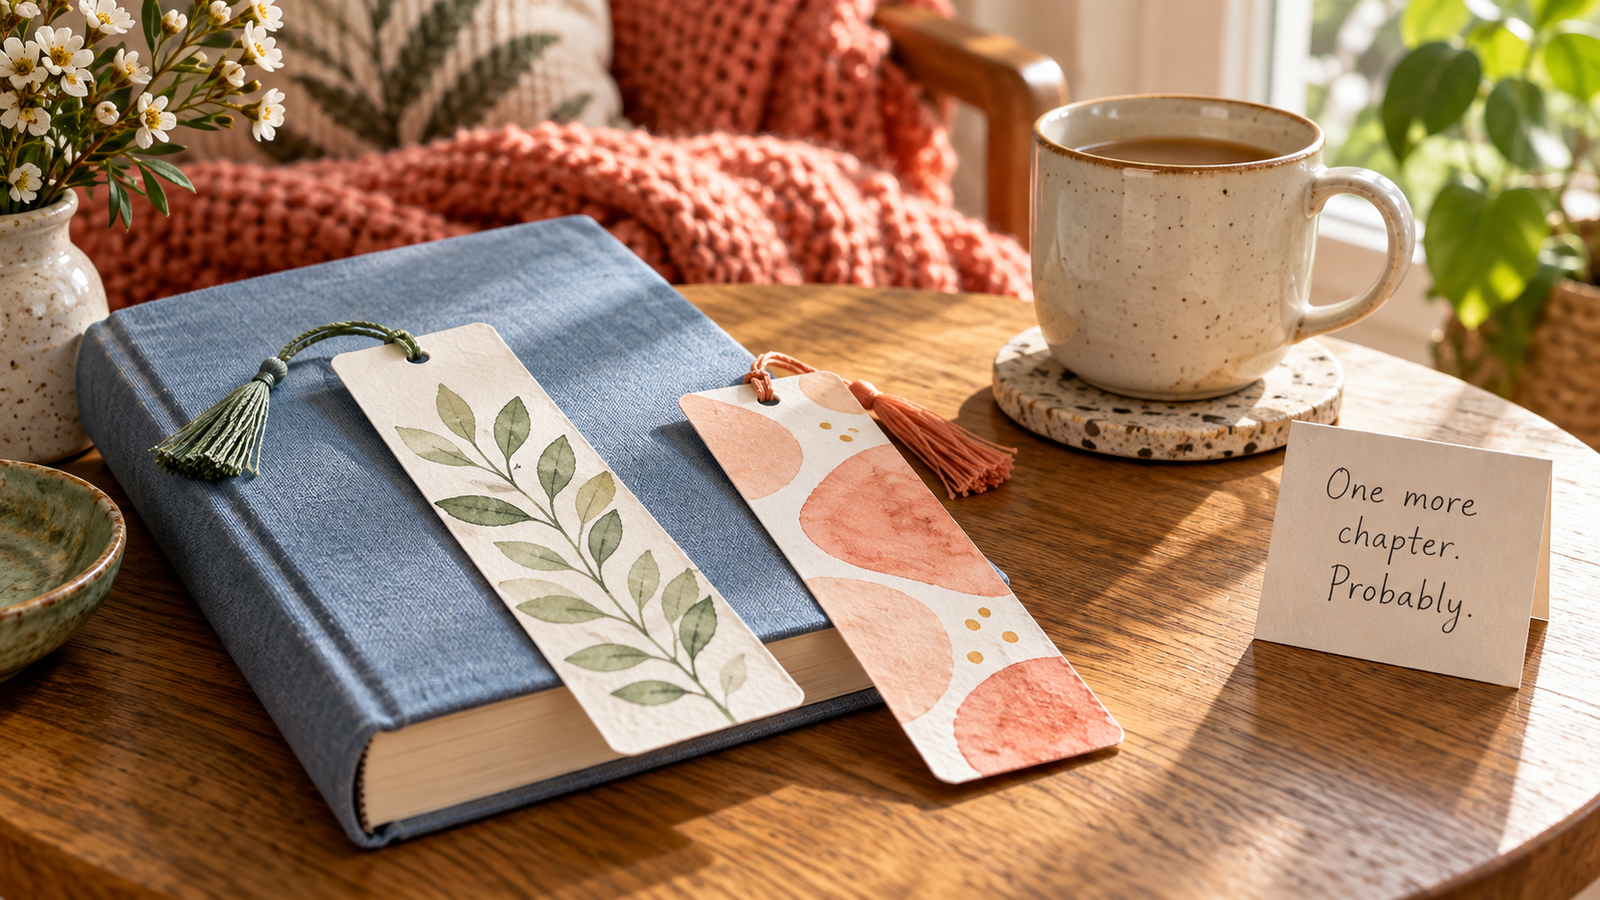
The receipt marking your page has done enough unpaid labor. Give it the afternoon off.
Watercolor bookmarks for beginners are a small, useful painting project: a few strips of paper, two or three colors and something lovely to tuck into your next read. You do not need to draw a convincing face, landscape or bowl of fruit. Today, stripes count as art. So do circles.
What you actually need
- Watercolor paper: around 300 gsm / 140 lb is a useful starting point. Cold-pressed paper has texture; hot-pressed is smoother. Cellulose watercolor paper is fine for this practice project—you do not need a premium cotton pad.
- A small watercolor set: use what you have. Blue, green and a warm pink or orange are enough.
- One round brush: a medium pointed brush, around size 6, is convenient; brush sizes vary by maker.
- Water jar, palette or white plate, and cloth: keep the rinse jar distinct from your drinking cup. This is a hobby, not a surprise tea tasting.
- Ruler, pencil and scissors: plus a scrap of watercolor paper for testing.
Watercolor paper is the purchase that makes the biggest practical difference here. Ordinary printer paper can buckle and roughen when wet. Use it to plan shapes, then move to watercolor paper for the finished piece. Winsor & Newton’s paper guide explains the weight and surface choices in more detail.
Set up a small space you can clear again
Cover the table with a washable mat. Put your water toward the back, paints to one side and a clear drying area out of reach of spills. Cut three paper strips, lightly marking the measurements on the back. Save the offcuts for testing color.
Before painting, wet a pan of color with a few drops of water. Mix a little paint with water on the palette, then test it. Aim for a light, transparent mark first; it is easier to add color later than remove a heavy patch.
Three designs that do not require drawing skills
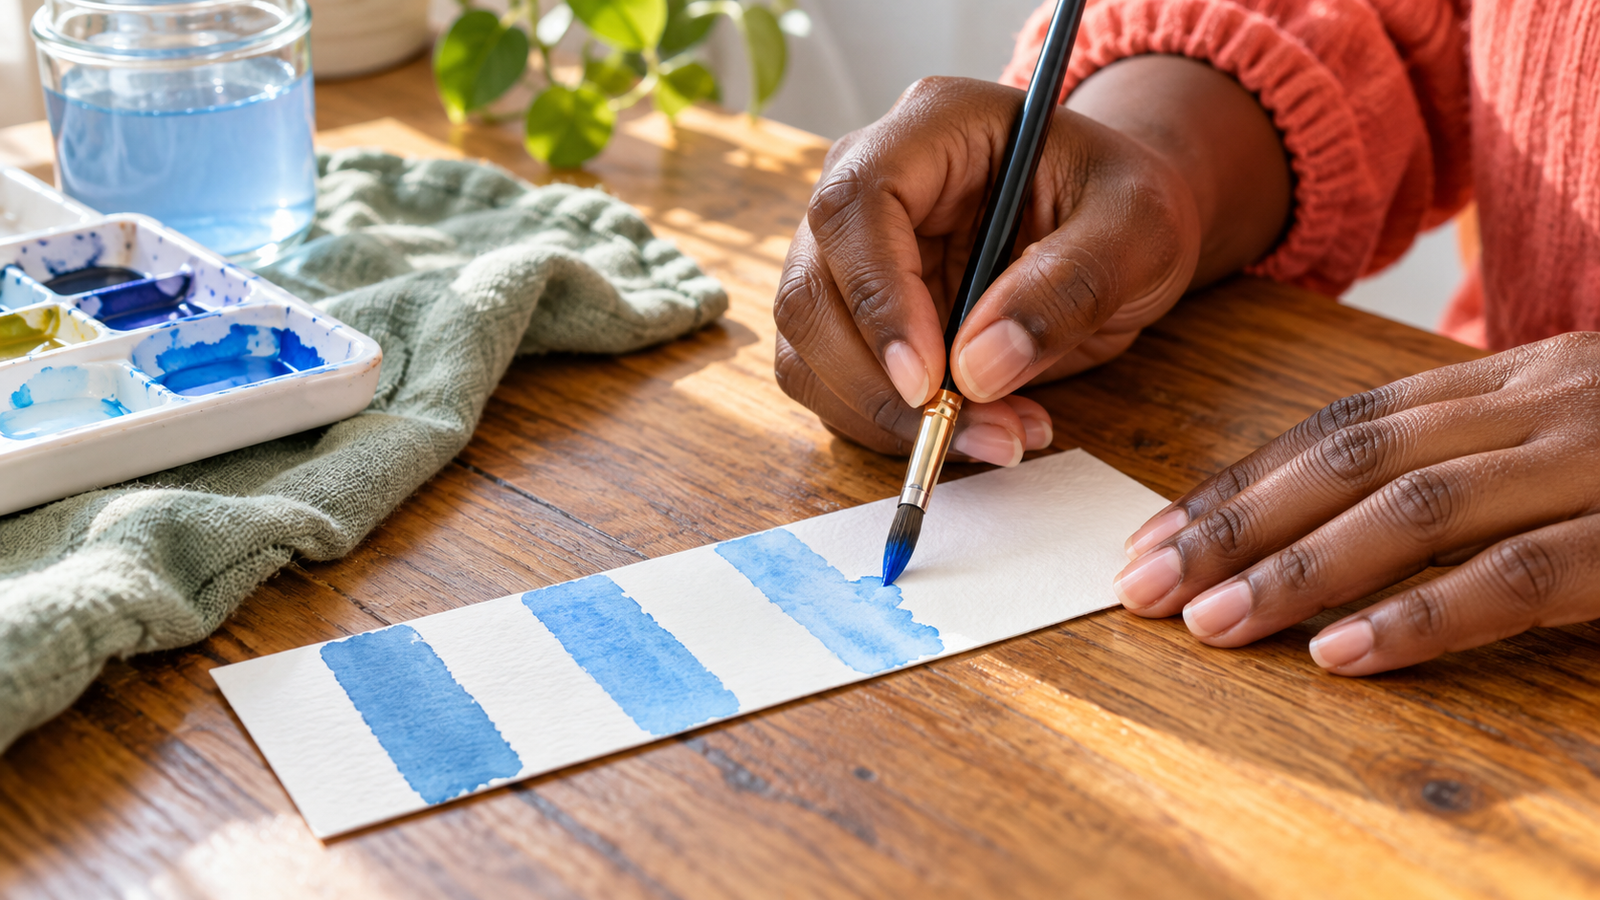
1. Blue bands: the easiest first win
Start on dry paper. Load the brush, dab off a hanging drip and pull a short band across the bookmark. Leave a white gap before the next band. Add a little water to your palette mixture for a lighter stripe, or a little pigment for a darker one.
Work from the top toward the bottom so your hand stays off wet paint. Do not keep scrubbing a stripe into submission. A slightly wobbly edge gives it a handmade finish.
2. Peach and coral circles
Paint three or four loose circles or ovals, leaving some white space. Let them dry before adding a second shape that overlaps. Dry layers give clearer edges; wet shapes that touch may merge. Neither effect is wrong, but they look different.
Try one larger circle near the bottom and two smaller ones above it. Stop before every empty space becomes a project.
3. A simple leafy stem
With the point of the brush, paint one thin, gently curved green line. Add small oval leaves on either side. For each leaf, touch the tip down, press the brush slightly wider, then lift it to a point. Practice that motion on an offcut first.
Use pale leaves for the first pass. Once dry, add a few darker leaves rather than outlining everything. Your stem can bend. Plants have been doing that successfully for years.
Let it dry, then finish it for a real book
Lay the bookmarks flat until fully dry. If one curls slightly, place the dry piece between clean sheets of paper under a heavy book overnight. Do not press a damp painting against book pages.
Trim uneven edges if you want. A plain bookmark is already finished. For an optional tassel, punch a hole at least half an inch below the top edge and loop a short length of embroidery floss through it. Keep the tassel outside the book and skip bulky beads that press into pages.
You do not need varnish or glitter. Watercolor remains sensitive to moisture: keep the bookmark dry, and avoid very thick deposits of paint. Test the dry surface gently with clean paper before using it in a treasured book.
If something goes sideways
- A puddle forms: rinse and blot your brush, then touch its tip to the edge of the puddle to wick up water.
- The colors turn muddy: rinse the brush thoroughly and use fewer colors in the same wet area.
- The paper gets fuzzy: stop rubbing it and let it dry. Use a fresh strip for the next attempt.
- A mark dries with a hard edge: keep it as part of the pattern or practice a more even wash next time. You do not have to repair every mark.
Make it a small craft date
Invite one friend to bring a book and a mug. Share paints, but give each person a brush, water and drying space. Paint one bookmark to keep and one to swap; write a short recommendation on the back after it dries.
For a quieter solo version, paint while listening to one album. Pack the dry materials into a little pouch afterward. Our analog bag guide can help keep supplies handy without bringing the entire art aisle.
Want a place to use your finished bookmark? Try our cozy reading nook ideas. Prefer to work with paper without paint? Try your first junk journal page.
Helpful resources
- Winsor & Newton: choosing watercolor paper—paper weight and texture.
- Winsor & Newton: common watercolor questions—materials and beginner technique.
Project dimensions and timing are LIFVYT starting suggestions, not a product specification. Images are AI-generated editorial illustrations; use the written steps as your project guide.
The Sunday Soft Reset
A calmer start to your week.
Get Lifvyt’s weekly collection of gentle wellness reads, nervous-system resets and practical tools — plus the free 5-Minute Nervous System Reset Guide.
By signing up, you’ll receive the free guide and one gentle Lifvyt email each week. Unsubscribe anytime.