
LIFVYT · REST & ROUTINES
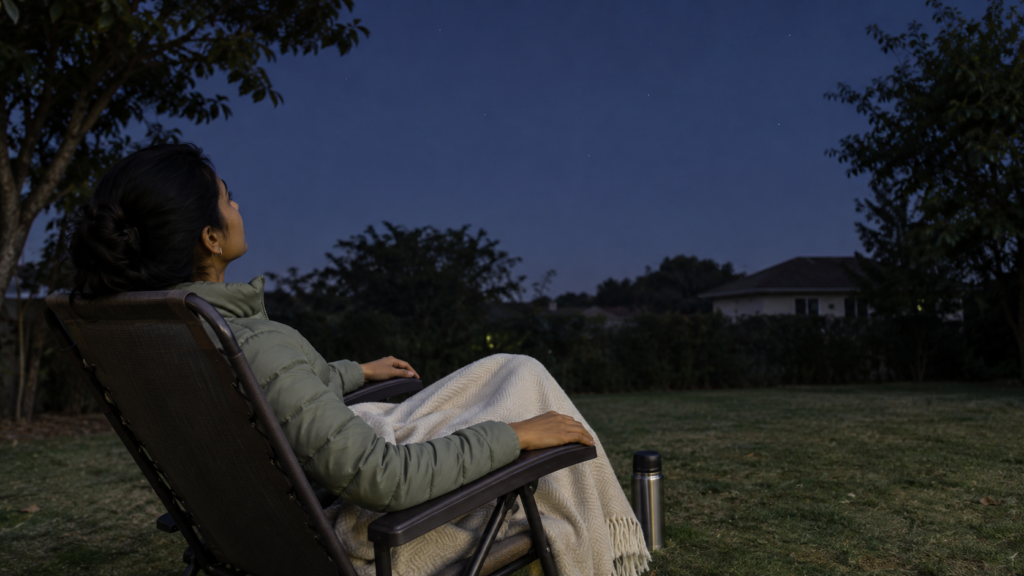
You step outside to take out the recycling and notice a bright point above the roof. For once, you want to stay out there. That is a perfectly good beginning to a stargazing hobby.
This guide to stargazing for beginners starts with a chair, warm layers and one small patch of sky. You’ll learn how to choose a viewing spot, decide when to go and spend your first 45 minutes looking up without needing a telescope—or memorizing the solar system first.
Why try it this November?
There is a timely reason to look up. In its November 2, 2026 skywatching guide, NASA highlights a close-looking pairing of Mars and Jupiter before sunrise on November 15 and 16, plus a full supermoon on November 24.
For the planets, NASA suggests looking southeast before sunrise; Jupiter is the brighter one. For the full Moon, look east around sunset. Check your local forecast, horizon and rise times before leaving. These are optional outings, not appointments the clouds have agreed to honor.
A supermoon is a full Moon occurring when the Moon is relatively close to Earth. The size difference can be subtle. You do not need to see an enormous movie-poster Moon for the evening to count.
Seasonal details checked November 7, 2026. For later dates, use NASA’s Night Sky Planner. This is a seasonal editorial angle, not a claim about social-media popularity.
What to bring—and what can stay home
Use what you own for the first outing. Save any equipment shopping until you know which part you enjoy: the Moon, learning patterns, watching for meteors or simply being outside.
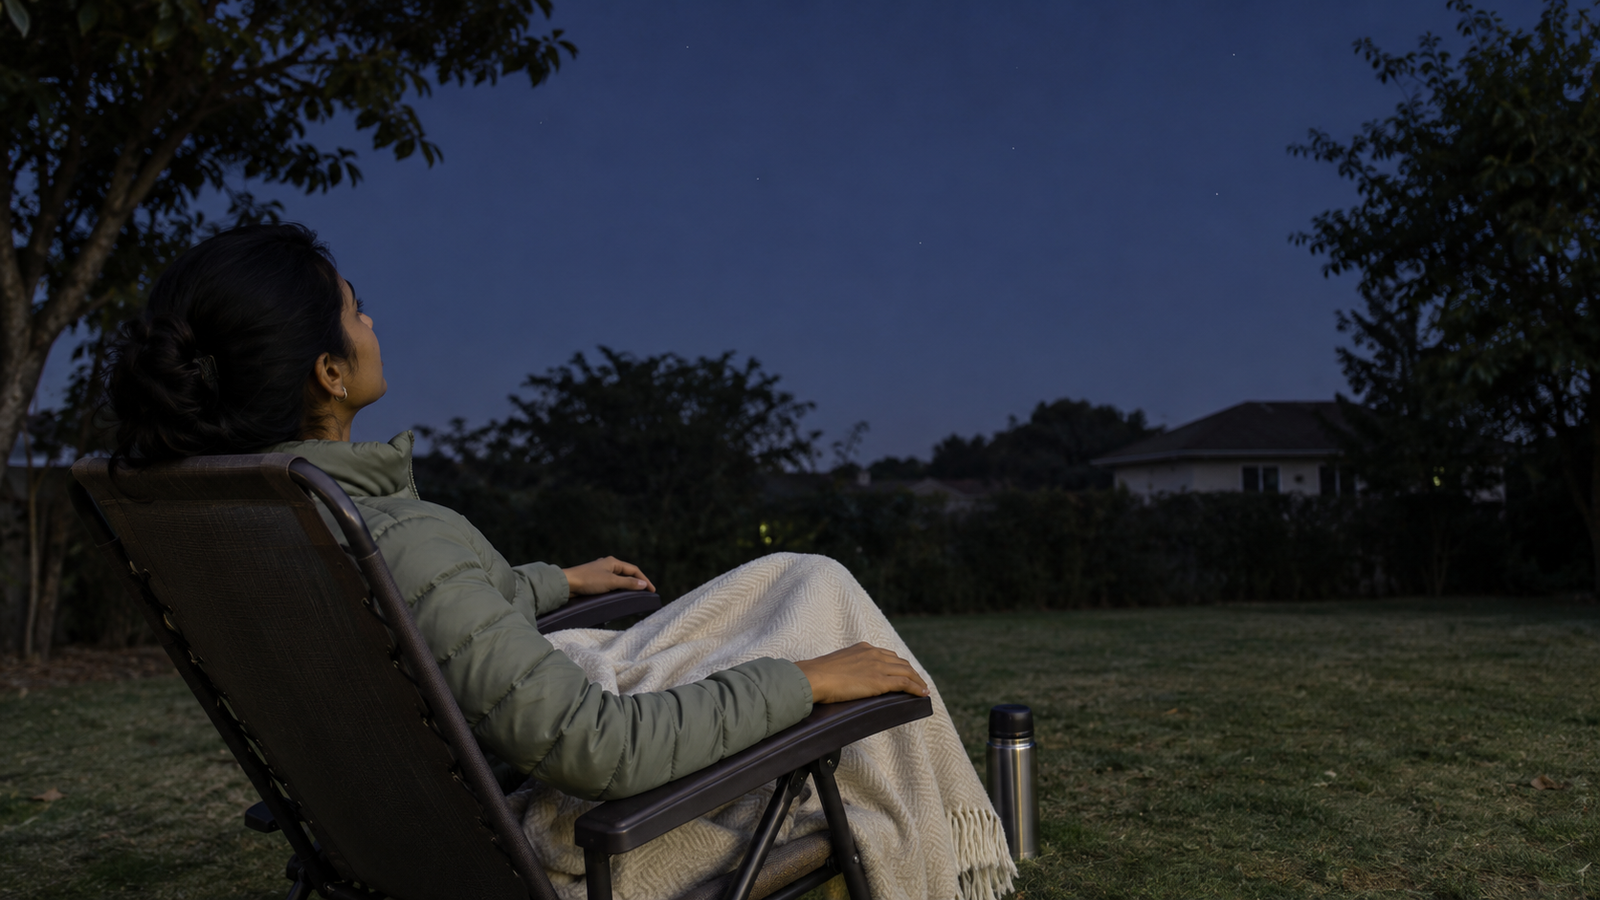
- A stable chair: A reclining back makes looking upward more comfortable. Set every foot firmly on level ground.
- One more layer than you expect to need: Sitting still feels different from walking. Add a hat and a blanket if the forecast calls for them.
- A small light: A dim red-light setting is useful while observing. Learn its buttons indoors so you do not cycle through a bright flashing mode beside other people.
- Water and an optional warm drink: Use a closed container you can place where nobody will trip over it.
- A pencil and small notebook: Optional. Record a couple of details after observing rather than turning the outing into homework.
- Your phone: Charge it, keep directions available and put the bright screen away while looking up.
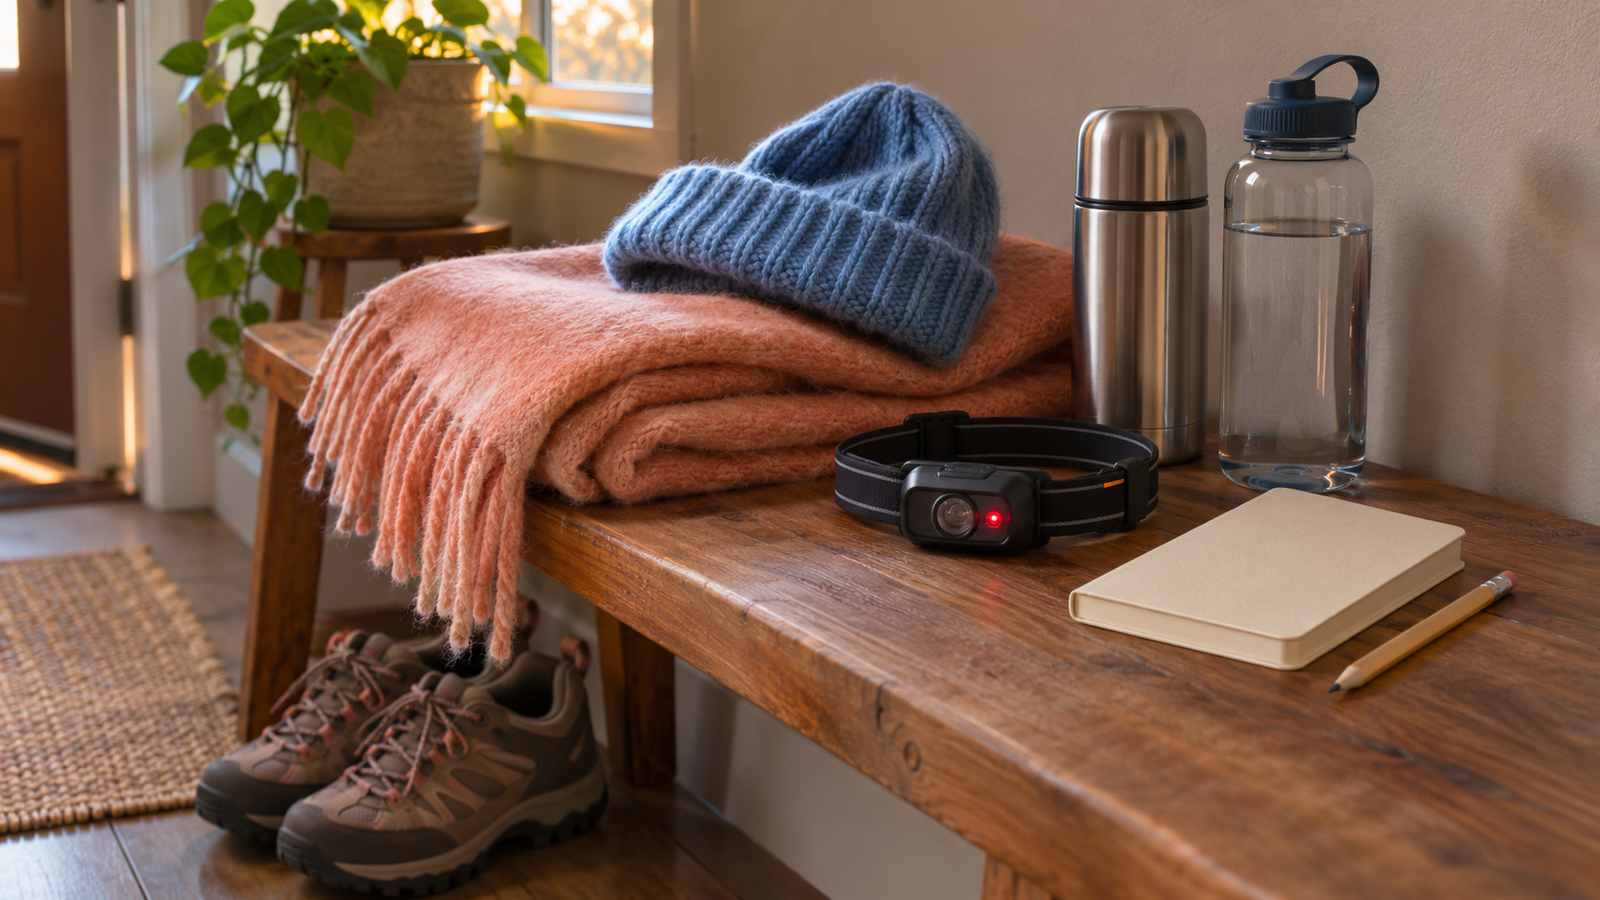
You can leave binoculars and telescopes at home. This first session uses your unaided eyes. If you later want to try equipment, a public astronomy event lets you ask questions before buying anything.
Find a place you can actually use after dark
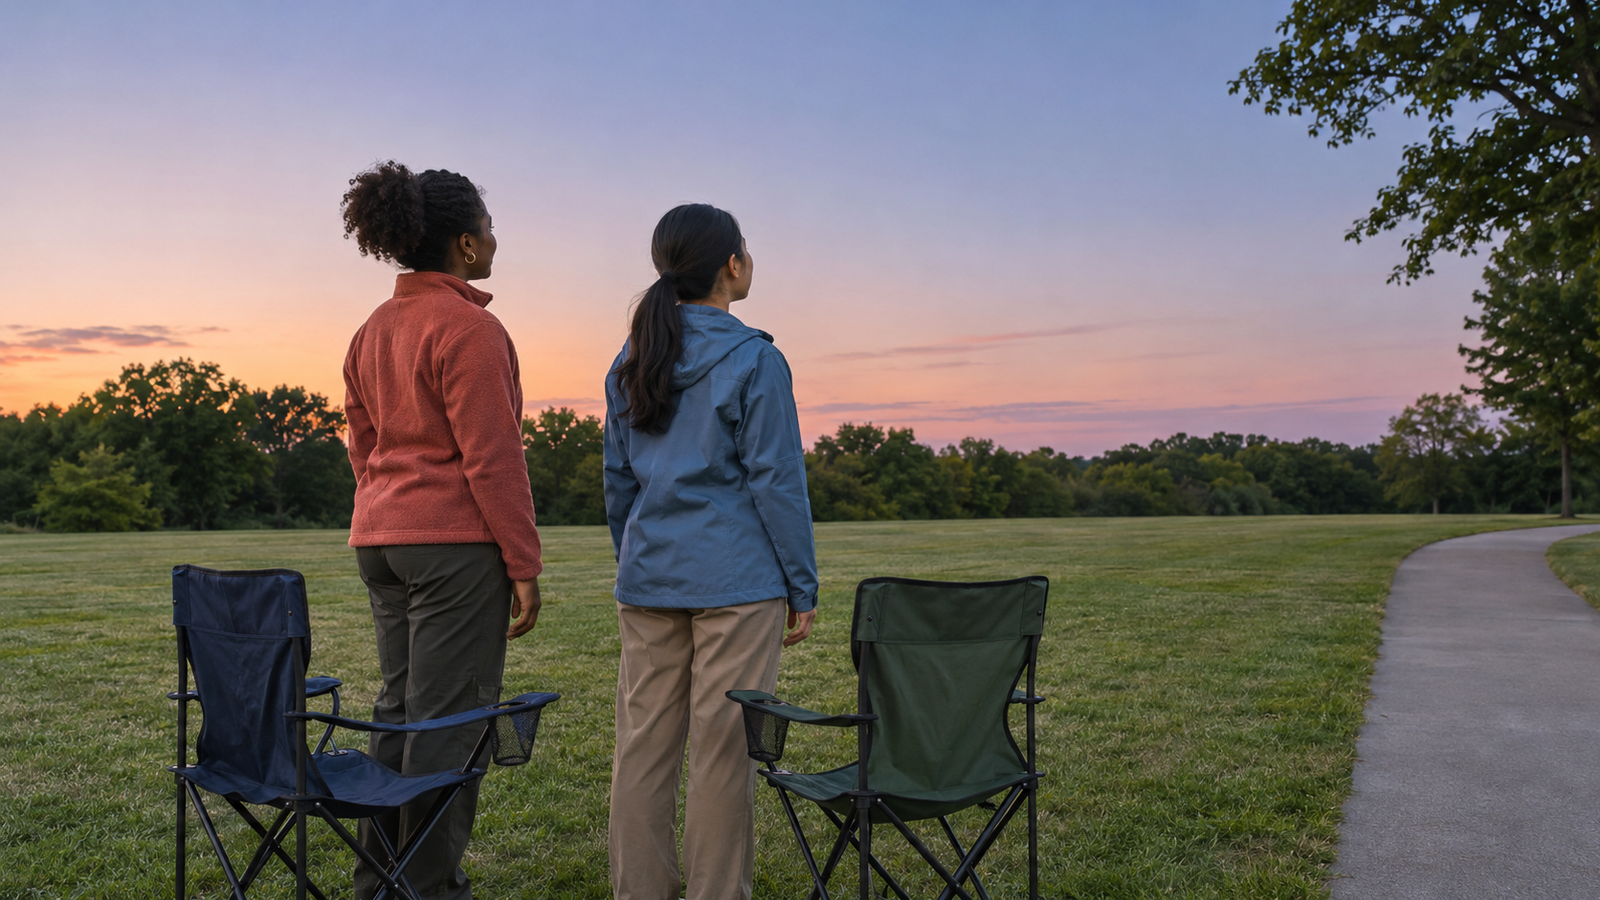
Your backyard, a permitted shared courtyard or an organized astronomy event can be a manageable starting point. Look for open sky, a clear way back and somewhere you can sit without blocking a path. In a public park, check the official closing time; an open gate is not permission to stay.
NASA’s viewing-location guide explains that city light washes out faint objects. A backyard may show only the brightest points. You can still practice finding directions and recognizing a few things without driving to a remote site.
Inspect the space before it gets dark. Note steps, roots, sprinklers, uneven paving and the route to the restroom or exit. If accessibility matters, ask the organizer about the actual observing surface and route, not just whether the venue has parking.
Stargazing for beginners: your first 45-minute session
The timing below is a suggested plan, not a viewing guarantee. If you only have ten minutes, enjoy those ten; allow a longer visit when you want to see fainter stars.
1. Choose one target before going outside
Check a current guide for your location and date. Pick something described as visible without equipment: the Moon if it is up, a bright planet or one recognizable star pattern. Write down its name, the suggested time and the direction to face.
For example, your note might say, “November 15: southeast before sunrise; look for brighter Jupiter near Mars.” Do the location and weather checking indoors. You are preparing one observation, not opening twelve tabs in the cold.
2. Use the first five minutes to settle in
Face the direction you chose. If you use your phone’s compass, do that now and put the screen away. Position your chair so a roof or tree is not blocking that part of the sky. Keep drinks, bags and loose blankets out of your walking route.
Turn off your own unnecessary porch light if you can do so safely. At a shared site, follow the host’s lighting rules; do not alter somebody else’s lights.
3. Give your eyes time, roughly minutes 5–30
The National Park Service advises allowing about 20–30 minutes for your eyes to adjust to very low light. Bright screens and white lights interrupt that adjustment. Keep any red light dim, pointed down and on only as needed.
During this time, look around without trying to name everything. Notice the darkest direction and the easiest bright points to see. Relax your shoulders. If tilting your head hurts, change your chair position or take a break.
4. Spend about ten minutes on your one target
Compare the current guide’s direction with your view. A wide, empty-looking patch above a roof is easier to search than “the entire sky.” If you cannot find the target, check whether a tree, haze or the building is in the way before blaming your eyes.
It is fine to make one brief guide check and then resume looking. You may need more time to readjust. A screen-free hobby can still use a tool when the tool helps.
5. Finish with two lines, roughly minutes 40–45
After you finish observing, write the date, approximate time and one thing you noticed. Add a useful change for next time: “Tree blocked the southeast—try the other end of the yard.” If an identification is uncertain, write “unidentified bright point.” Guessing confidently will not make it Jupiter.
Then pack up while you are still comfortable. Use enough light to leave safely and check that you have taken your drink container and any small items with you.
When the sky does not cooperate
- “I can only see a few stars.” Check for cloud, haze, bright nearby lights and moonlight. Choose a different clear night before buying equipment.
- “I expected more color.” Do not use dramatic space photographs as your naked-eye benchmark. Your first goal is noticing and identifying a real object, not reproducing an image.
- “I went out at sunset and saw almost nothing.” Twilight can still be bright. Recheck the guide’s observing time; Moon viewing around sunset and faint-star viewing later are different plans.
- “I’m cold and distracted.” End the session. Next time, shorten the visit or bring warmer layers. This hobby has no attendance policy.
- “I don’t want to go alone.” Look for an astronomy club’s public star party or a ranger-led program. Confirm the date, booking rules and weather cancellation policy directly with the organizer.
The National Park Service’s stargazing page includes options at home and at organized programs. A “star party” means a gathering to observe the sky; it does not mean you need to arrive knowing telescope vocabulary.
If you want to make it a repeatable little hobby
Choose a familiar spot and return on another clear evening. Keep the notebook small: date, time, conditions, one observation. After a few visits, you will know which part of the sky your home allows you to see and which chair does not make your neck complain.
For daylight versions of noticing what is around you, try LIFVYT’s backyard bird-count guide or five-things photo walk. Each gives you a different reason to return to an ordinary place.
Let one small discovery be enough
You do not have to return indoors having found a constellation. Learning where the Moon clears your neighbor’s roof—or realizing how much a porch light changes your view—is already useful. Pick the next clear evening, bring the chair and give yourself time to look.
Sources and further reading
- NASA: November 2026 skywatching guide — dated observing opportunities.
- NASA: how to find good places to stargaze — light pollution, Moon conditions and viewing locations.
- NPS: Stargazing 101 — dark adaptation and considerate lighting.
- NPS: where to stargaze — home viewing and organized programs.
- NASA Night Sky Planner — a starting point for current observing information.
Outdoor safety note: This is a general recreational guide. Follow local access rules, weather alerts and event guidance; leave if conditions feel unsafe. Never look at the Sun through binoculars or a telescope without purpose-built solar equipment and qualified guidance. Use current scientific sky charts for identification.
The Sunday Soft Reset
A calmer start to your week.
Get Lifvyt’s weekly collection of gentle wellness reads, nervous-system resets and practical tools — plus the free 5-Minute Nervous System Reset Guide.
By signing up, you’ll receive the free guide and one gentle Lifvyt email each week. Unsubscribe anytime.