
OFFLINE HOBBIES · PAPER, PERSONALITY & A LITTLE JOY
Your week may not contain a mountain summit or a life-changing revelation. It might contain an excellent sandwich, mismatched socks and five minutes in a sunny chair. That is plenty of material for a tiny book.
Learning how to make a mini zine gives those details somewhere to live. You will turn one sheet of paper into eight small pages, then fill them with drawings, words or a few paper scraps. No printer, sewing machine or impressive artistic backstory required.
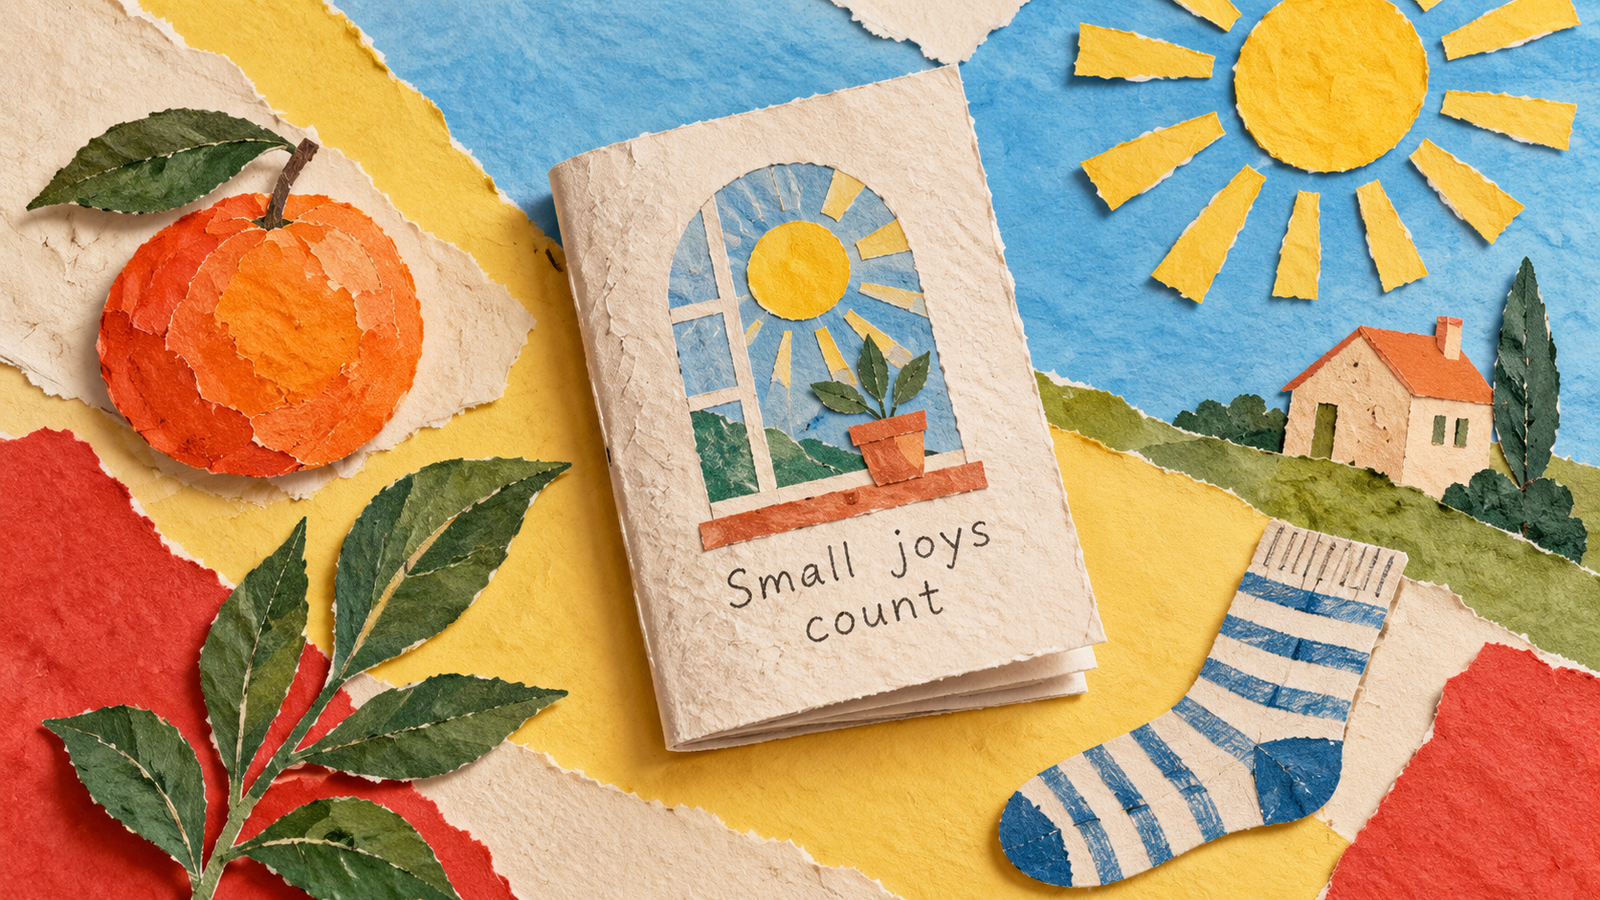
A tiny publication with room for your point of view
A zine—pronounced “zeen”—is a self-published little publication. It can hold art, stories, observations or opinions. This version has eight page faces, including the front and back covers. The point is to make something you can actually finish, hold and perhaps pass to a friend.
If you already enjoy junk journaling, think of this as one small, complete edition with a beginning and an ending. You are not committing to filling an entire notebook. Issue one can be the only issue.
Why this fits the analog moment
In its March 10, 2026 Creativity Trend Report, Michaels described growing interest in hands-on hobbies and physical keepsakes. That is a retailer’s view of its market, not evidence that everyone is becoming a crafter.
Zines also have an active community beyond shopping: DC Zinefest lists its next gathering for November 14, 2026, at the Martin Luther King Jr. Memorial Library. You can borrow the spirit of making and sharing without planning a trip—or opening another craft-supply tab.
Gather the very small supply list
- One sheet of ordinary printer paper: US Letter, 8½ × 11 inches. Have a spare for practice. A4 works too, with a slightly different finished size.
- Scissors and a pencil: Add a pen or colored pencils if you have them.
- Optional collage extras: A glue stick and a handful of thin, clean paper offcuts. Keep the bulky cardstock for another project.
- A clear working space: Enough room to open the sheet flat. A placemat is a reasonable studio.
Use ordinary thin paper for the book itself. The richly textured hero artwork is inspiration, not a requirement to buy handmade paper. If cutting or creasing is awkward, ask someone to prepare a blank booklet so you can concentrate on filling it.
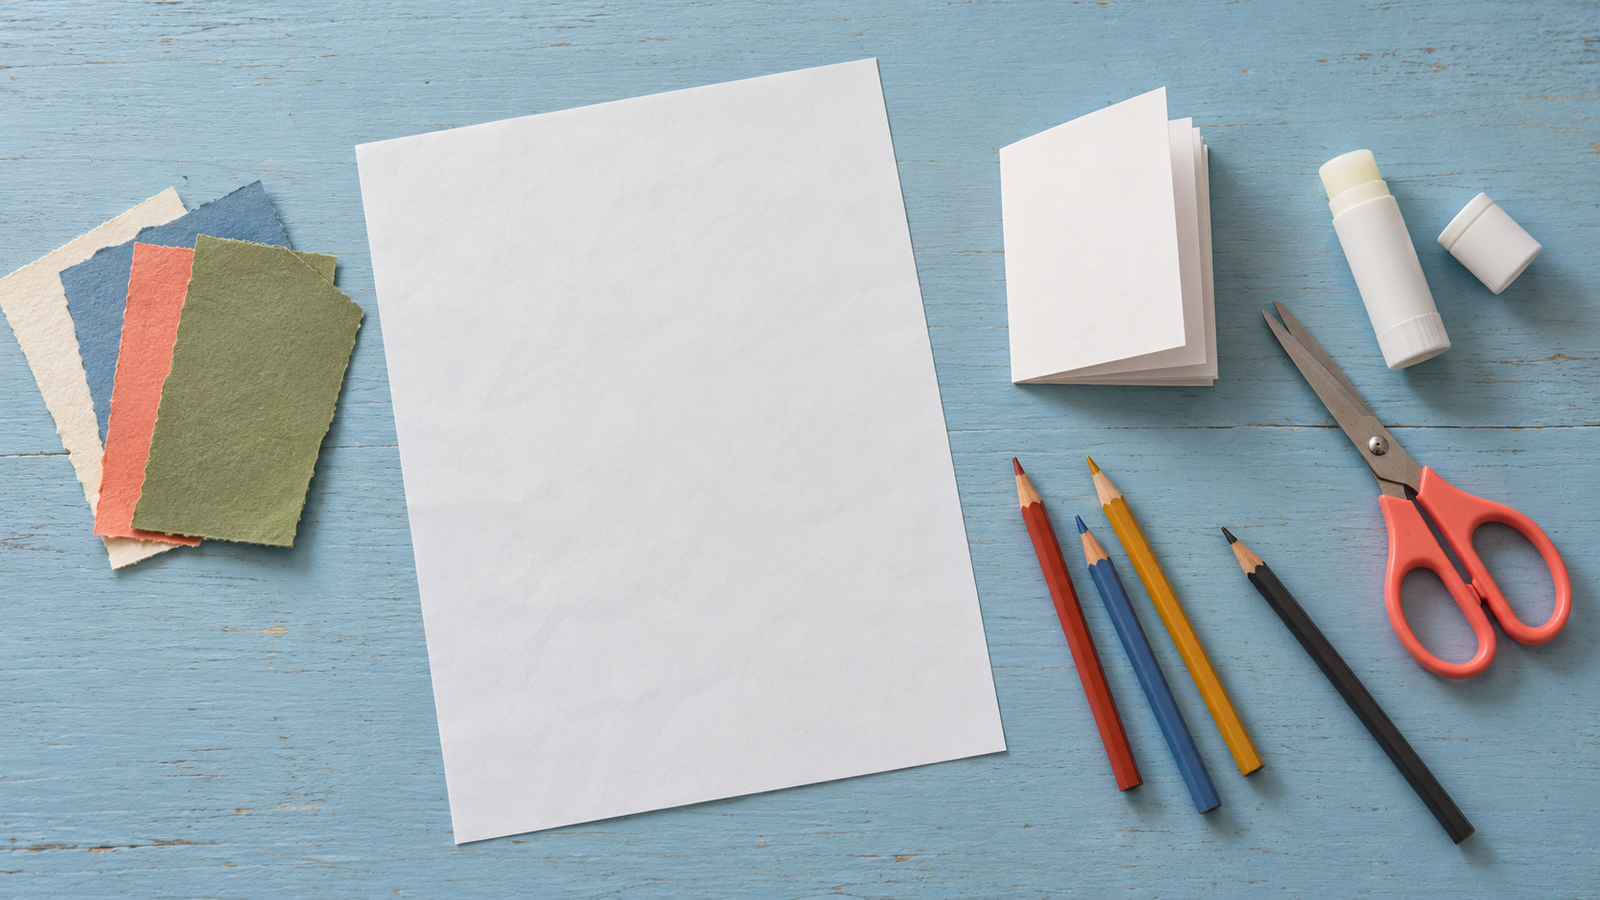
Fold the blank booklet before you decorate
This is the familiar one-sheet, eight-page fold demonstrated by ICA Boston and the Georgia O’Keeffe Museum. Their photo and video instructions are helpful if you prefer to watch the movement.
- Make eight panels.Place the sheet landscape, with the long edges across the top and bottom. Fold the top edge to the bottom; crease and reopen. Fold the left edge to the right. Fold that smaller rectangle in half the same direction again. Open everything: you should see four columns and two rows.
- Make the center slit.Fold the sheet in half with the short edges meeting. Starting at the folded edge, cut along the middle crease only as far as the next crossing crease. Open the sheet. The slit should run across the middle two panels, leaving the outer panels intact.
- Push, then close.Refold along the long horizontal crease, with the slit along the folded edge. Push the two short ends toward each other until the diamond-shaped opening closes into a cross with four double-layered arms. Bring the arms together into one stack, folding along the existing creases rather than making new ones. Flatten the spine. Check that you can turn through six inside page faces between the two covers.
- Mark the reading order.While it is folded, choose your front cover. Turn the pages like a book and pencil in the cover, pages 1–6 and back cover. Add a tiny upward arrow on each if you plan to unfold it for decorating.
Check before cutting: The red line shows the slit on the fully opened sheet. Follow step 2 to make it from the folded edge. Do not cut all the way across the paper.
Here is a whole eight-page idea you can make your own
Use a different ordinary day if Tuesday was mainly passwords and a missing lunch container. Each inside page needs only one little image and a short line. These are original LIFVYT prompts, not assignments you have to complete exactly.
Front cover · Give it a name
Small Joys, Ordinary Tuesday. Add the date and a simple sun, stripe or square of color. Your name is optional.
Page 1 · Something you noticed
Draw a rectangle for a window and three lines for light. Write: “The sun found my chair before I did.”
Page 2 · Something that tasted good
Draw an orange slice or a lopsided sandwich. Add the actual detail: crunchy toast, cold grapes, the right amount of pepper.
Page 3 · A tiny everyday comedy
Draw two unmatched socks. Caption them “Still a pair.” You have now given the laundry situation an editorial direction.
Page 4 · A moment worth keeping
Cut a cup shape from thin paper. Under it, write “Good enough today,” or describe a quiet pause you actually had.
Page 5 · Something you managed
One sentence is enough: “I sent the message I kept putting off.” Add a small check mark. No life transformation necessary.
Page 6 · Something to repeat
Name one detail you want again: ten minutes outside, a favorite song, lunch away from the desk. Keep it specific and possible.
Back cover · Let it end
Write “Small joys count,” add your initials or leave it blank. A finished booklet is allowed to have breathing room.
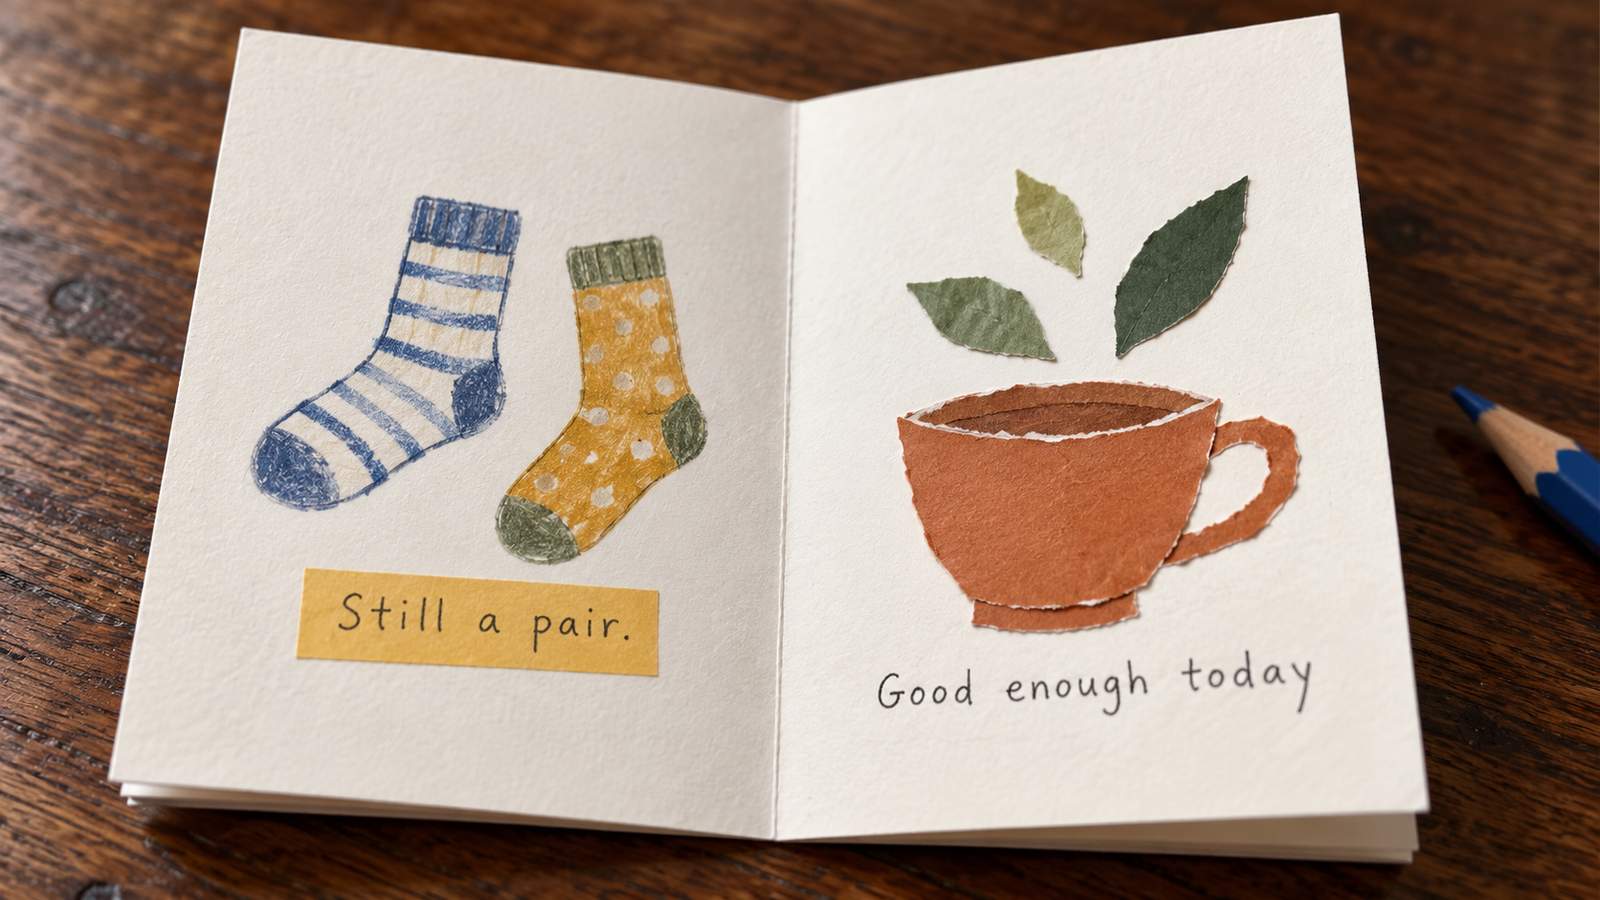
Make the pages feel like you
Pick two colors you enjoy and repeat one small shape through the booklet. That gives the pages a family resemblance without requiring matching stationery. Blue pencil with mustard paper feels very different from red pen with green scraps.
Leave a narrow clear margin near the folds. Arrange the pieces before gluing, attach only thin layers, and let the adhesive dry before closing the book. A pen-only version is just as complete. If your idea needs bigger drawings, begin with a larger sheet rather than cramming in smaller handwriting.
For another edition, try Things My Neighborhood Does Well, My Very Specific Comfort Foods or Unreasonably Strong Opinions About Mugs. A tiny topic is easier to finish than “my entire personality.” Our beginner journaling guide has more ways to find words when you feel stuck.
If the paper is not cooperating
- The booklet will not close: Open it again and check the center slit. Sharpen the existing creases before trying the push-together movement again; do not start adding random cuts.
- Words are upside down: Write on the assembled booklet next time. For this one, cover the small mistake with a thin paper label.
- The pages are stiff or bulky: Use thinner paper and fewer glued layers. Keep raised decorations for a display piece rather than a pocket booklet.
- You cut too far: Start a fresh blank and keep this sheet for drawing practice or scraps. That is why the supply list includes a spare.
- You cannot think of six things: Let one idea continue across two pages. A large shape, a color patch or a blank page can be part of the design.
Keep it, copy it or give one away
Keep the original as a small record of the week. If you want copies, unfold the finished zine, copy the decorated side onto a single sheet, and refold it using the same slit. Check that the copier has not cropped the edges; make one test copy before making more.
A white-paper original with dark lines is useful for photocopying. If you want to share editions, your own drawings and words keep the process simple. Leave private names, addresses and personal details out of copies you give to strangers.
Tuck one into a note to a friend—our snail-mail guide can help with that part—or search a nearby library’s calendar for “zine workshop” or “zine collection.” Check the date, age range, registration and access details before going. You do not need to sell your work or host anything to belong in this hobby.
Make one small thing that feels like your life
Start with a spare sheet. Fold it, pick one ordinary detail and put it on a page. The little book does not need to justify itself with a productivity benefit. You made it, it says something, and you can hold it in your hand.
That is a perfectly good afternoon.
Resources and further reading
- ICA Boston: Make Your Own Mini-Zine — one-sheet construction and collage examples.
- Georgia O’Keeffe Museum: Make a Zine — folding video and step photographs.
- SUNY Brockport: Make a Zine — materials and formats; guide updated September 11, 2026.
- Michaels: 2026 Creativity Trend Report announcement — March 10, 2026; retailer-reported trend context.
- DC Zinefest — organizer information and current event details.
Sources checked October 21, 2026. Event details can change. The three artwork examples are AI-generated illustrations of the project; the fold-and-cut diagram is a separately constructed guide. The booklet prompts and suggested session length are LIFVYT editorial suggestions.
The Sunday Soft Reset
A calmer start to your week.
Get Lifvyt’s weekly collection of gentle wellness reads, nervous-system resets and practical tools — plus the free 5-Minute Nervous System Reset Guide.
By signing up, you’ll receive the free guide and one gentle Lifvyt email each week. Unsubscribe anytime.